Lab
A lab is a web IDE (based on JupyterLab). Here we listed all available operations in each section.
Create lab
To create a lab, navigate to your project dashboard and click the Check button on the Lab panel.
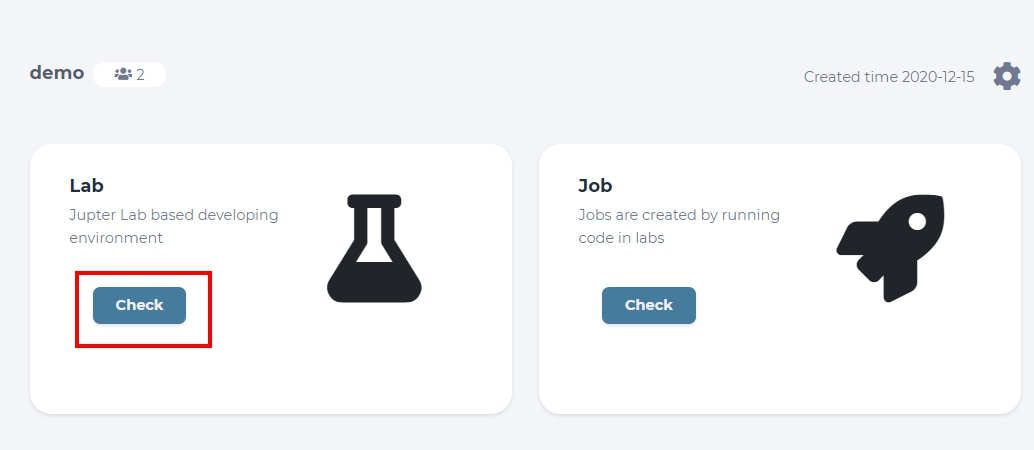
click the Check button on the Lab panel
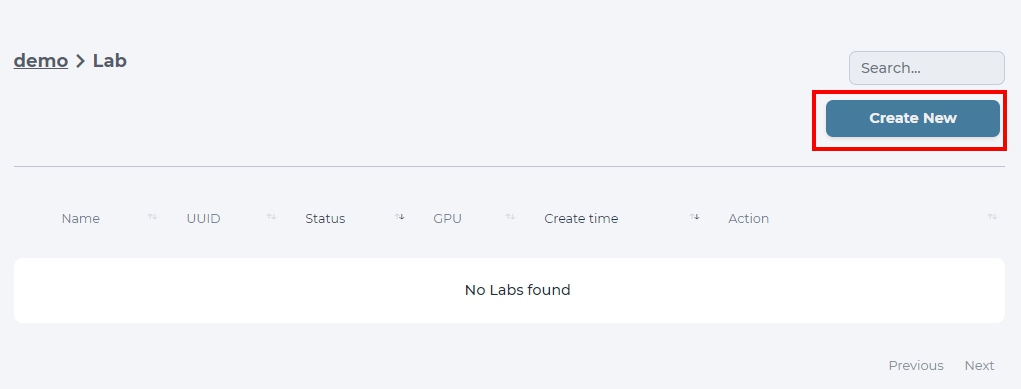
click the Create New button
Write a name for your lab, choose a flavor you want, and select a docker image to create a lab. Choose from 2 images based on myelintek/python-gpu, which have all common libraries for deep learning built-in, but use different versions of tensorflow. You can also choose the type of lab to run, it will either use Jupyterlab or a simple terminal. Finalize your choice by clicking Create button and your lab should be ready in a moment!

create a lab with small flavor and python-gpu:tf-1.15.0-v14 (tensorflow v1) image
Caution
GPU number is exclusive for each lab and job. Be cautious that system may run out of GPU resources and labs won’t be launched unless GPU resources are released.
Tip
Set flavor to micro (gpu 0), which will make your lab run with CPU only.
Browse labs
To browse labs of a specific project, navigate to the Home dashboard first and choose the project you want.
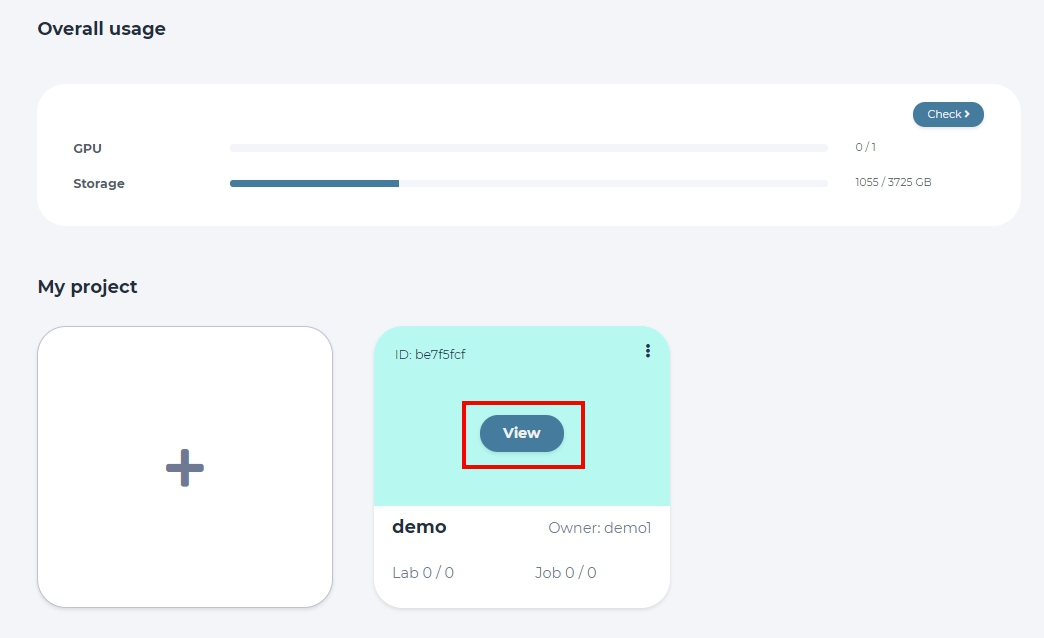
click View button to enter that project dashboard
This project will become default and can be accessed quickly from the Project tab. To look at all the labs created in the current project, click the Check button.
click the Check button on the Lab panel
Labs are listed together with information like name, UUID, status indicator, number of GPUs used, and also time of creation. You can get more details by clicking the + sign.
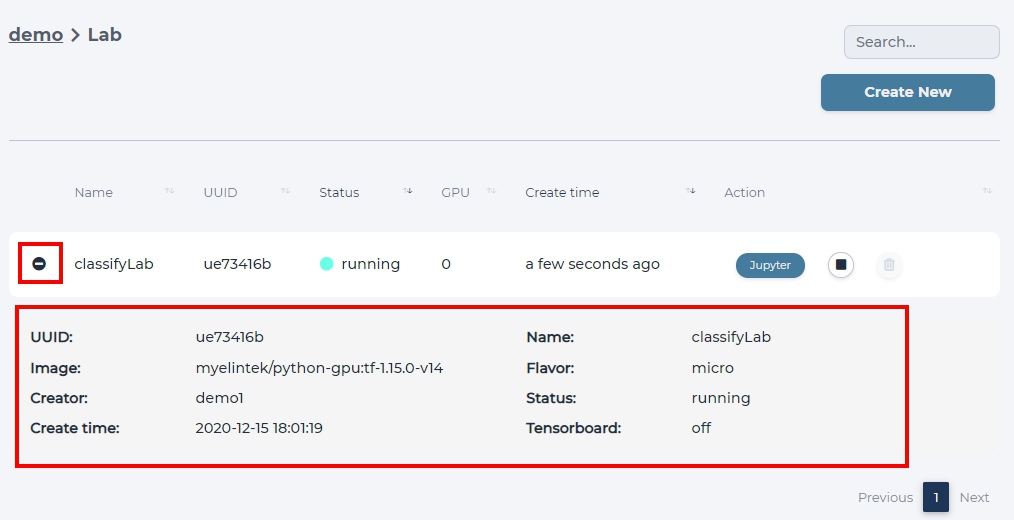
Check the detail of the lab.
To open the lab to modify it or run experiments click Jupyter, this will open another window, where you need to start your lab.
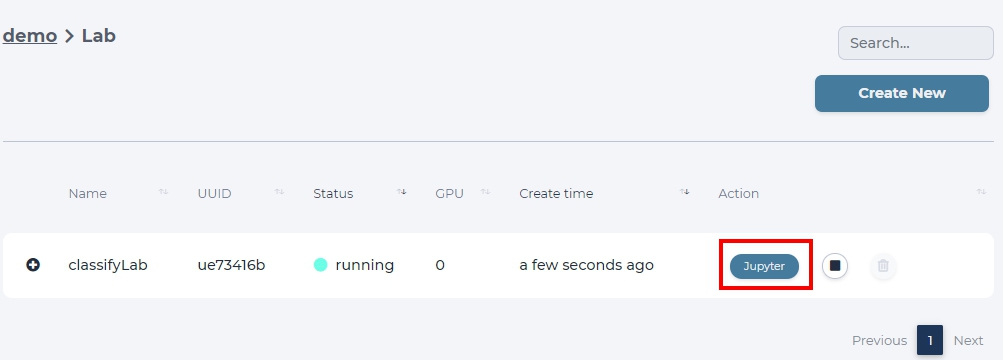
click Jupyter button to open the lab
Start lab
To start a lab, click Start indicator
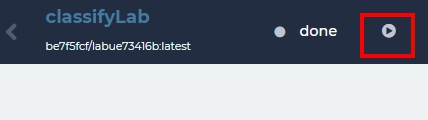
or click Start at the lab list page.

Stop lab
To stop a lab, click the Stop button
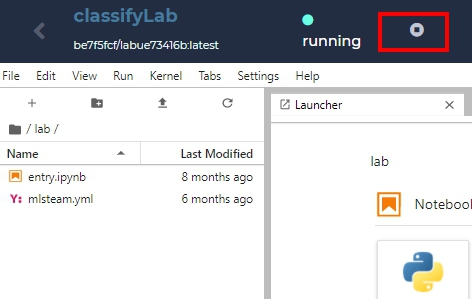
or click Stop at the lab list page.

Attach dataset to the lab
To attach a dataset, select the desired dataset in dataset section and click attach dataset.
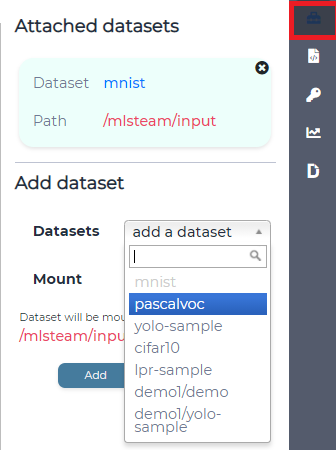
attach mnist dataset for this lab.
Note
Attaching dataset will automatically restart the lab, make sure all the files have already been saved.
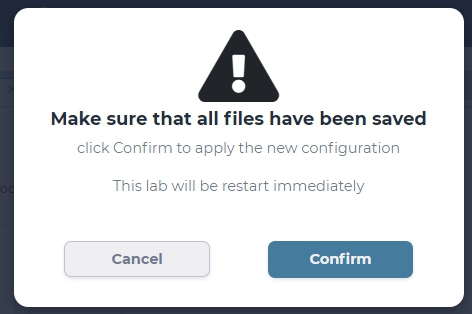
confirm to restart the lab
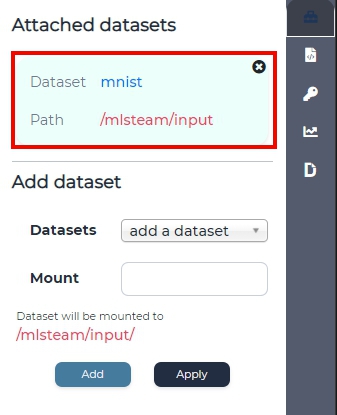
Attached dataset info will appear on the dataset section.
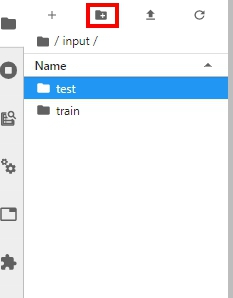
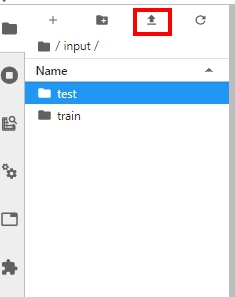
Dataset files can be browsed in the window on the left under /input directory.
Tip
You can choose to mount your dataset in a subdirectory inside /input/ by writing appropriate name in the Mount form

browse dataset files in /mlsteam/input folder
Add new directory to dataset, if needed.
Upload new files to dataset, if needed.
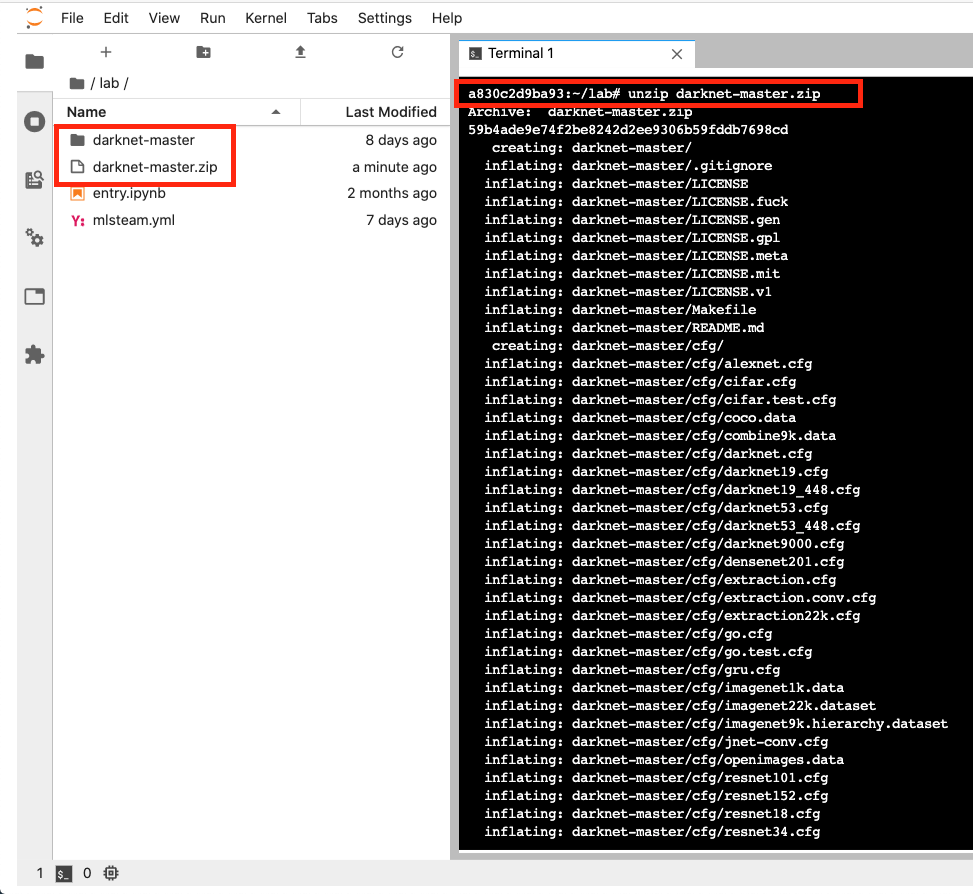
Upload a zip file to lab.
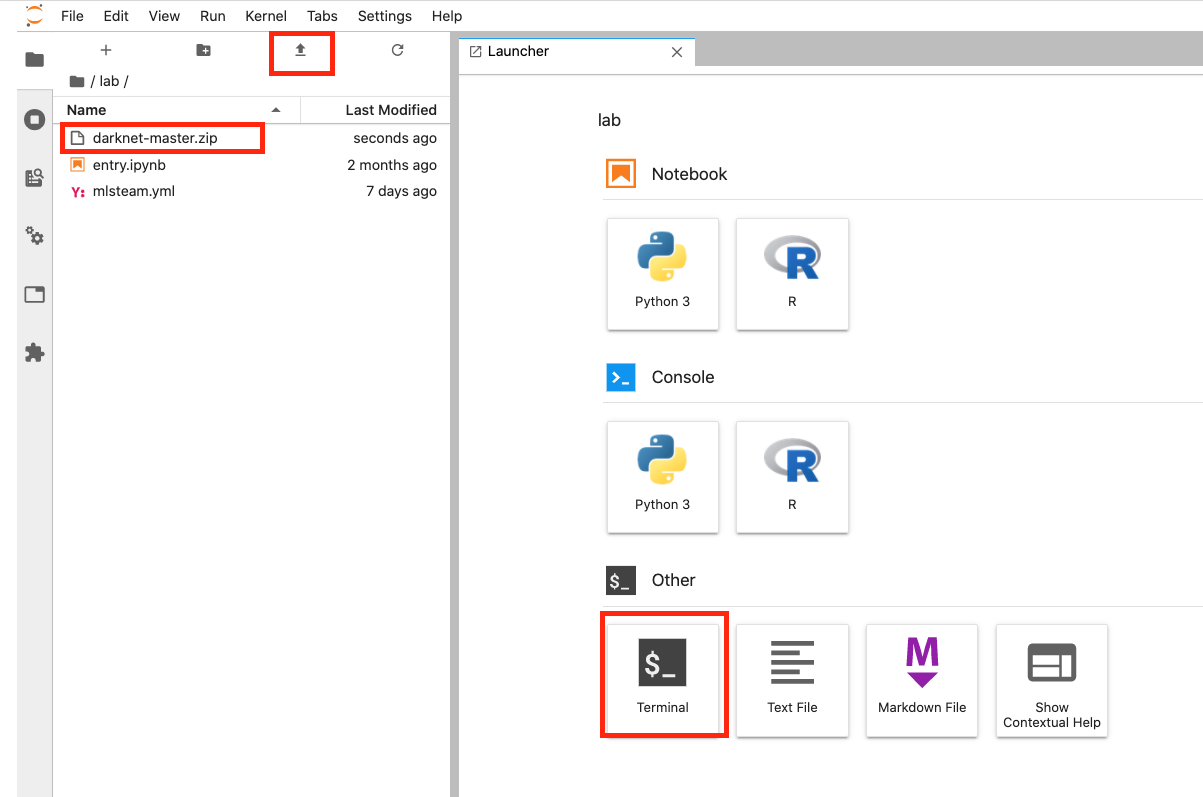
Launch the terminal and unzip the file.
unzip <file_name.zip>
Pass parameters
Users can update parameters (hypter-parameters) of a model by defining parameters on web page. Parameters supports YAML format definition and also supports multiple values per key value. System will automatically create multiple jobs for all combinations and run created jobs in parallel on different GPUs.
In your model source code. Please import mlsteam function
from mlsteam import stparams
Replace code as below to enable parameter update from web page. In this example, we define ‘train_bs’ keyword.
-      default=128,
+      default=stparams.get_value('train_bs', 128),
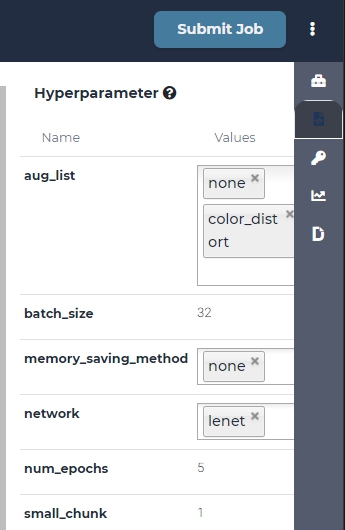
All parameters will be show on the right hyperparameter section.
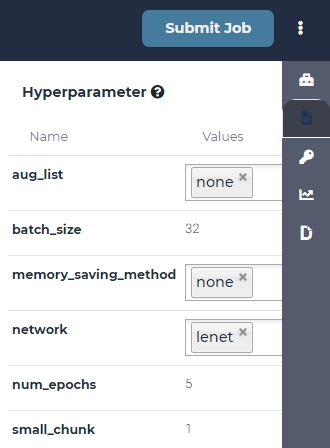
Use comma separator to pass multiple values, or select multiple values from a list to create multiple jobs.
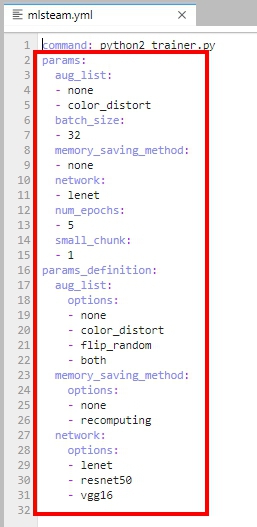
Now you can define default keyword value in mlsteam.yml of a lab.
If you want to make a dropdown and selector, use “-” to perform it in a list.
If you want to make a text editor, use type String or type Int.
Generate ssh key (if enabled)
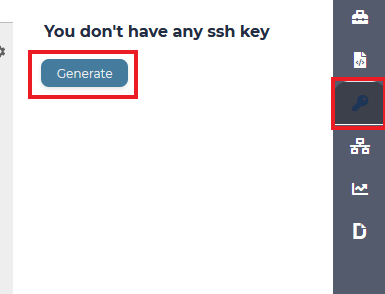
This feature is disabled by default. Generates ssh key to be able to ssh into lab. Click on ssh tab, inside tab click “Generate”, save sshkey file to your local PC. More about connecting to the lab in “Remote connection to the lab” section.
Expose port with proxy
Caution
After v3.8.30 replaced by Port expose
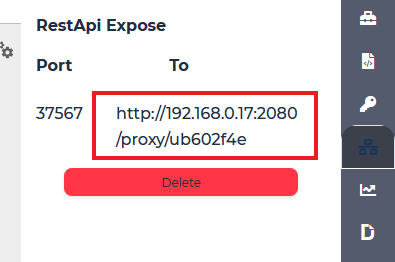
Expose port from inside of the lab to the outer world. Click on “Proxy” tab, enter port you want to expose, press “Expose”.
Use the shown link to access specified port.
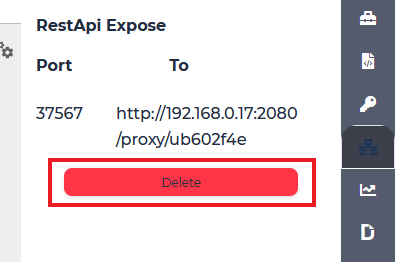
To stop expossing port and delete the proxy press “Delete”.
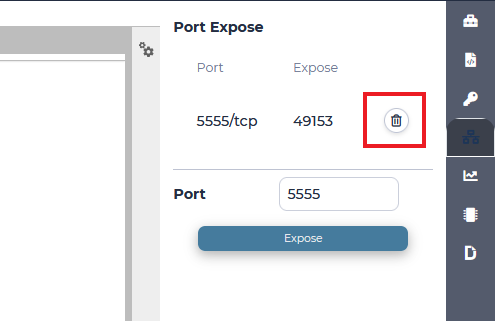
Port expose
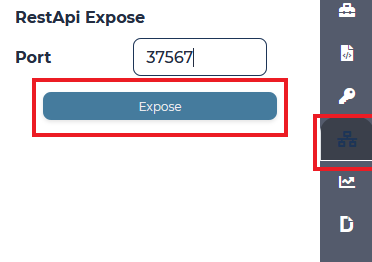
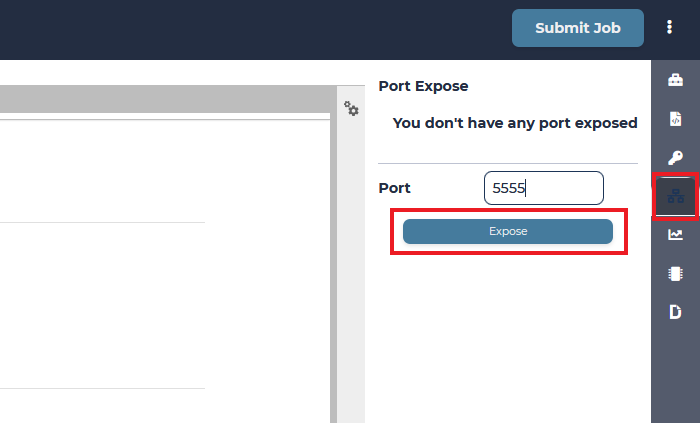
Expose port from inside of the lab to the outer world. Click on “Port” tab, enter port you want to expose, press “Expose”.
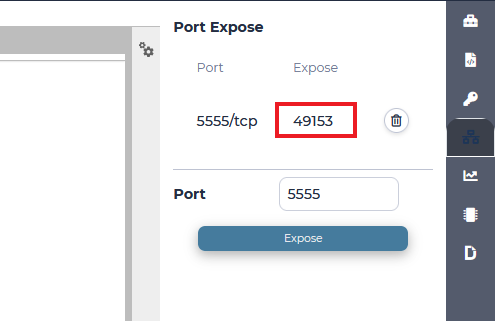
Shown port is exposed to the world and mapped to specified port inside container.
Tip
Bind application ip to 0.0.0.0 to be able to access from outside
To stop expossing port press “Delete”.
Use Tensorboard
Users can open tensorboard for current lab. First, use classification template to open a lab. Then, type following command in console to generate checkpoint files.
python2 trainer.py --num_gpus=1 --batch_size=32 --network=lenet.py --data_dir=../input/mnist --train_dir=backup
Checkpoint files will be located in the backup folder. Now, click tensorboard -> start button on top-right corner of lab page.
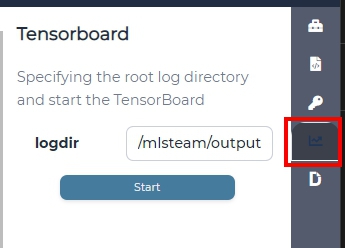
Click tensorboard button again, the dropdown list will show OPEN button. Click open button to open tensorboard in a new tab.

The tensorboard will read current lab folder and display content accordingly.
Note
If the new tab page shows 502, please reload page again.
To close tensorboard, click tensorboard -> stop button to terminate tensorboard process.
Note
Tensorboard will been terminated when the associated lab is deleted.
Commit lab
First attach dataset to the lab.
Click “Submit Job”.
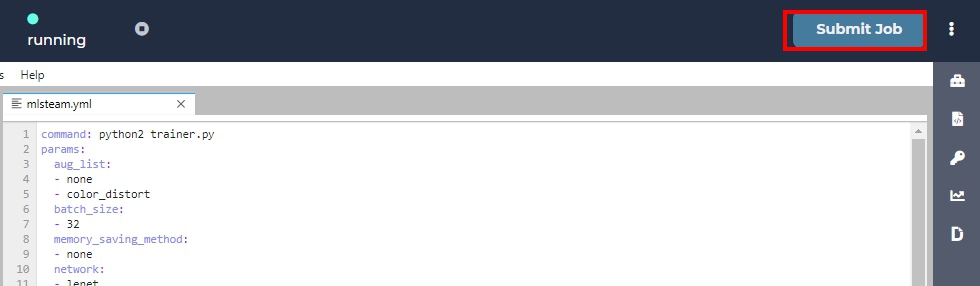
Check parameters to be correct.
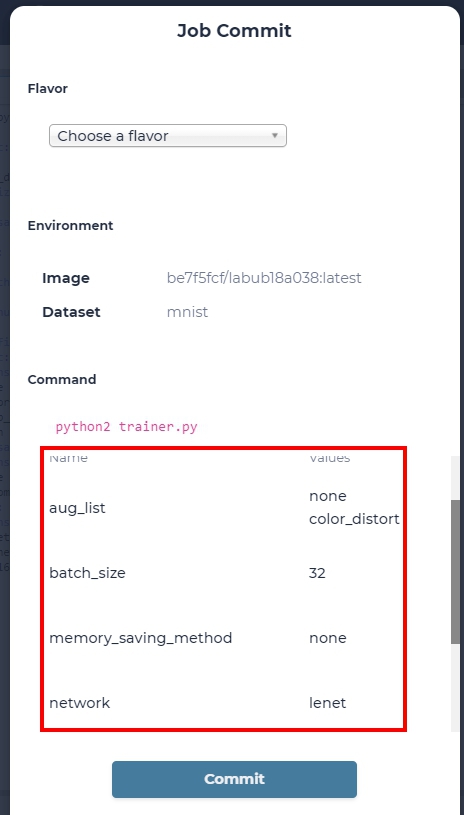
This will create a job from the code that lab contains.
Browse job to see output. In our case, output is the content of folder /mlsteam/input.
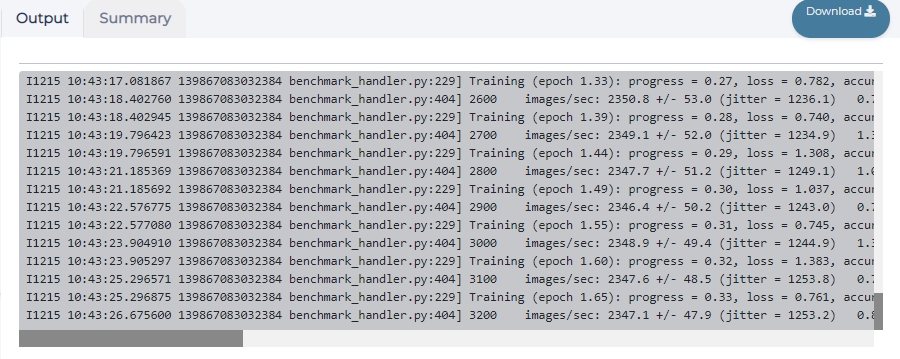
a training job with output display
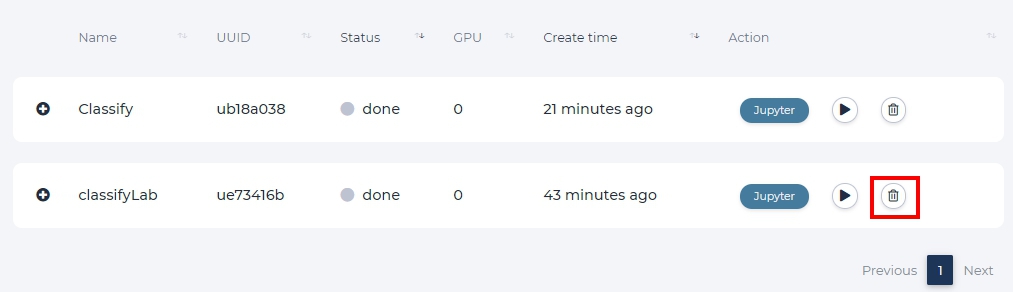
Delete lab
On the project page click “Lab” button. Stop needed lab. On the list of labs page click on the trash icon on the side of the lab name.