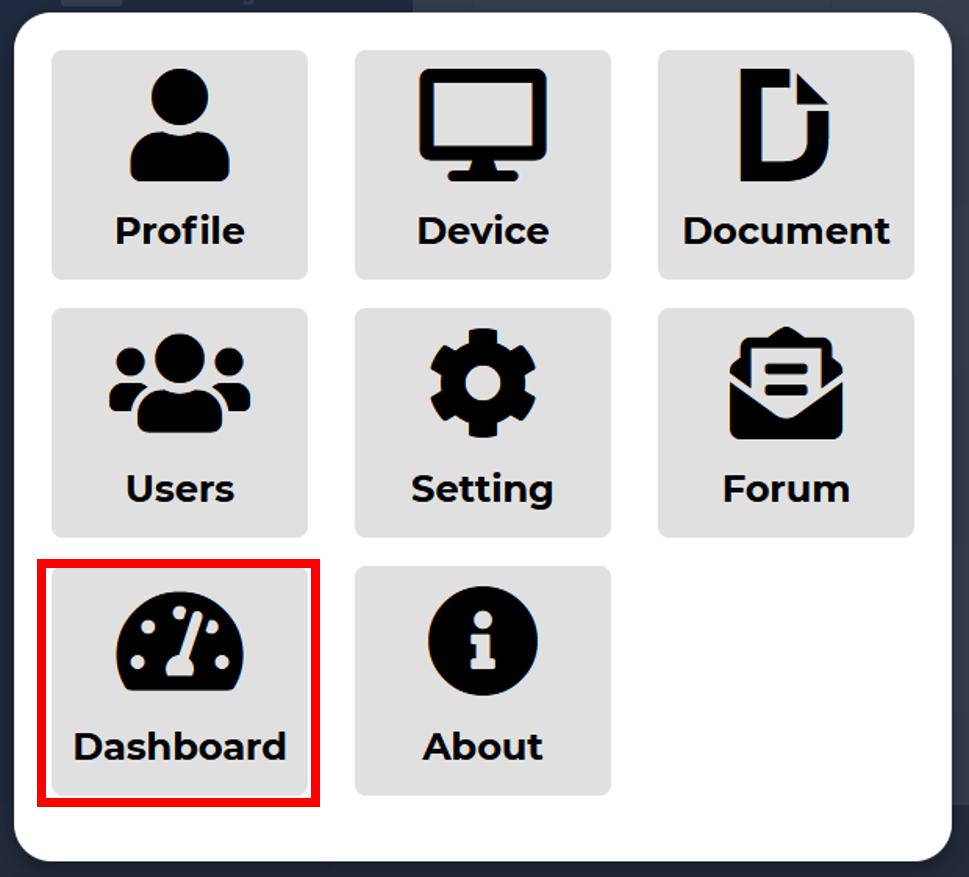
Administration
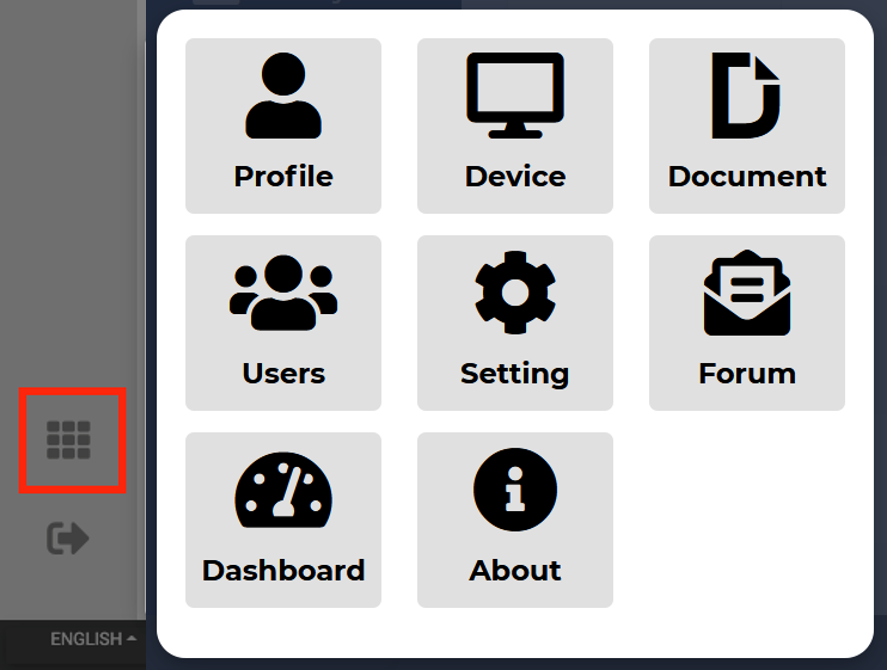
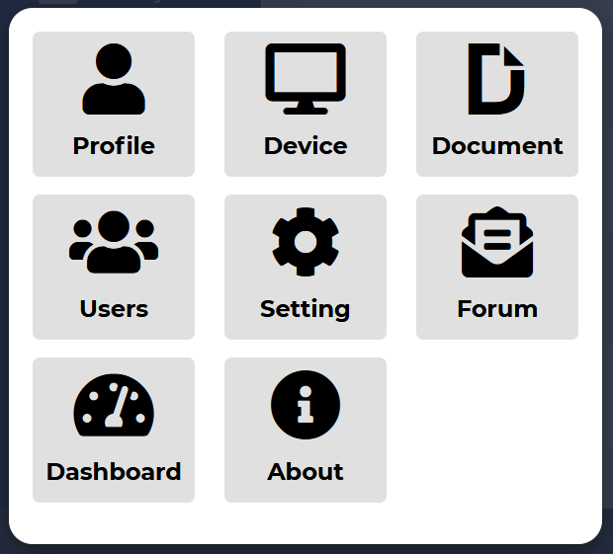
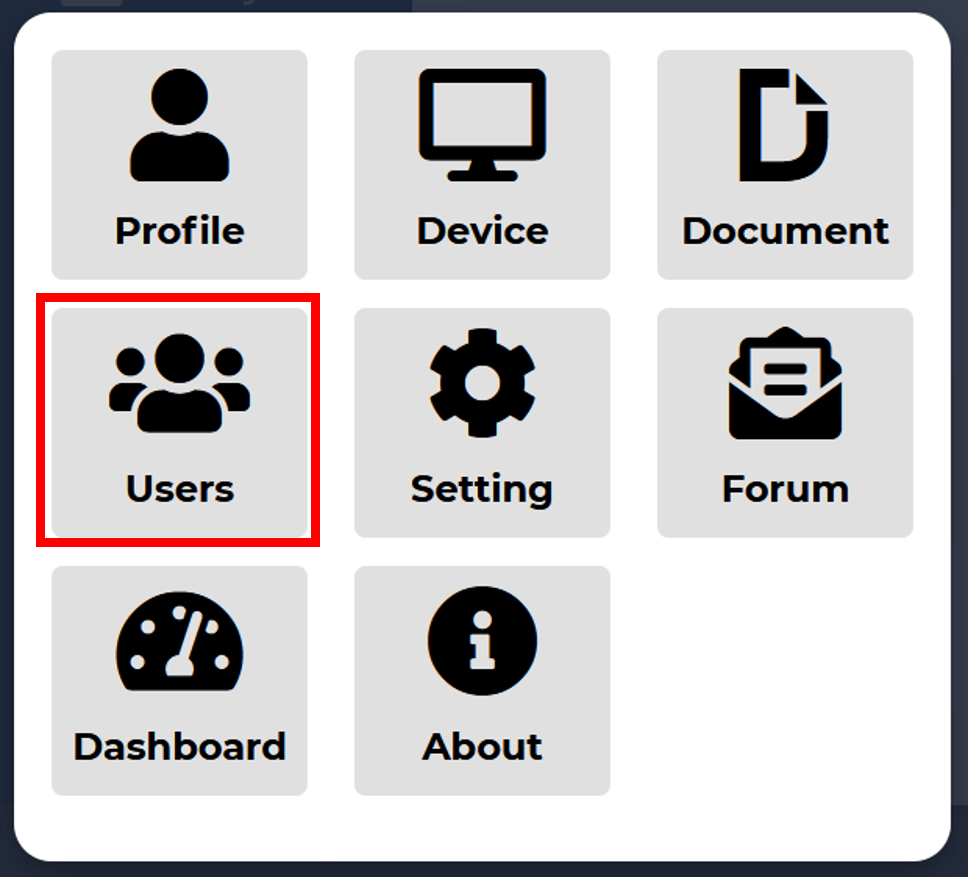
After entering administration credentials in the login page, a More icon will apear in the left. Click it to see a popup window with different options for administration.
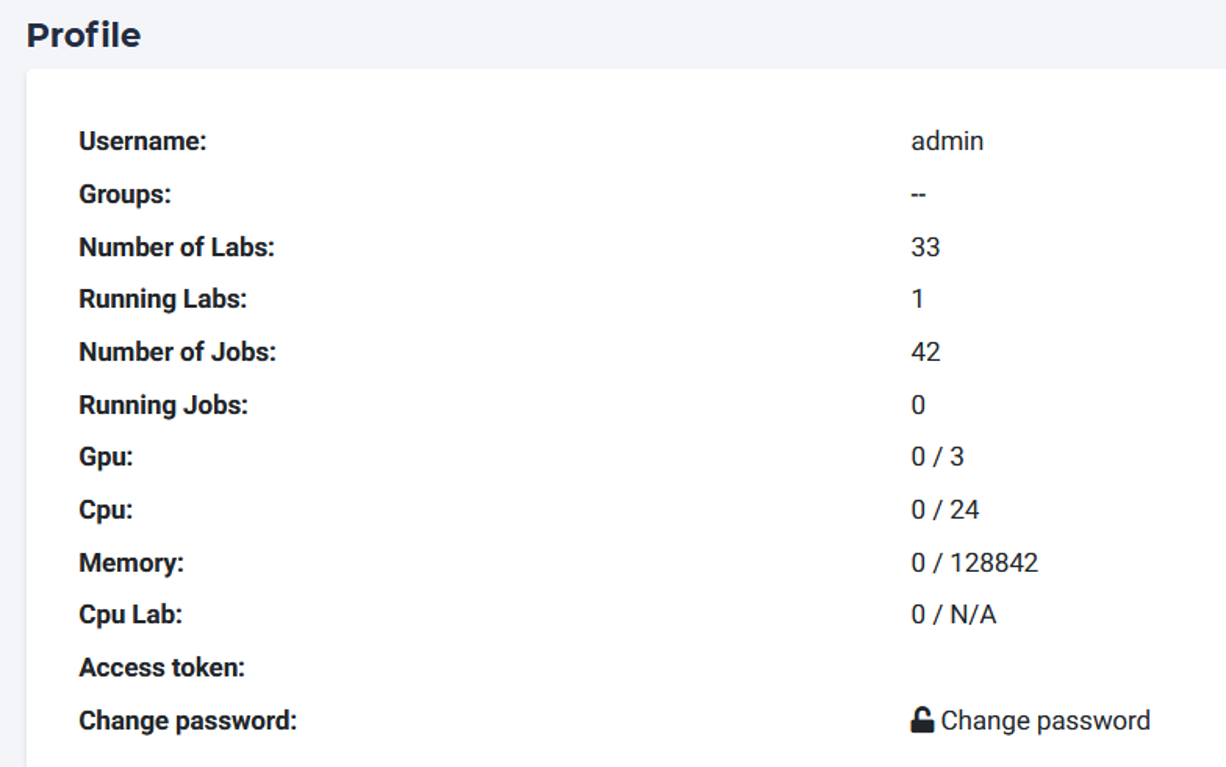
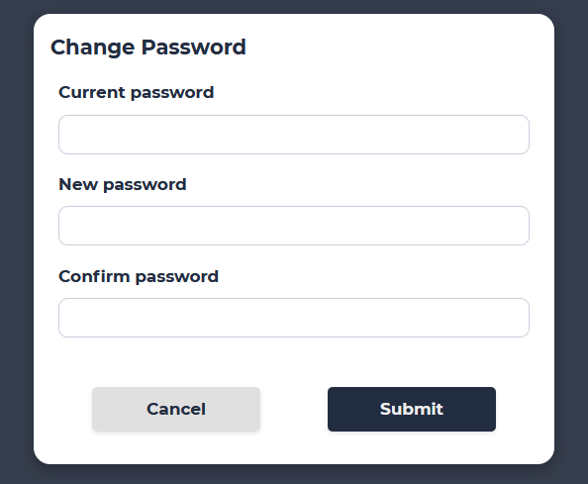
Profile
You can see current user profile and an option to change password.
Account
User
User managment tab allows creating, editing and deleting users.
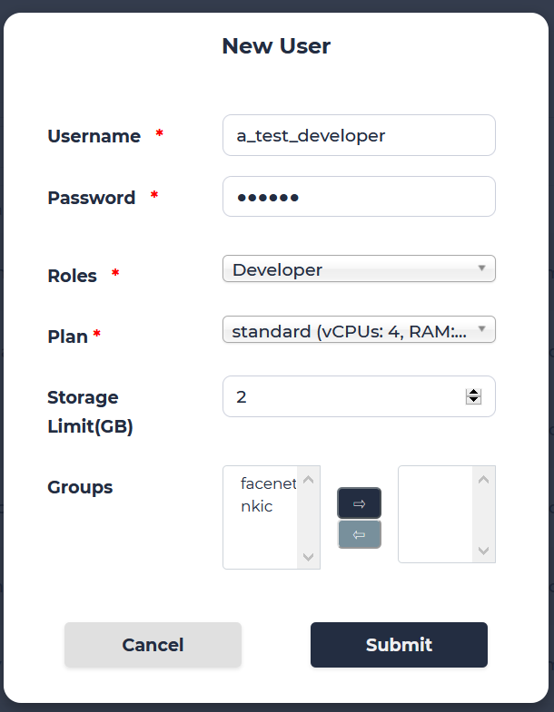
Create
Click “Users” button.
Click “Create” button.

Fill username and password. Select single role from drop down list. Choose what plan this user will utilize. Limit storage space. Manage group if user needs.
Edit
Select user that needs to be edited, click “Edit” button.
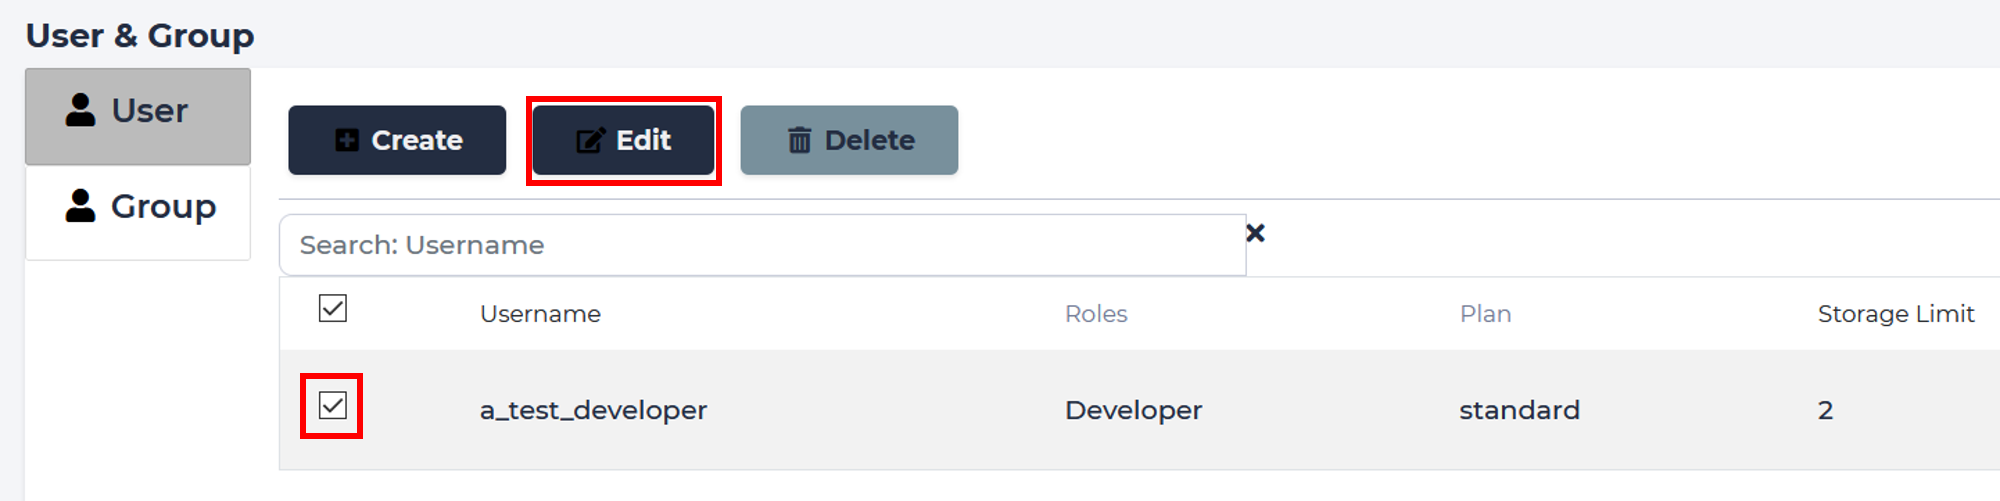
Fill new info. We decrease the sotrage limit from 2 to 1 GB.

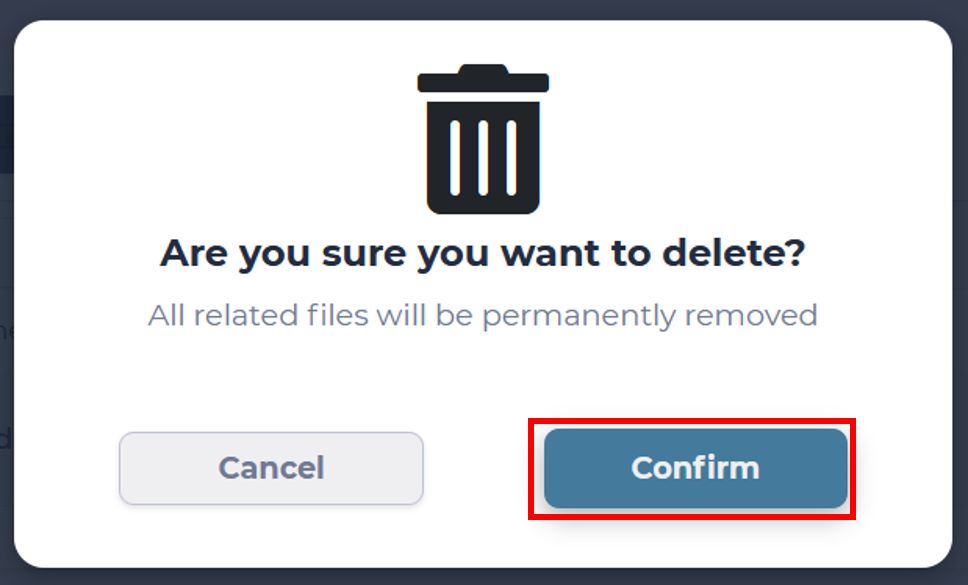
Delete
Select user that needs to be deleted, click “Delete” button. Notice the change in the storage limit.
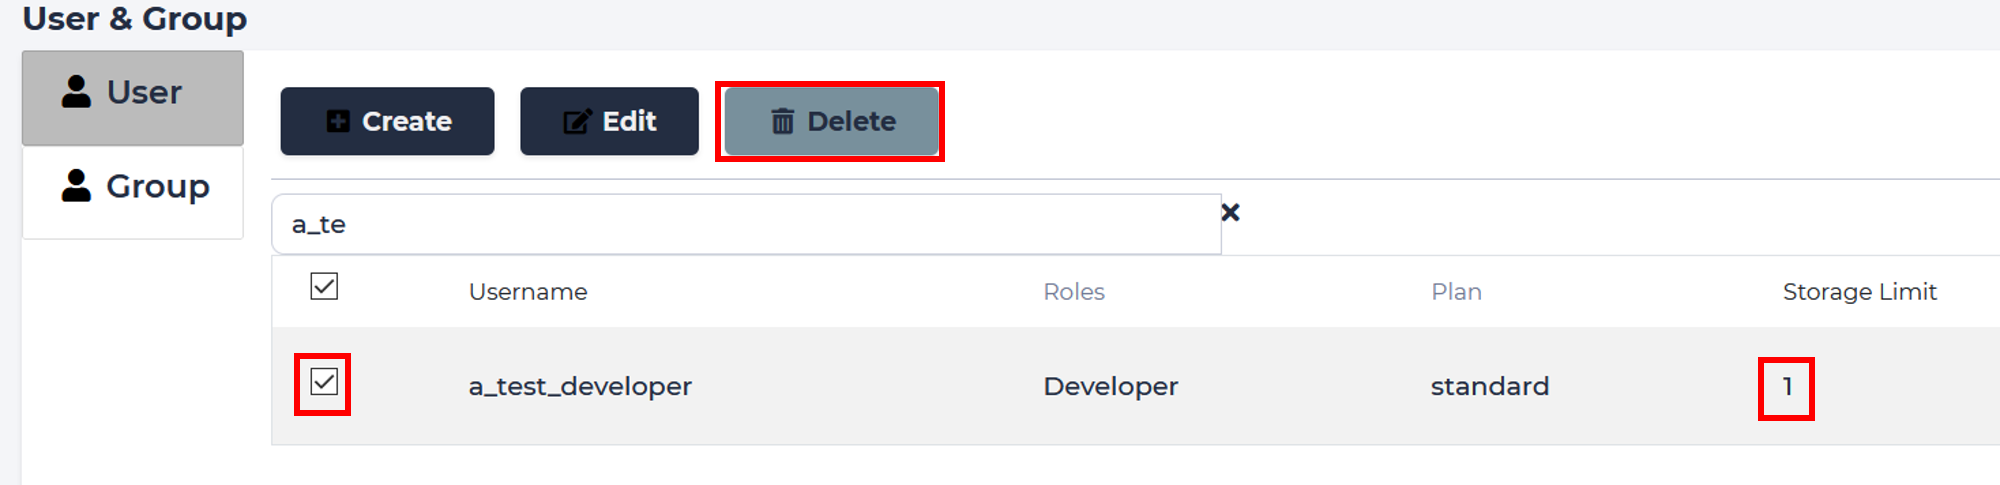
Confirm.
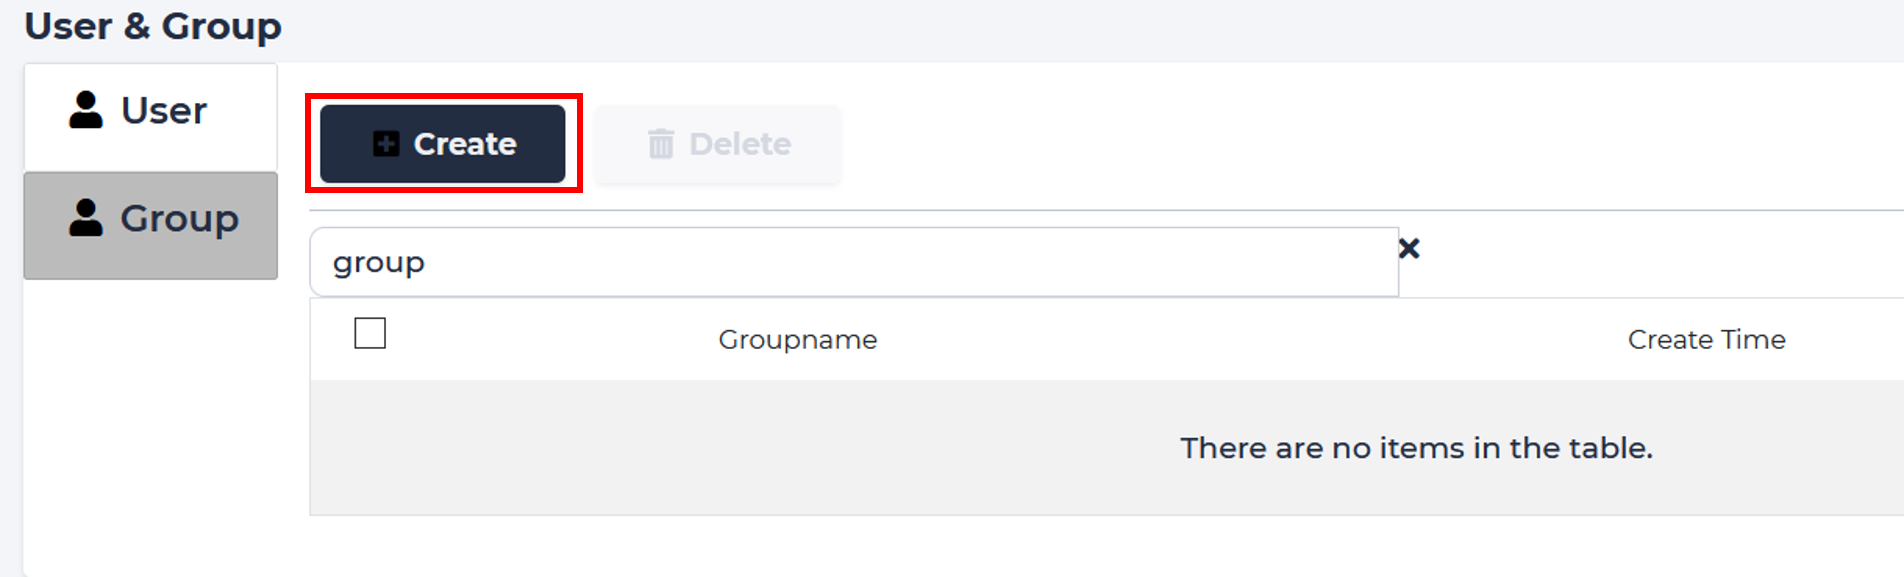
Group
You can create and delete groups in this tab.
Create
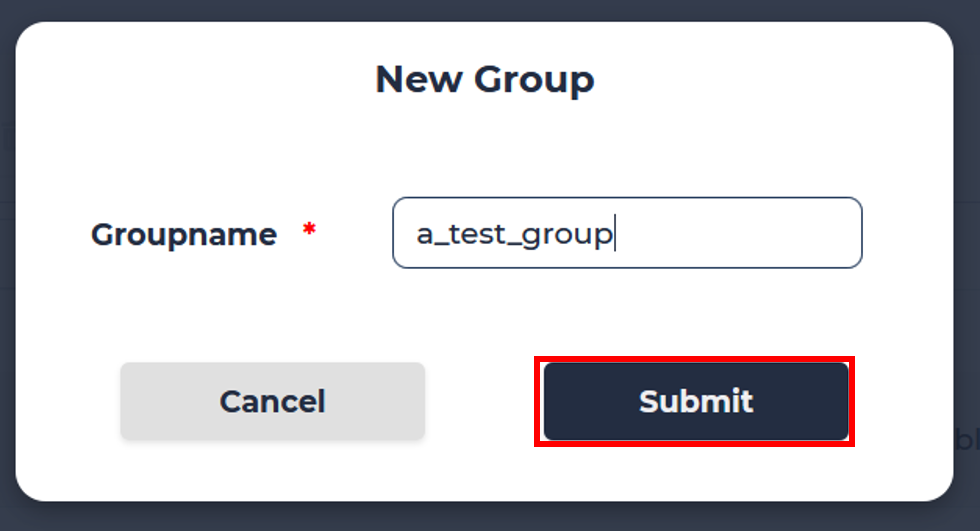
Click “Create” button.
Fill group name and confirm.
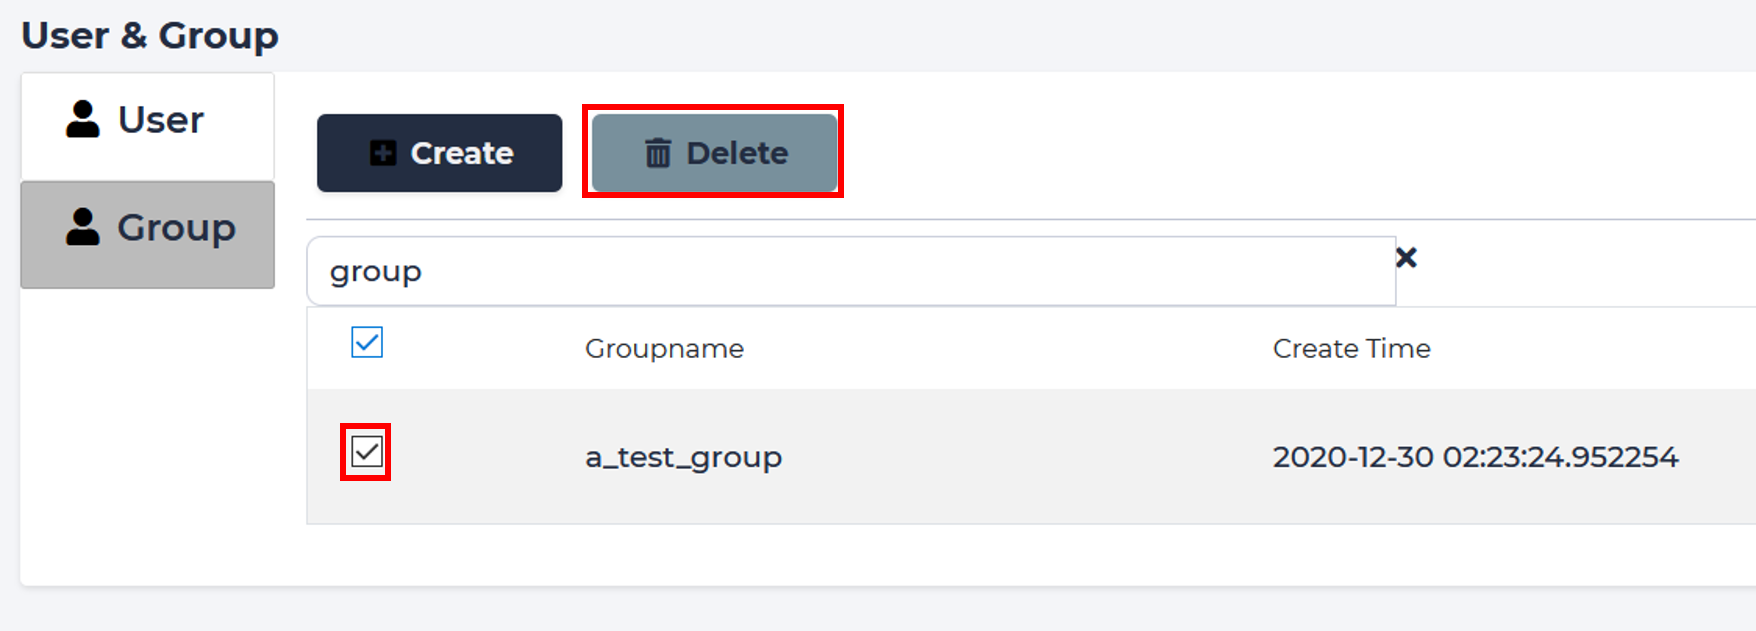
Delete
Select group that needs to be deleted, click “Delete” button. Confirm.
Dashboard
Check various statistics about the system
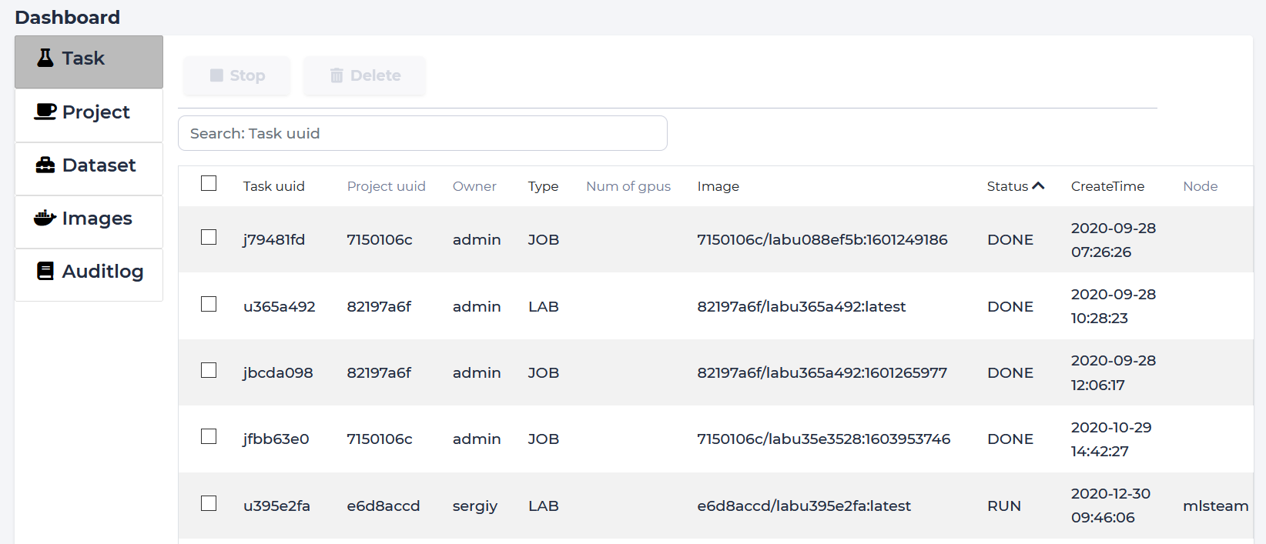
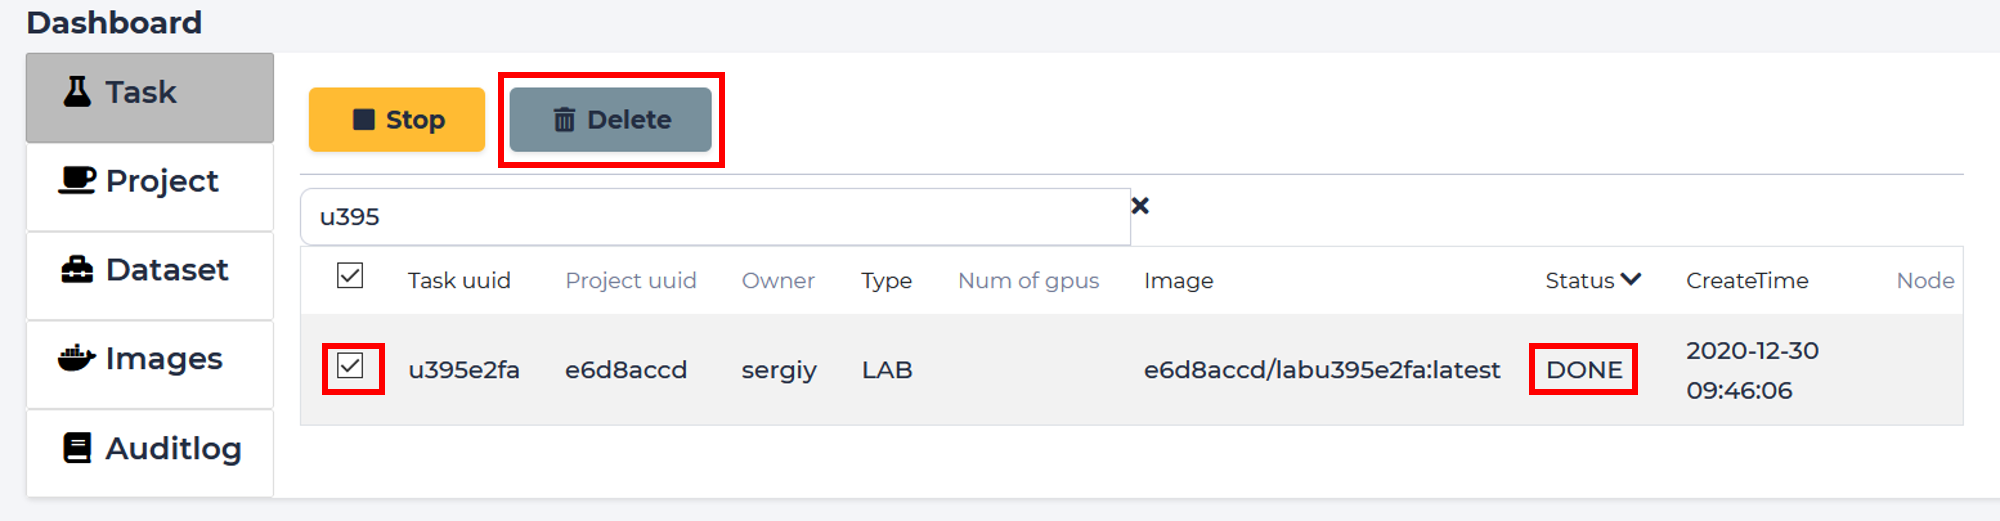
Task
Shows a list of currently running instances of labs and jobs.
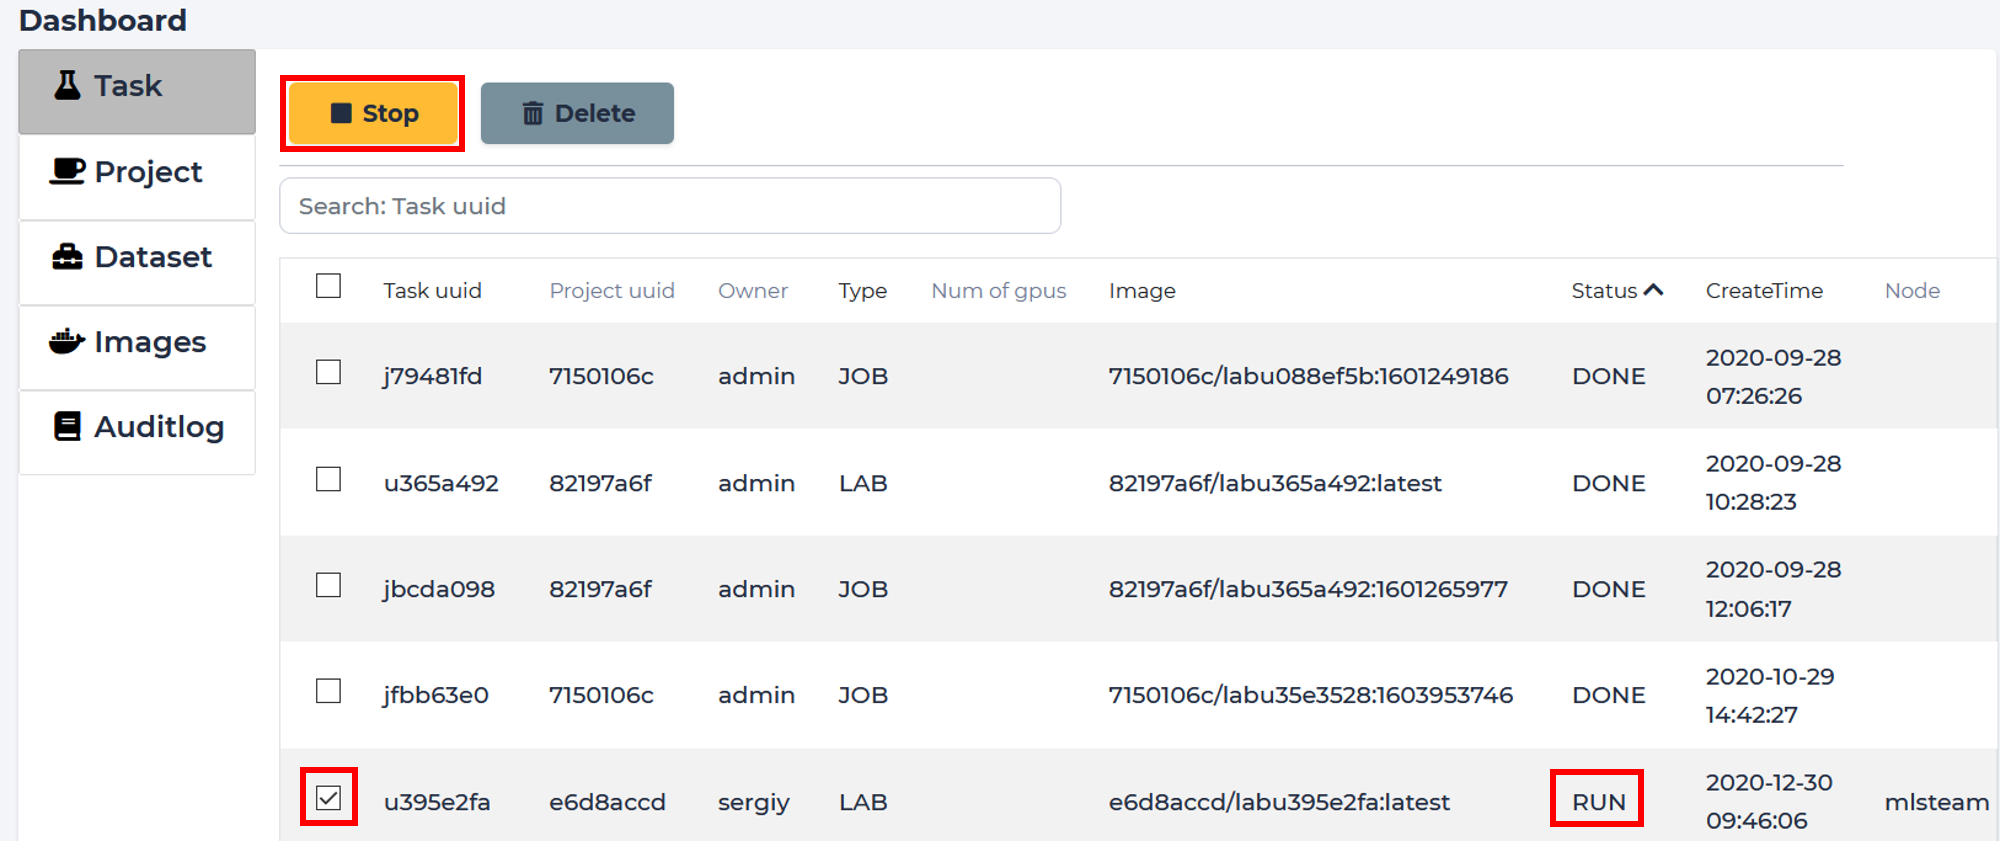
Stop
Select the instance that needs to be stopped, and then click “Stop”.
Only instances with running status can be stopped.
Delete
Select the instance to be deleted, and click “Delete” to delete the task.
Only not running instances can be deleted.
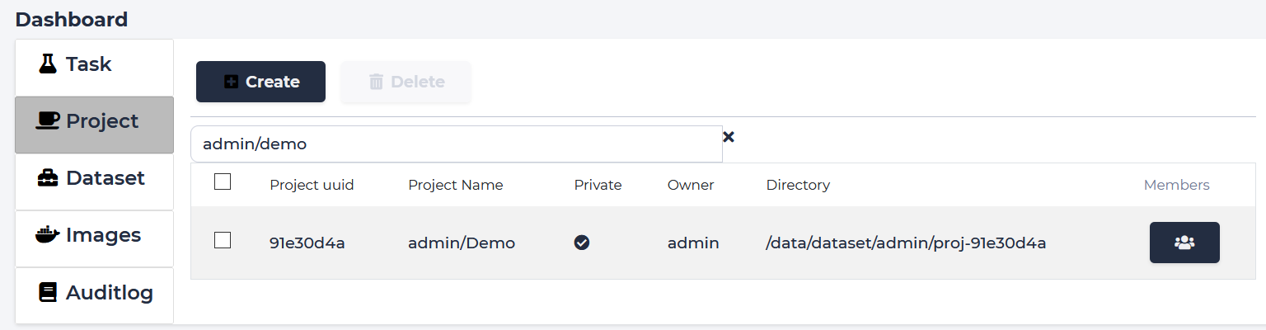
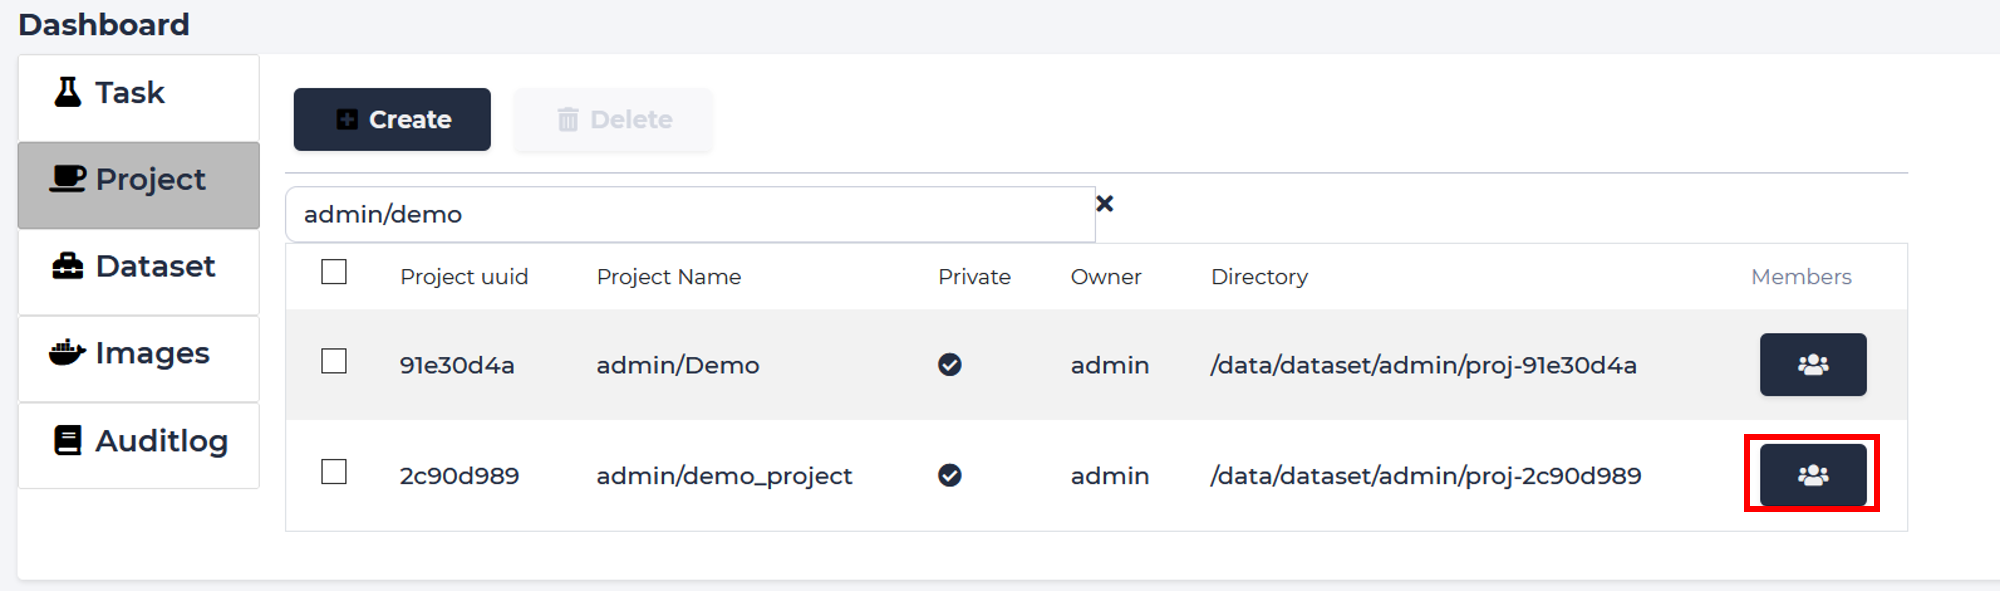
Project
Project management tab. Shows list of projects.
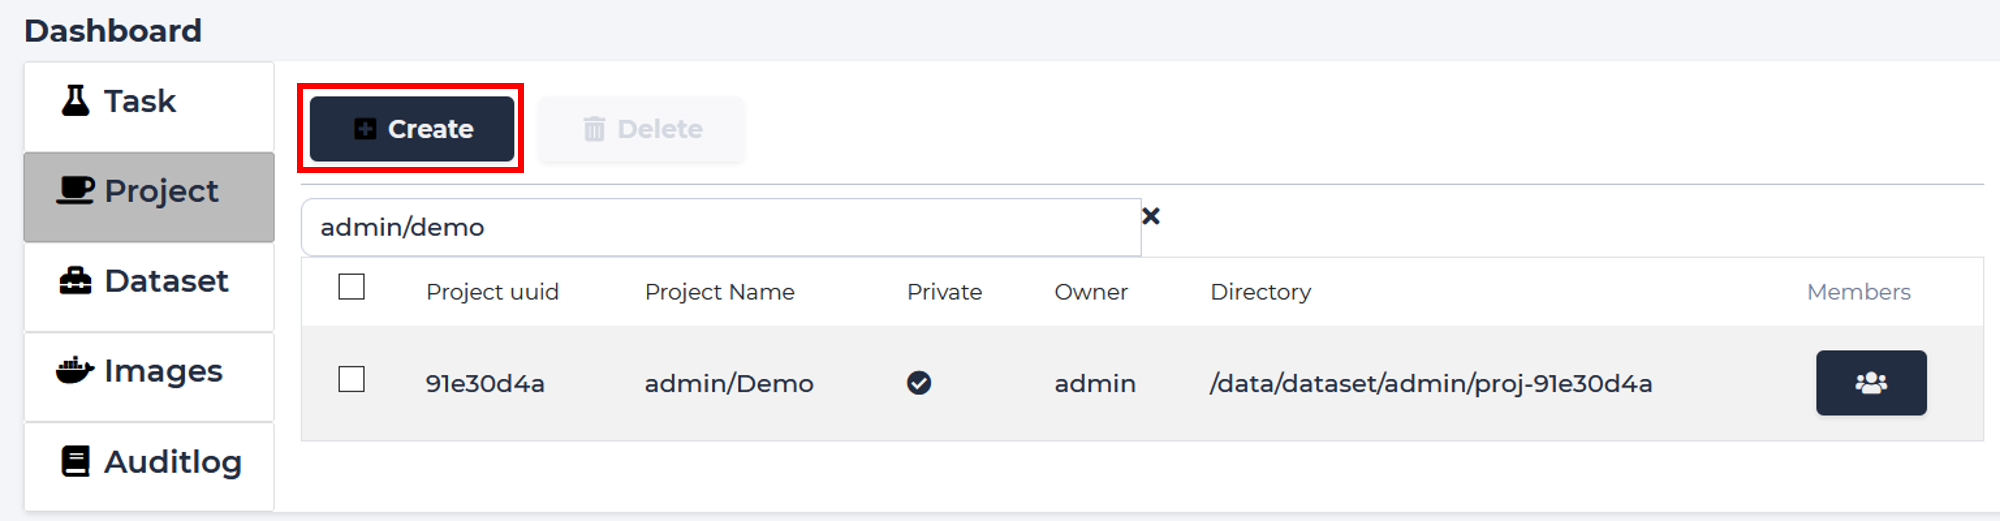
Create
Click create button.
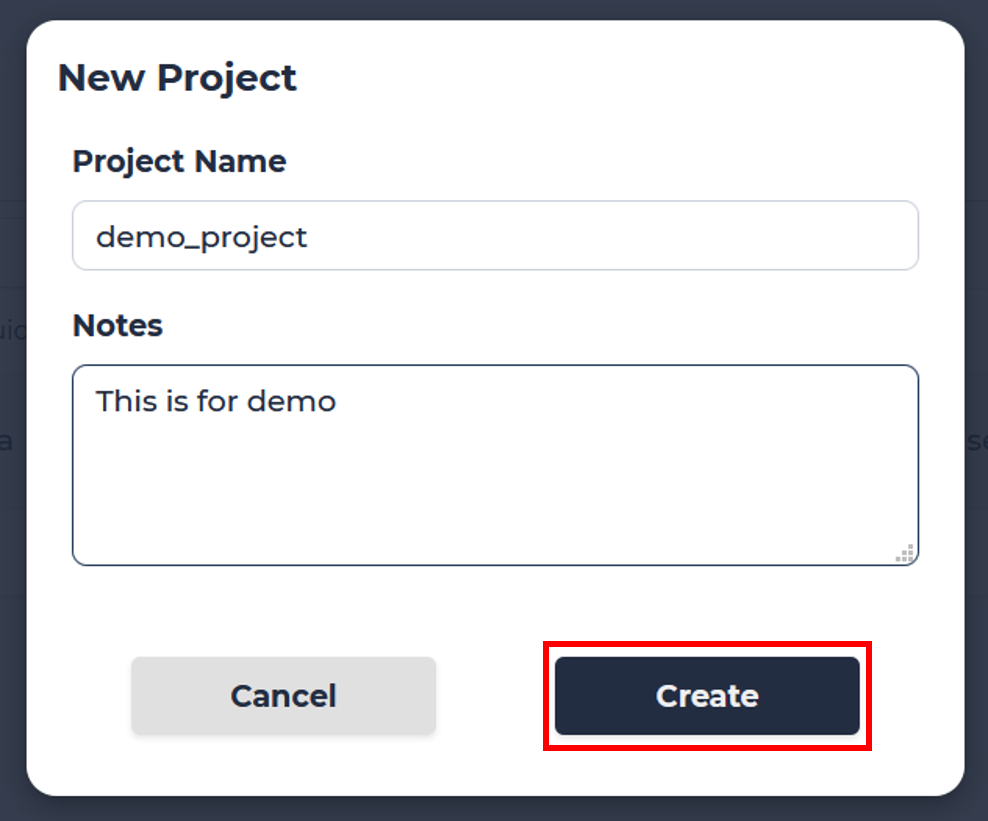
Fill project name and annotation, click “Create”.
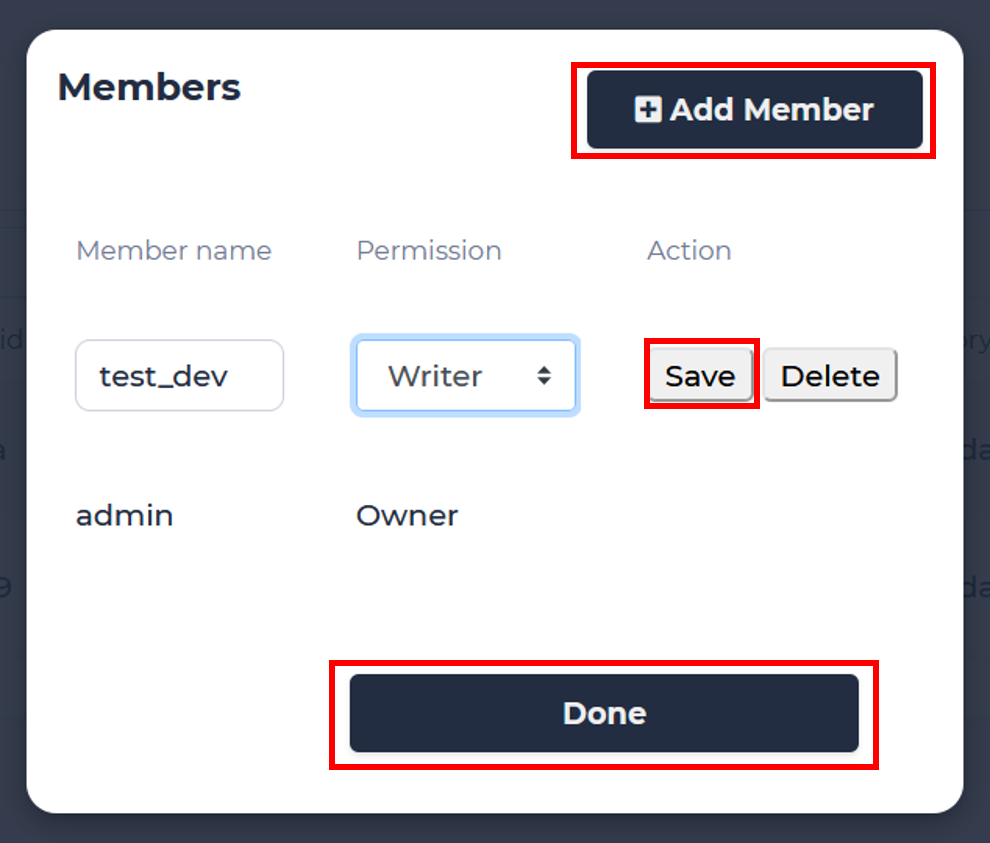
Members
To edit project members click “Members” button next to the project name.
To add user to the project click “Add member”, then type their name, select permissions and click “Save”, then click “Done”.
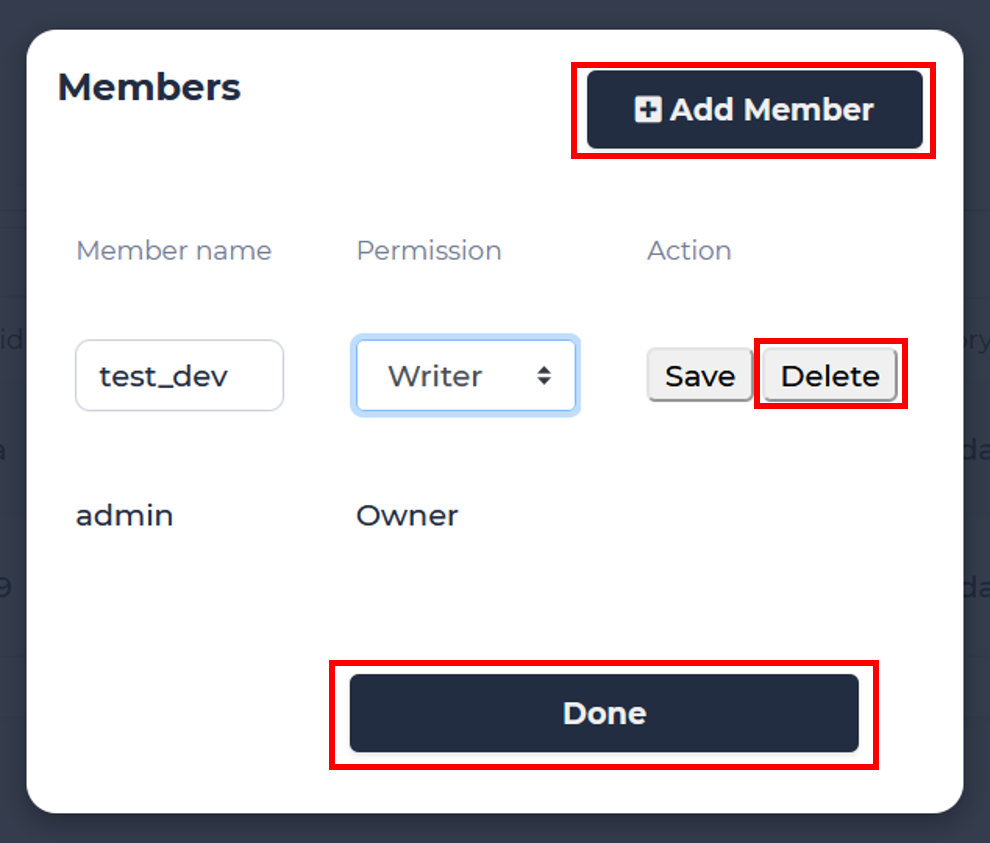
To delete user from project click “Delete” next to the username, then click “Done”.
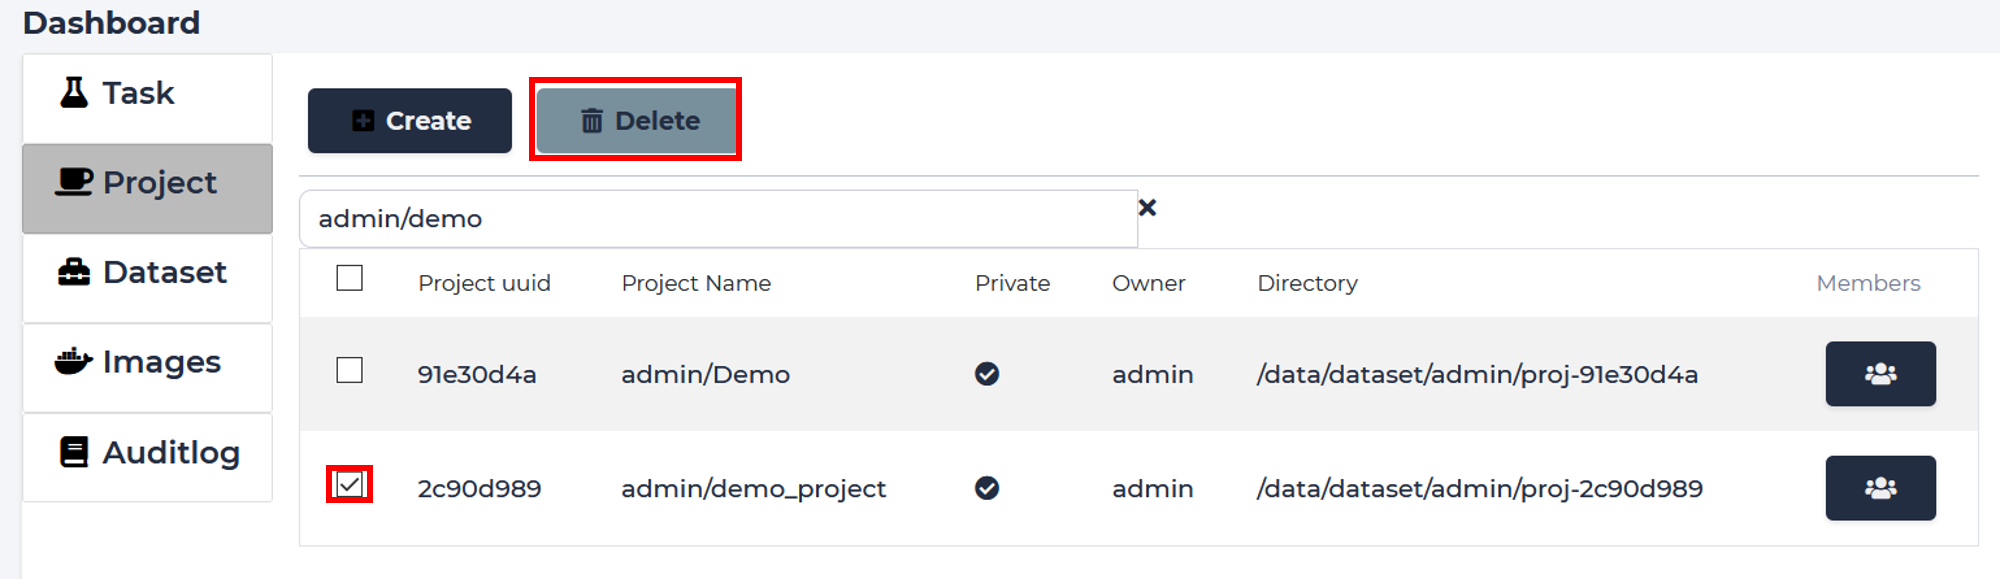
Delete
Select needed project and click “Delete” button. Confirm.
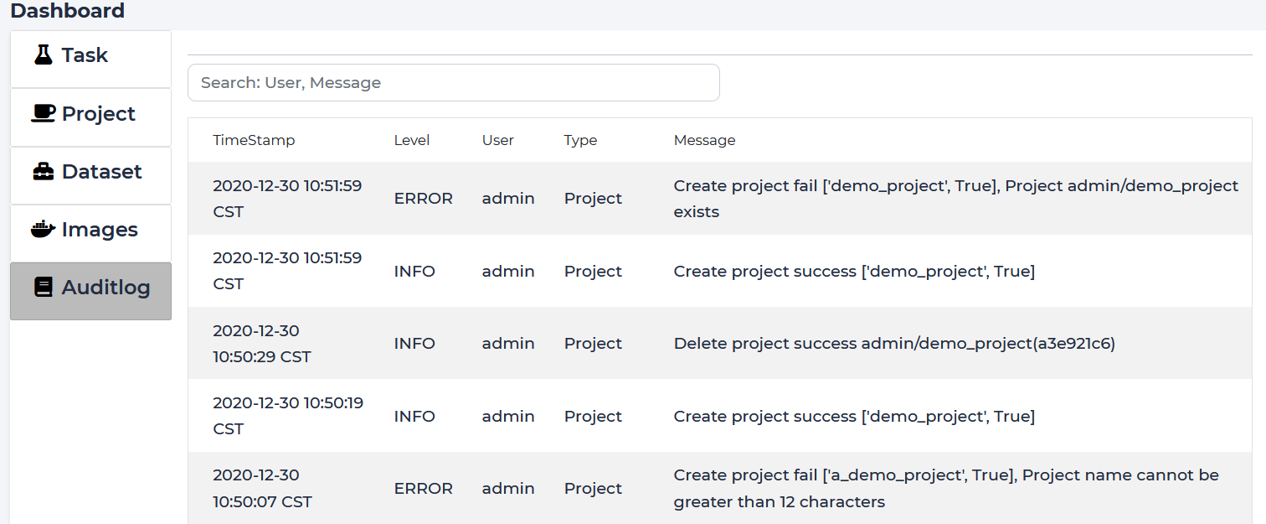
Auditlog
Log of system events in chronological order. Use “Search” box on top to look for specific events.
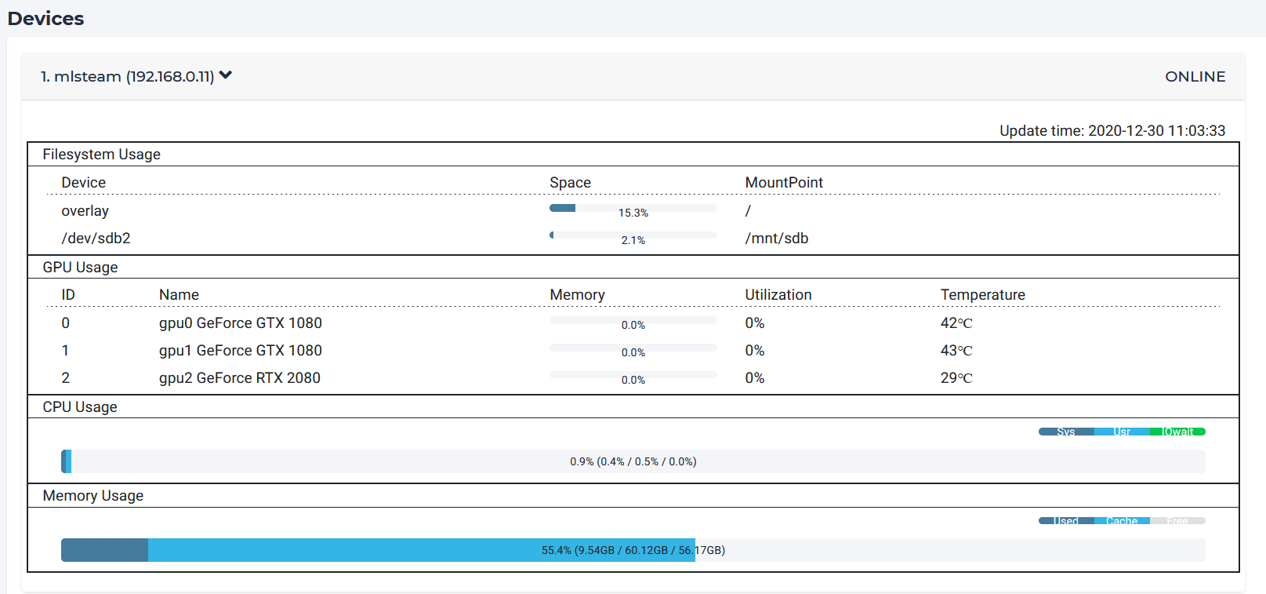
Device
Shows hardwave information of all hosts.
Setting
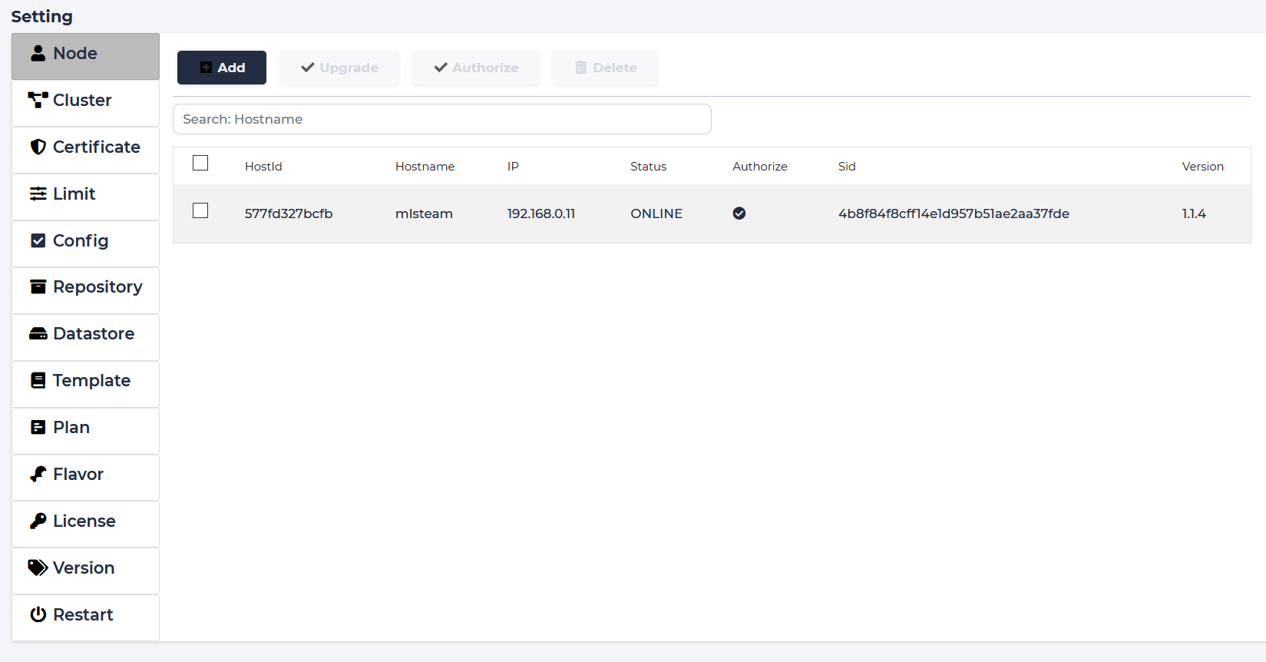
Host
Shows list of hosts in the system.
Create
To add a new node to the system, click “Add” and follow shown instructions. Download the host agent installer to the machine you want to use as a host and run it.
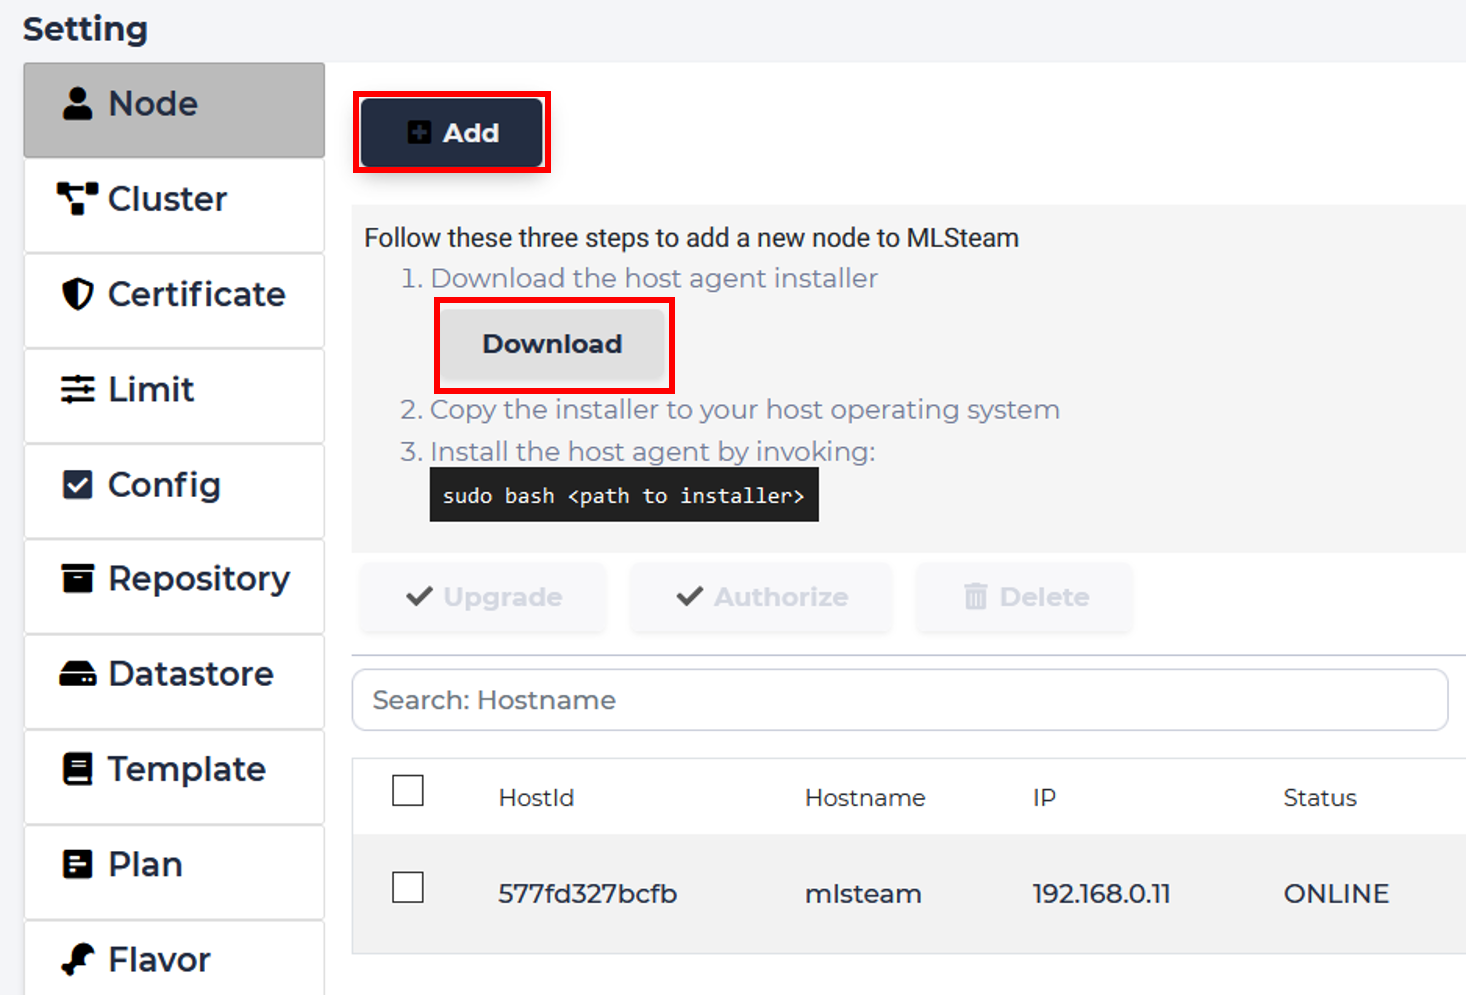
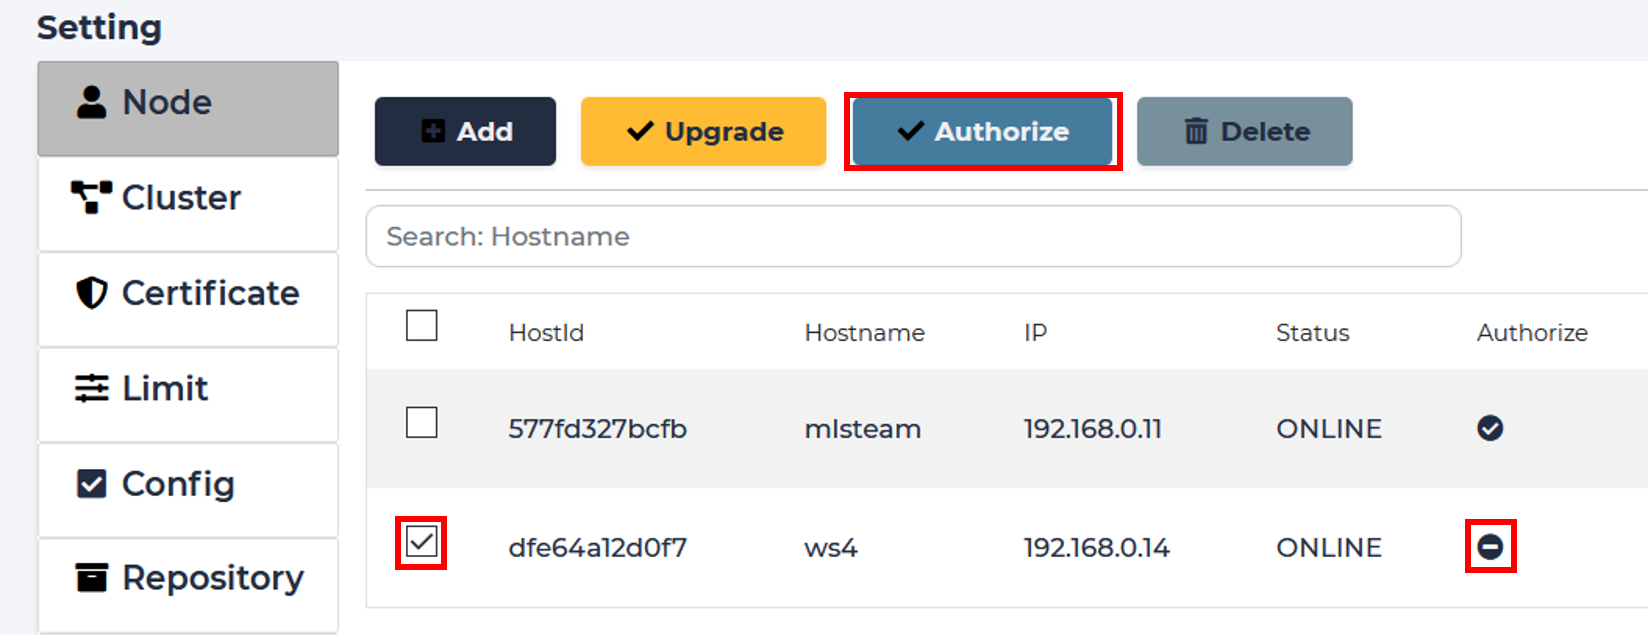
Authorize
After successfull creation of a new host node, you should see it in the host list. However, you need to authorize it first for full operation.
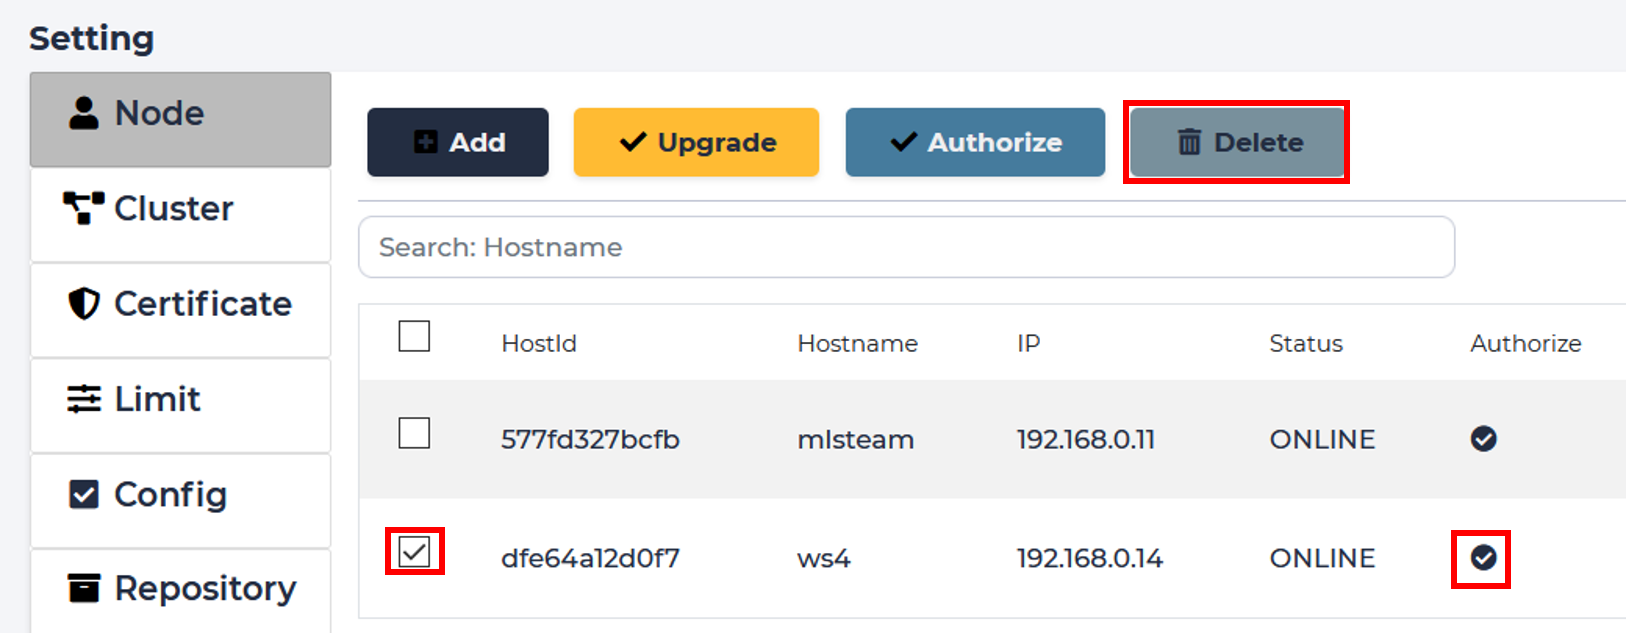
Delete
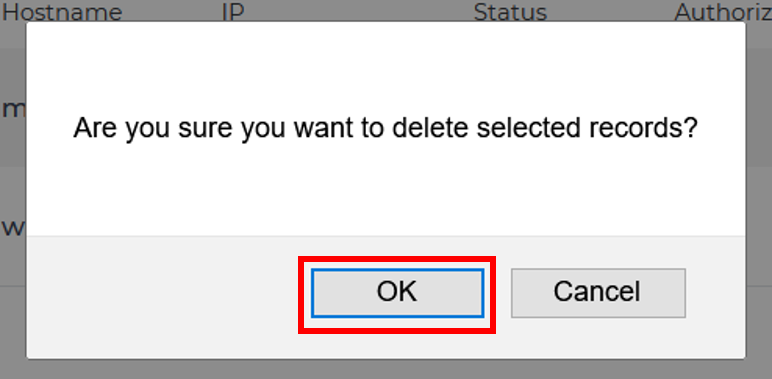
Select needed host and click “Delete” button. Confirm.
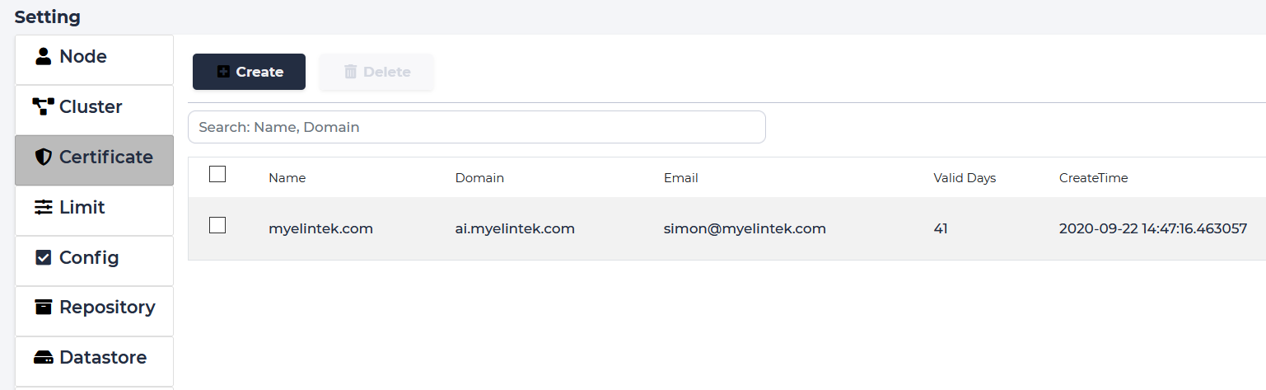
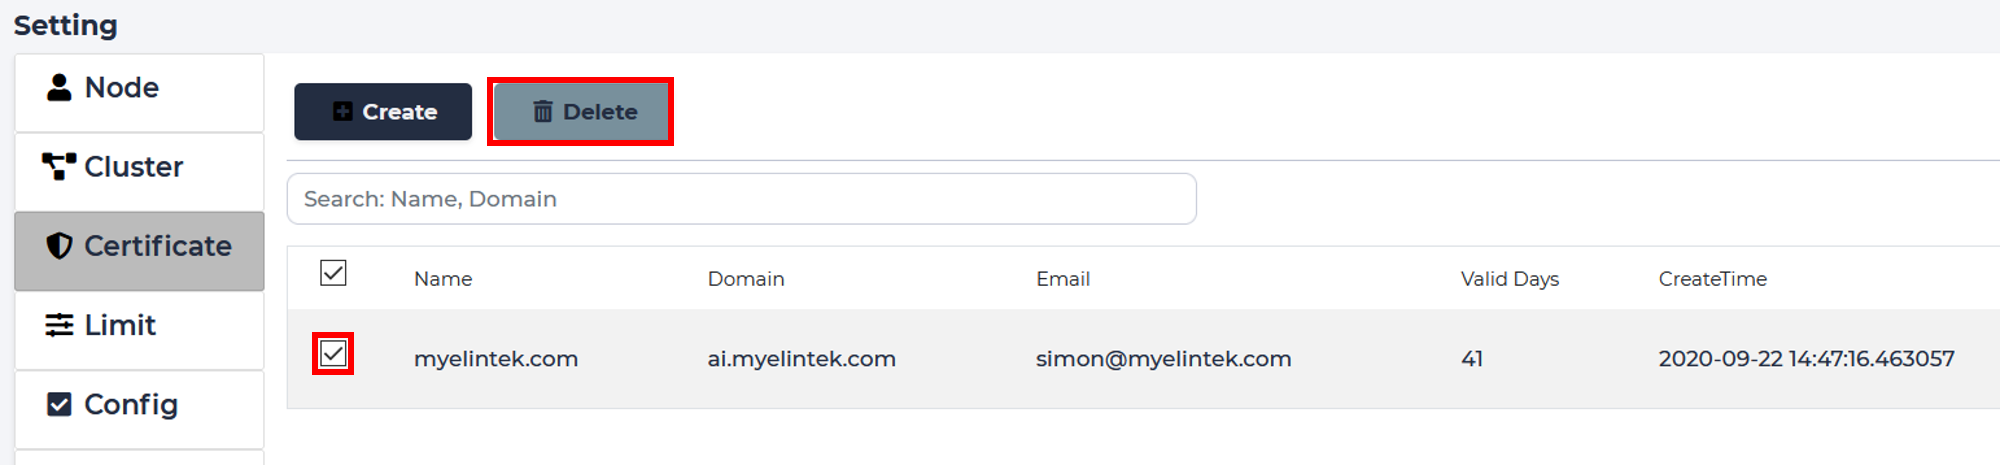
Certificate
Shows list of certificates in the system.
Create
Click create button.
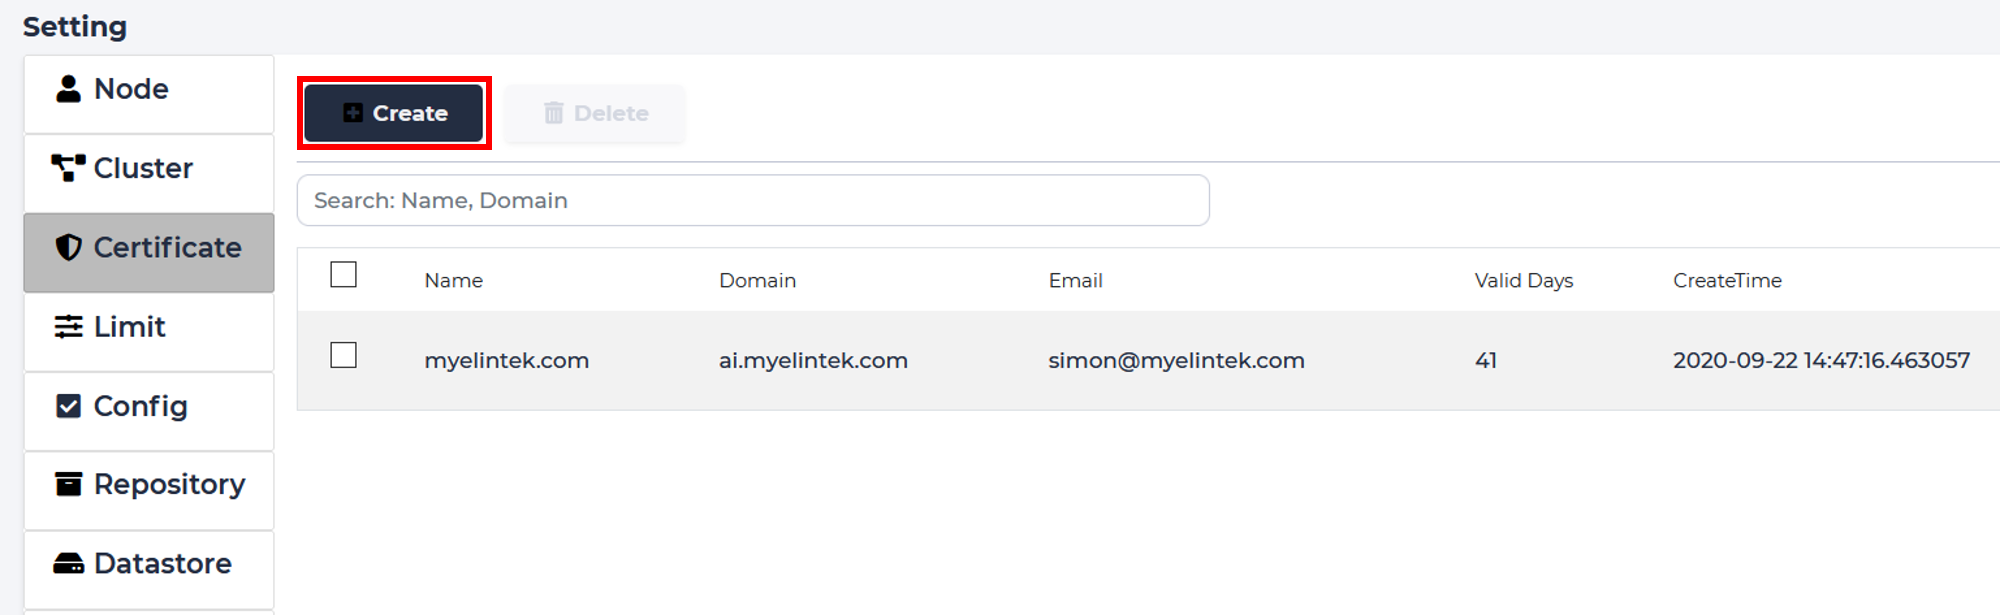
Input certificate name and doamin name, click “Test and Create”. (Optional, email)

Delete
Select needed host and click “Delete” button. Confirm.
Repository
Create
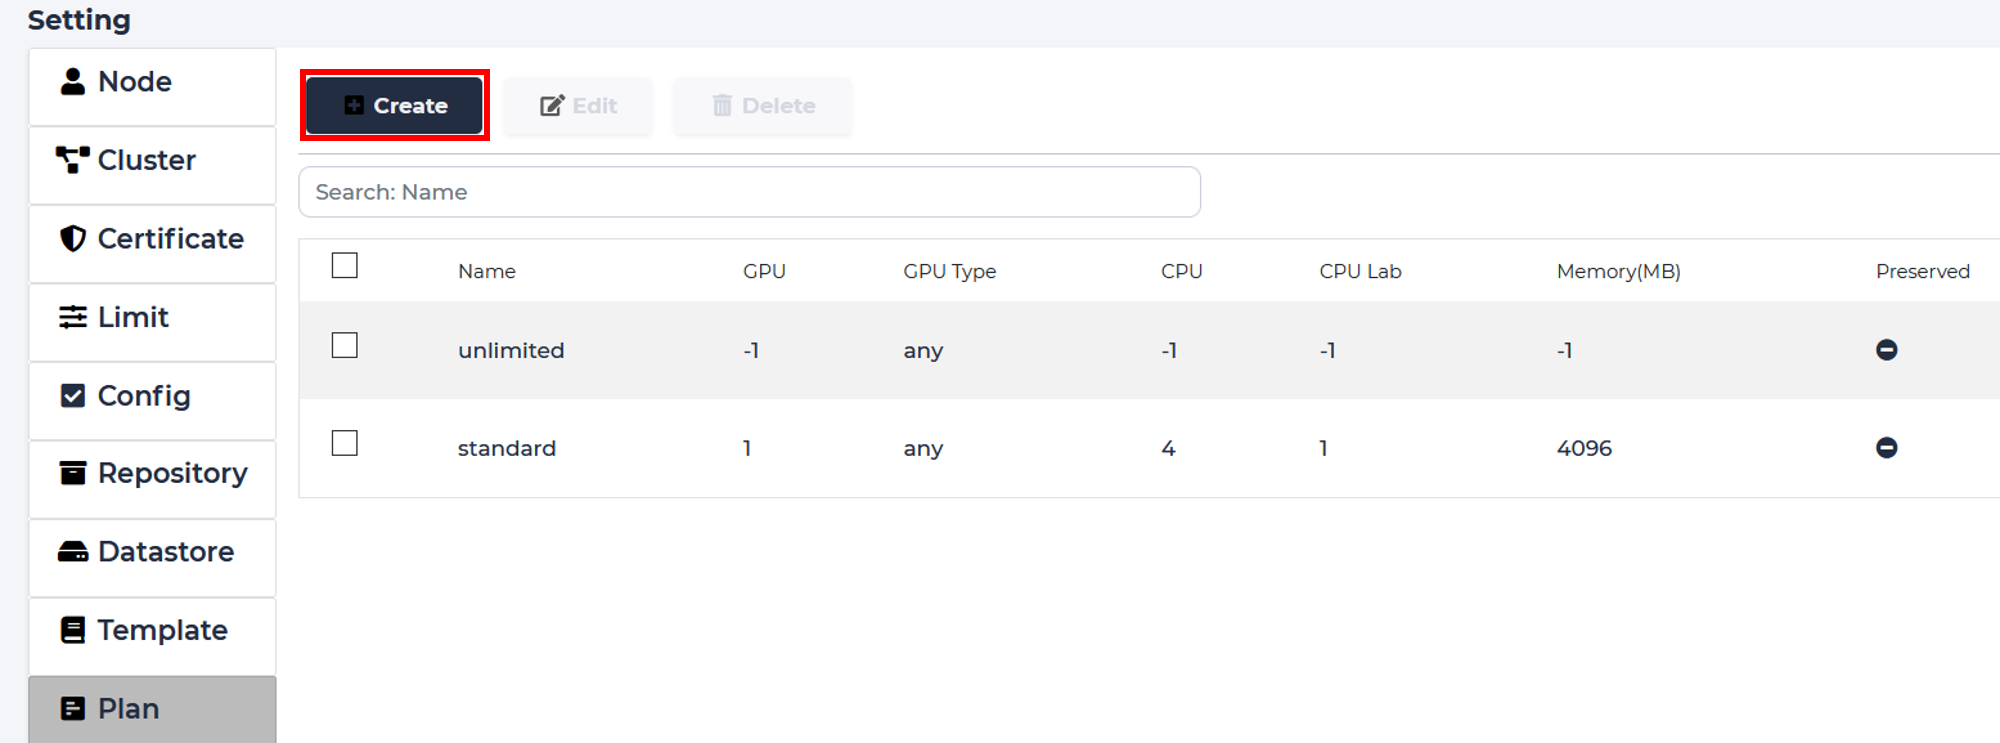
Plan
Setup different plans for different kinds of users
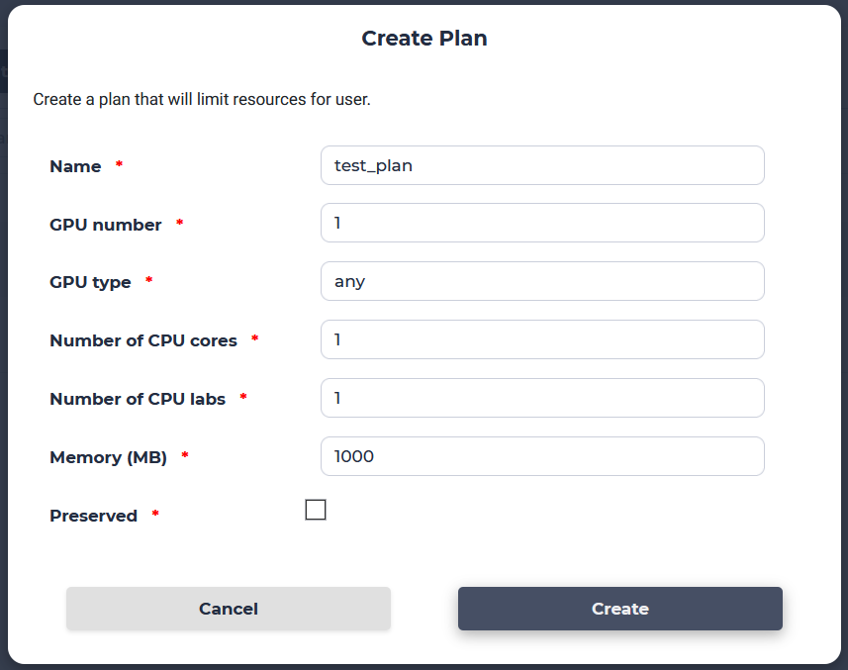
Create
Click “Create”
Come up with a name, GPU number, GPU type, number of CPU cores & labs, available memory, and whether your new plan is preserved.
Edit
To change preciously created plan you need to first select the plan you want to alter and click “Edit”.
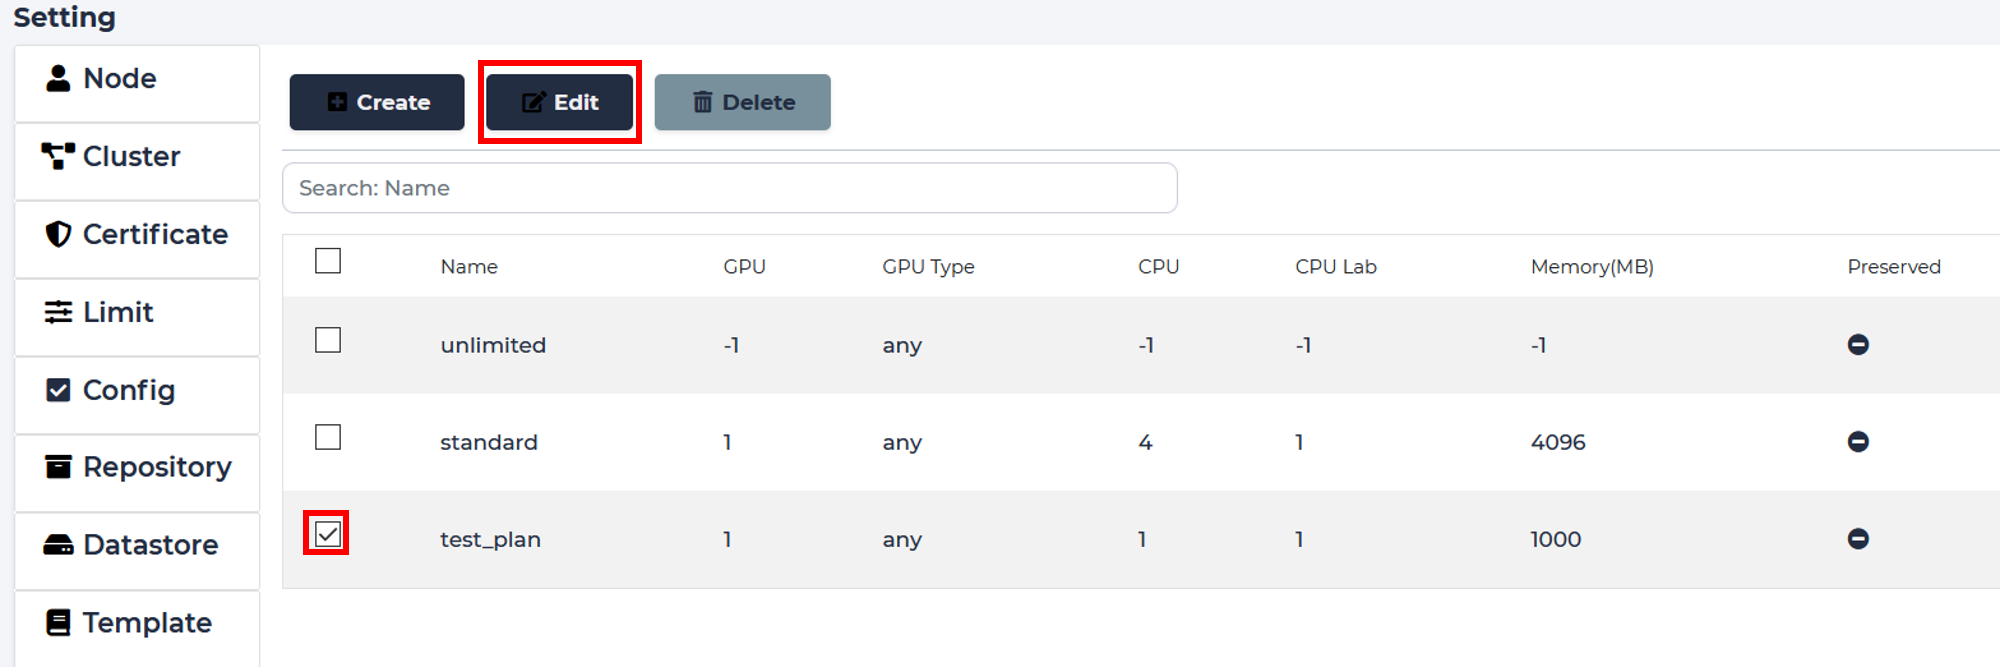
Choose what you want to change, we’ll adjust the number of GPUs available to subscribers of this plan.

Delete
To remove a plan, select it and click “Delete”
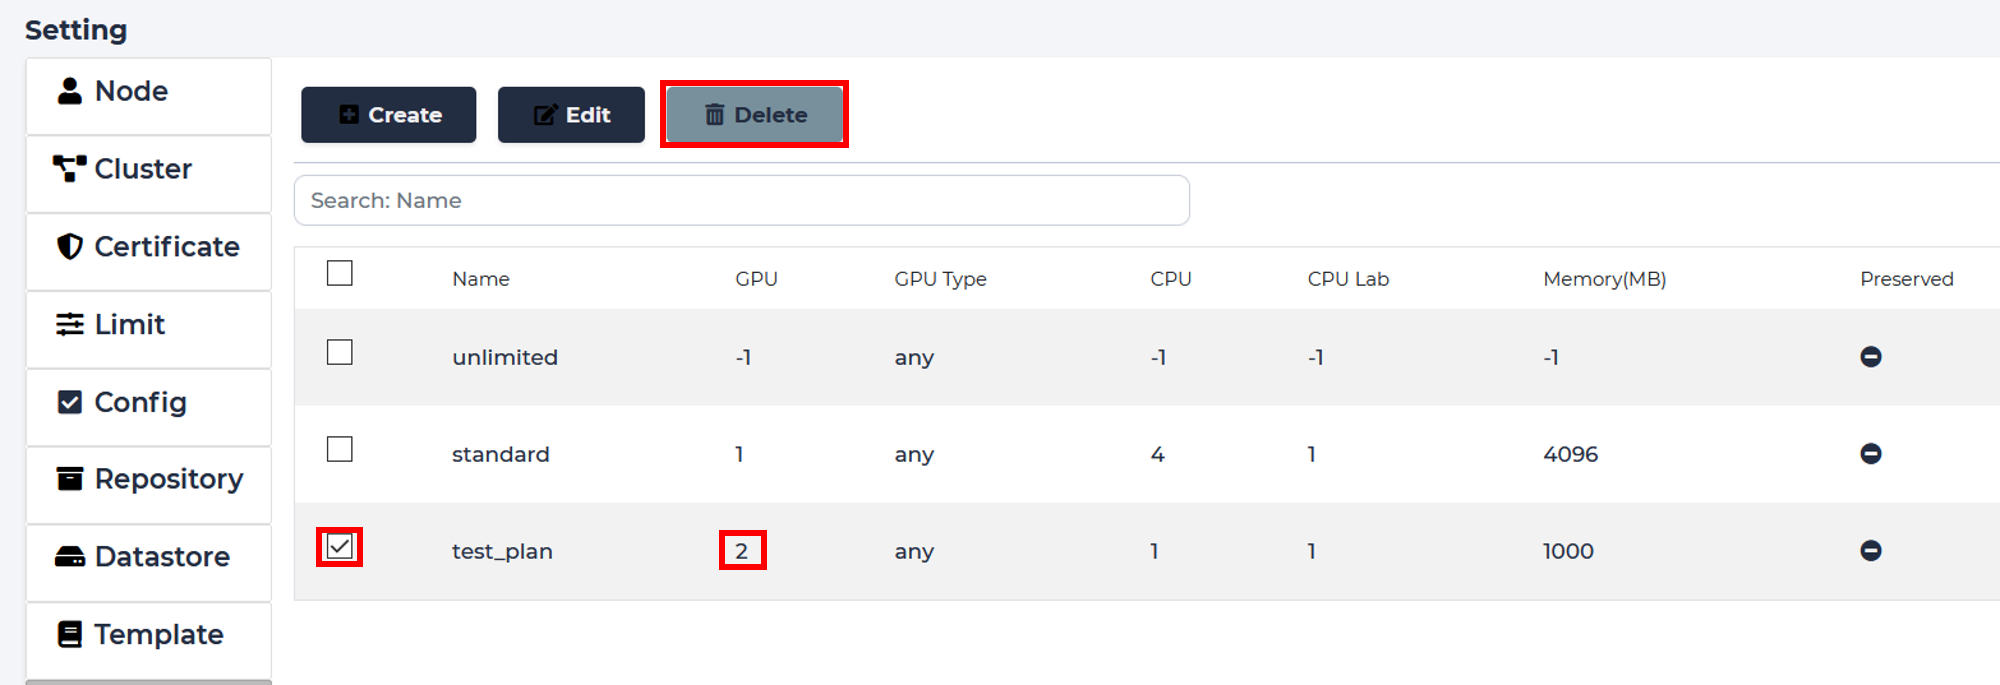
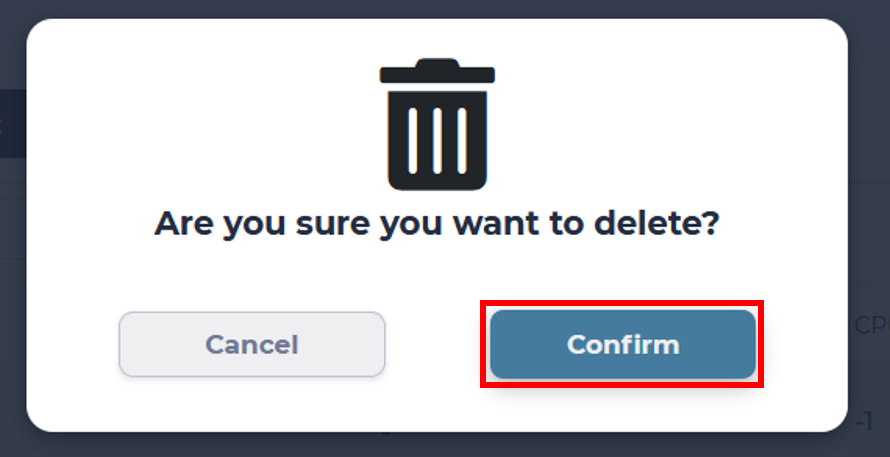
Confirm your choice and proceed.
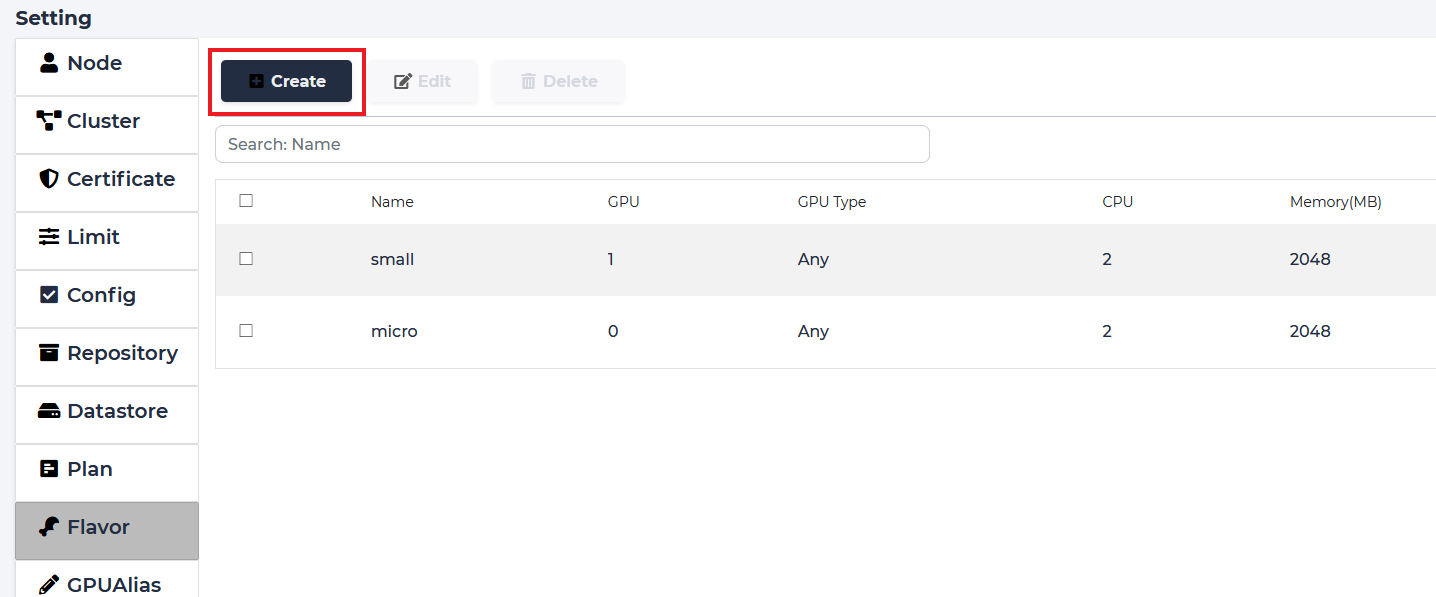
Flavor
Users can choose a flavor for their Labs/Jobs, which corresponds to designating hardware resources
Create
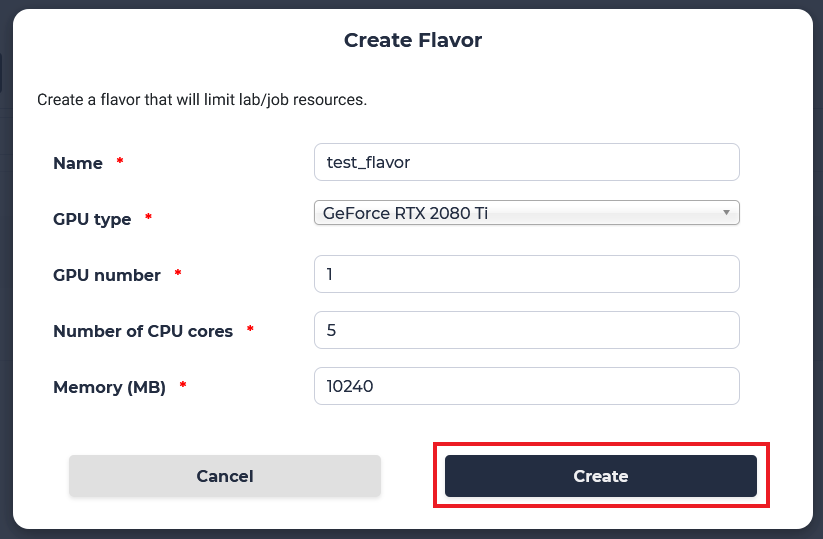
To add a new flavor, click “Create”
Similar to a plan, choose the name, number of GPUs, their type, number of CPU cores, and memory for your new flavor, then click “Create”.
Edit
To change preciously created flavor you need to first select the flavor you want to alter and click “Edit”.
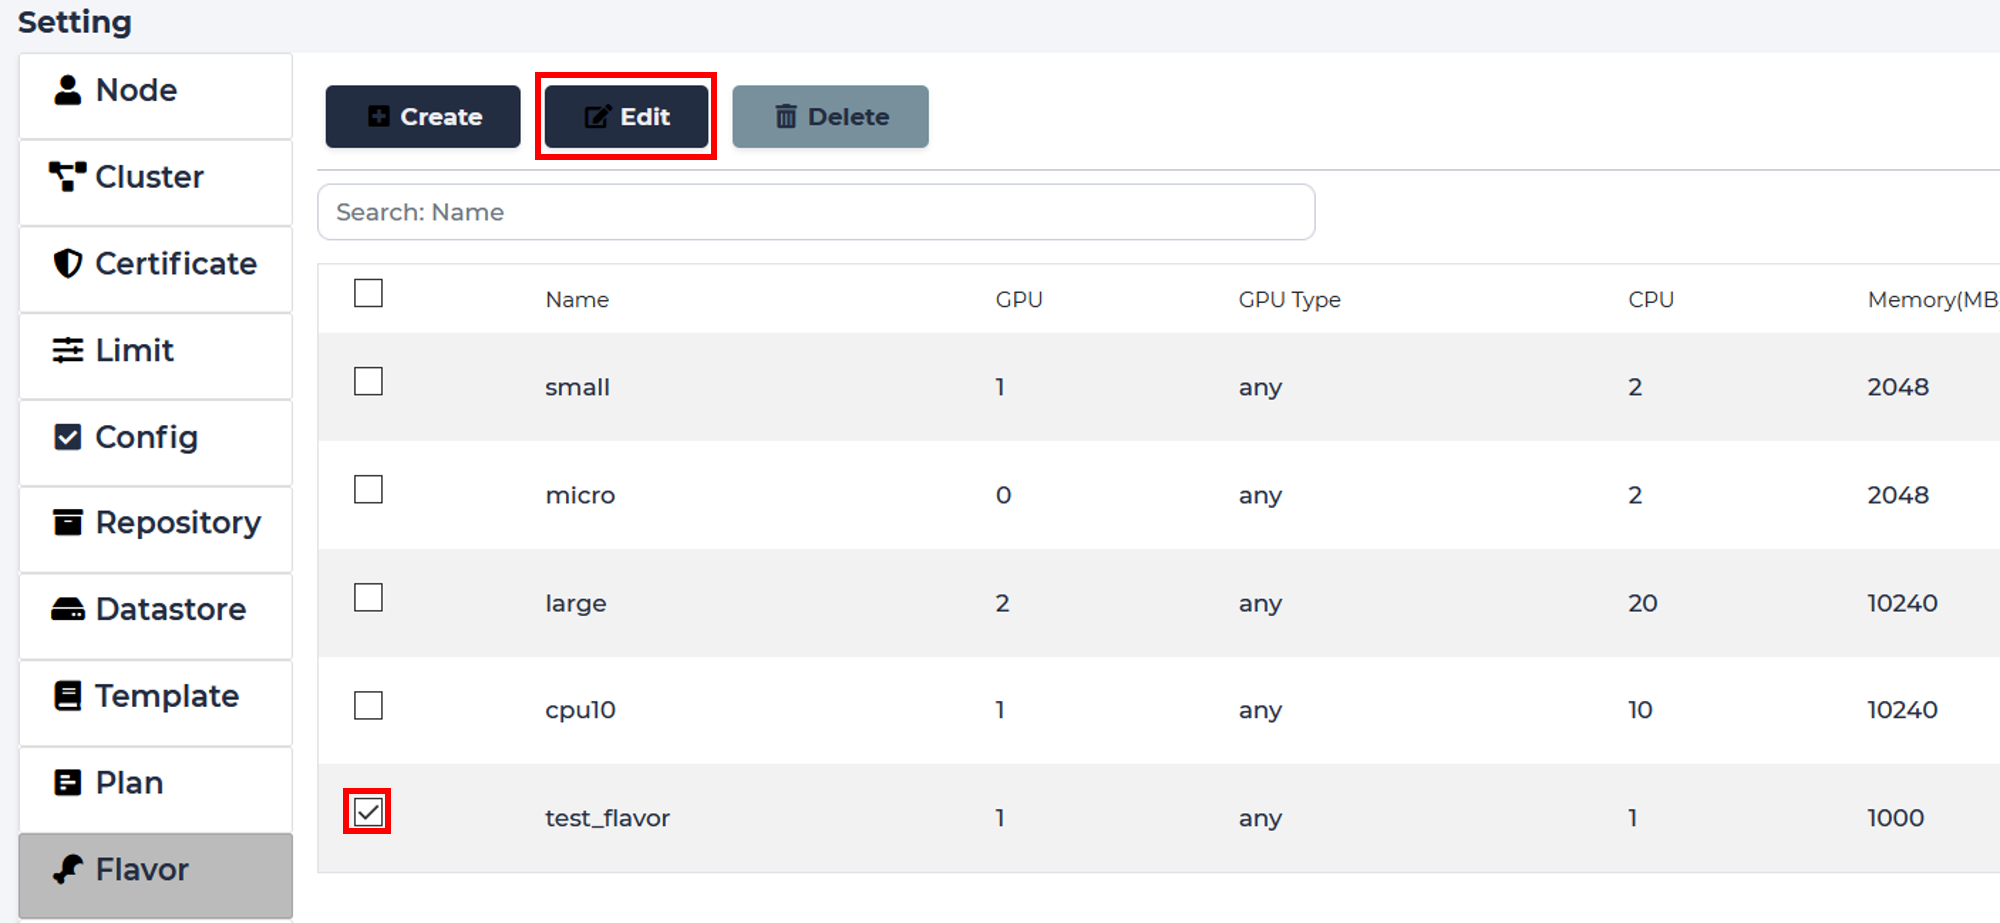
Choose what you want to change, we’ll adjust the number of GPUs available to in this flavor.

Delete
To remove a flavor, select it and click “Delete”
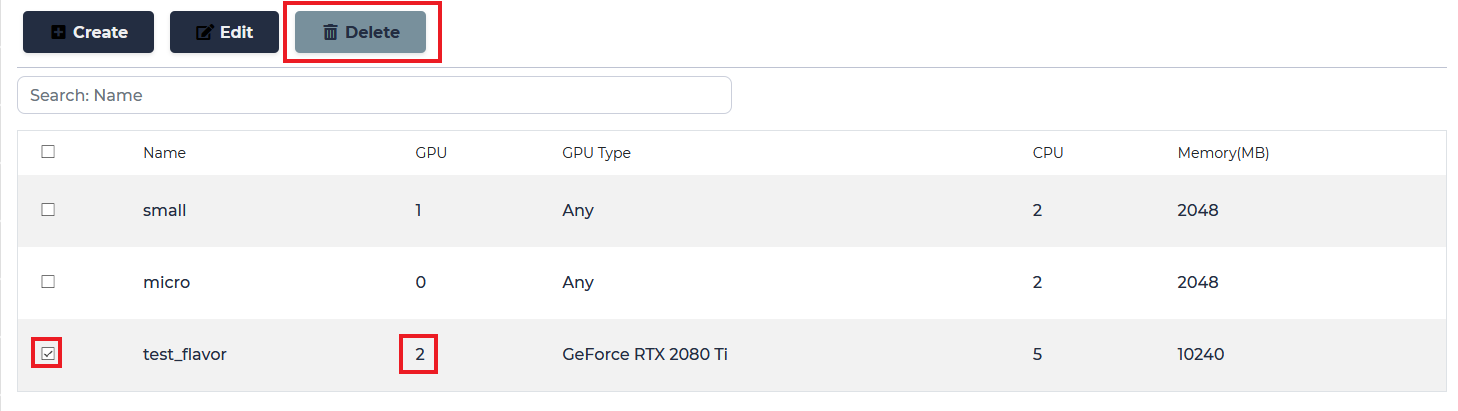
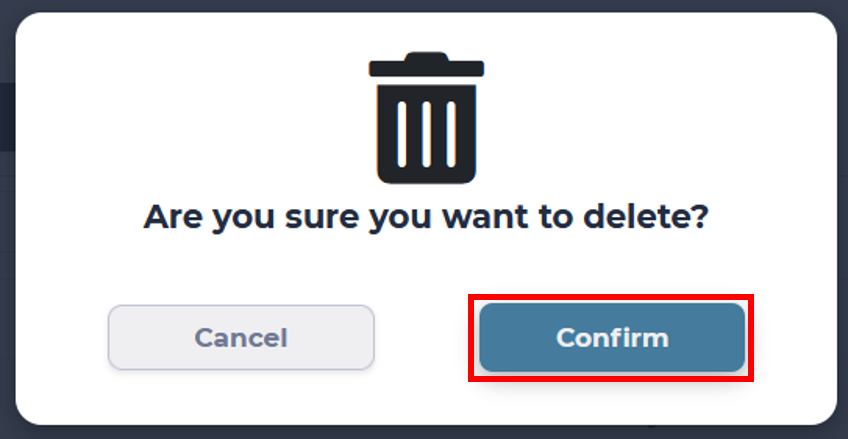
Confirm your choice and proceed.
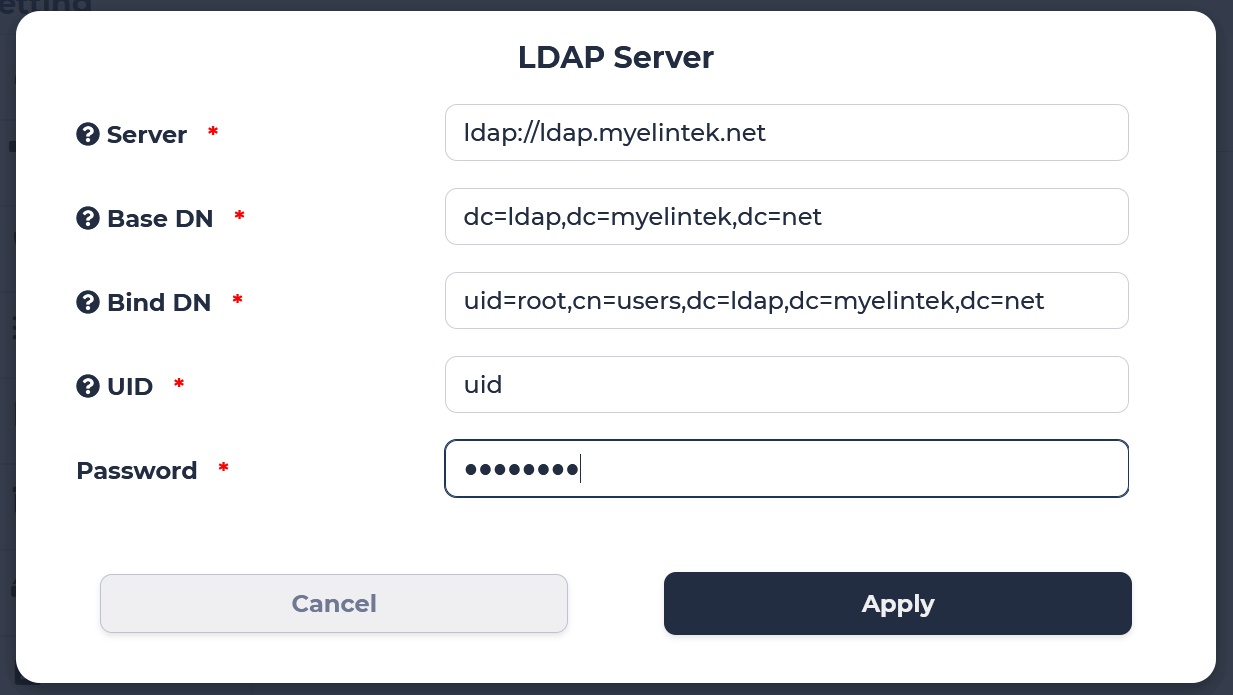
LDAP
To enable LDAP authentification go to LDAP tab. Press “Create” to create new configuration.

Fill all the fields according to your LDAP server settings, then press apply. Default ports are 389 for ldap or 636 for ldaps.
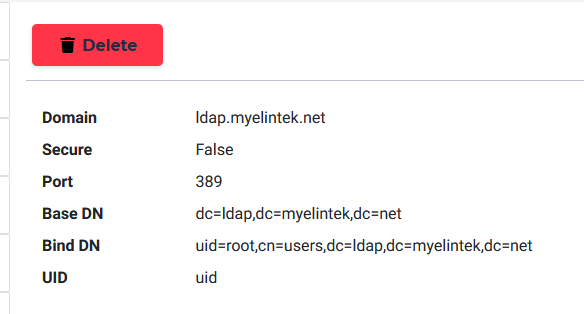
If the operation is successfull you will see ldap info. To delete ldap press “Delete” button.
Webhook
Webhook is designed to help calculate system usage data. Webhook is triggered at the next events: lab stop/start/restart/delete, job start/stop/delete. Webhook sends POST request to the specified url containing data in the next format:
{
  'username': 'admin',
  'timestamp': '2021-02-01 06:54:11.375141',
  'action': 'lab_start',
  'uuid': 'u52ca065',
  'flavor': "{
                'id': 2,
                'name': 'micro',
                'cpu': 2,
                'gpu': 0,
                'gpu_type': 'Any',
                'memory': 2048,
                'cpu_lab': True,
                'info': '(vCPUs: 2, RAM: 2GB, GPU: 0)'
              }"
}
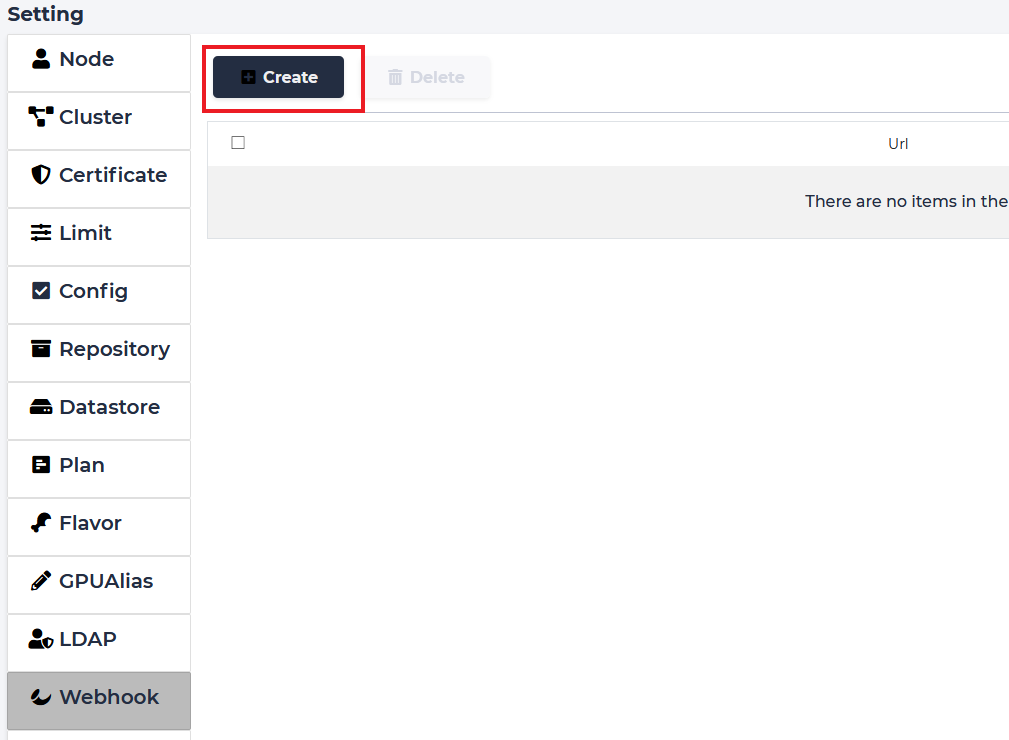
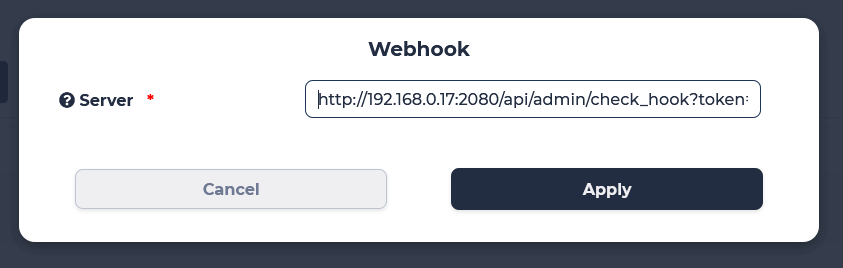
To create webhook go to Settings Webhook page and press “Create”.
Enter desired url, include token if needed, press “Apply”.
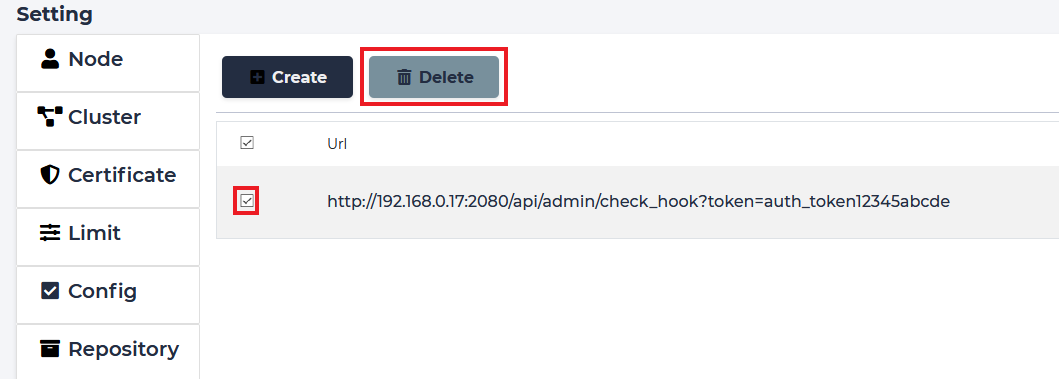
To delete webhook sellect checkbox and press “Delete”. Than confirm action.
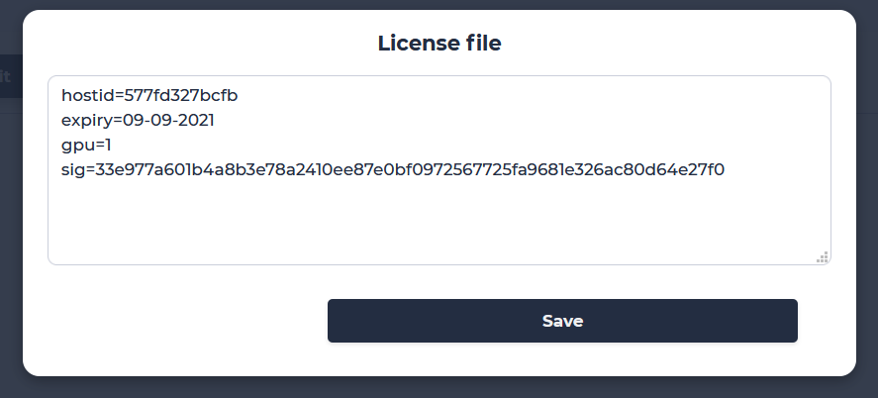
License
Edit
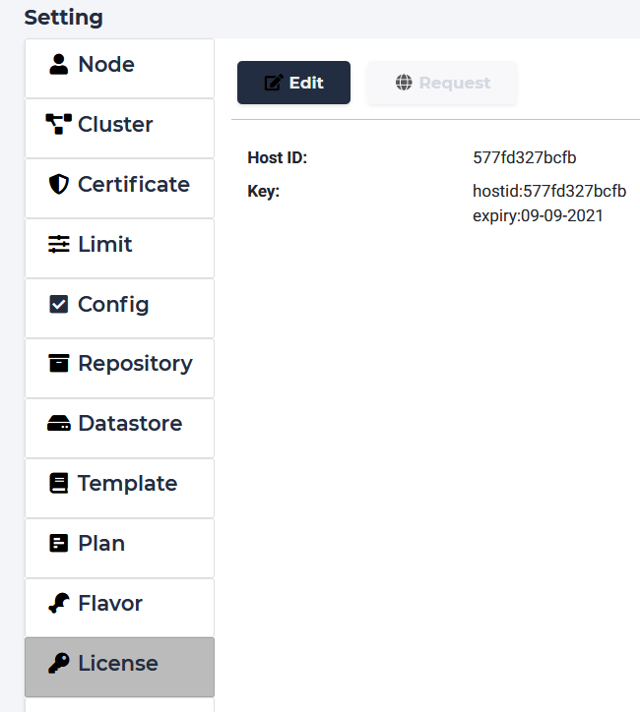
Shows current license file.
If license needs to be updated click “Edit” to input new license file.
Input license text in the field and click “Save”.