VSCode
Step by step tutorial to setup VSCode for connecting to a lab
Install VSCode
Download VSCode according to your operating system from code.visualstudio.com
downloaded and install VSCode.
Install extenstions in VSCode
Open VSCode, search and install extension of remote SSH

install remote ssh extension
SSH key and SSH config
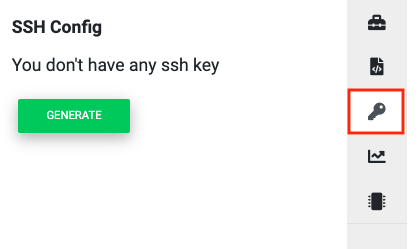
Open a lab you want to access. Make sure the lab is in running state, click SSH tab at right navbar and generate SSH conifg.
You will see the following content and click the ssh key to download to your PC.
download SSH key
Note
In Linux, you need to change the sshkey file to 600 mode.
ex. chmod 600 u0f2fc5d_sshkey
Copy the ssh config by clicking copy icon at top-right of the config
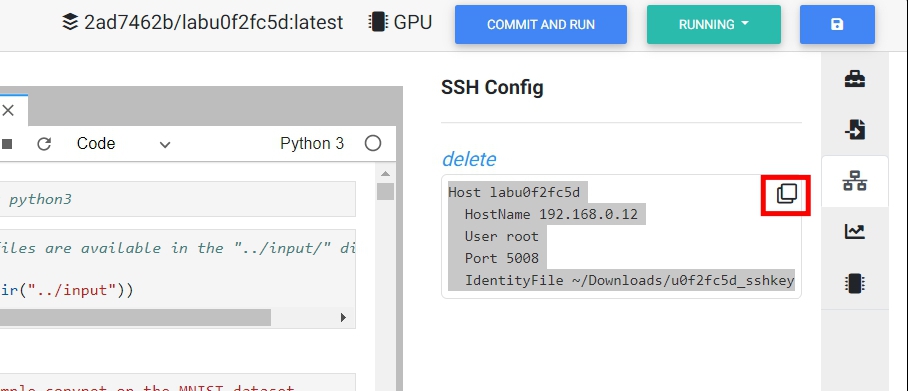
copy SSH config
Note
Windows10 accepts both / and as path separator
Paste ssh config in VSCode
Open remote explorer in VSCode. Click configure in ssh targets.
Paste the copied ssh config to ssh config in VSCode. Save the config file and the new created host will shown on the SSH TARGETS section.

Connect to remote lab
Click created ssh target to connect to remote lab
Note
if there is an error while connecting, try to remove know_hosts file in .ssh folder
Open remote folder
Congradulation! You have successfully connected to a lab. You can open a remote folder in the Explorer at left side of VSCode.
Console in VSCode
You can also open a console in VSCode by dragging up from buttom of the window.
Visit VSCode website to find out more extensions!