Quick Start: Machine Learning Lab
This tutorial will show you how to:
Start a machine learning lab for YOLOv5 object detection.
Train the model and monitor the resource consumption.
Visualize the model training results.
Preparation
Make sure there is a project for you to run a lab. Otherwise, create a new project:
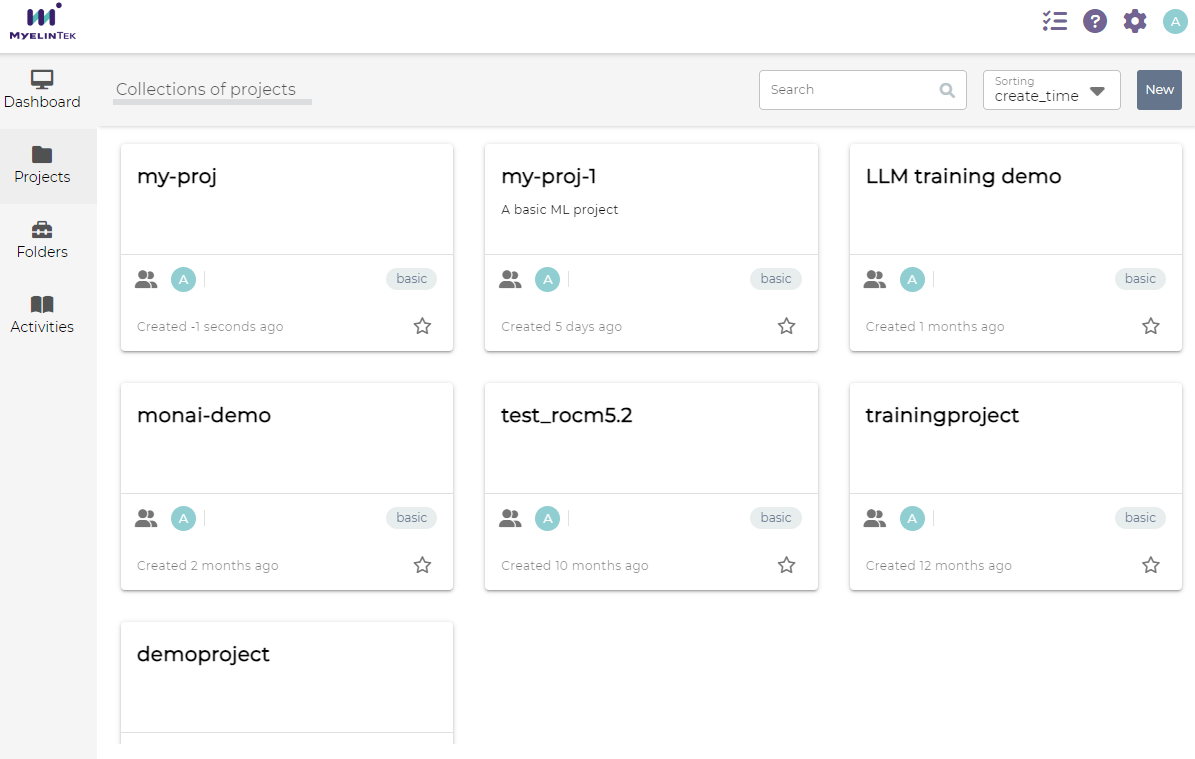
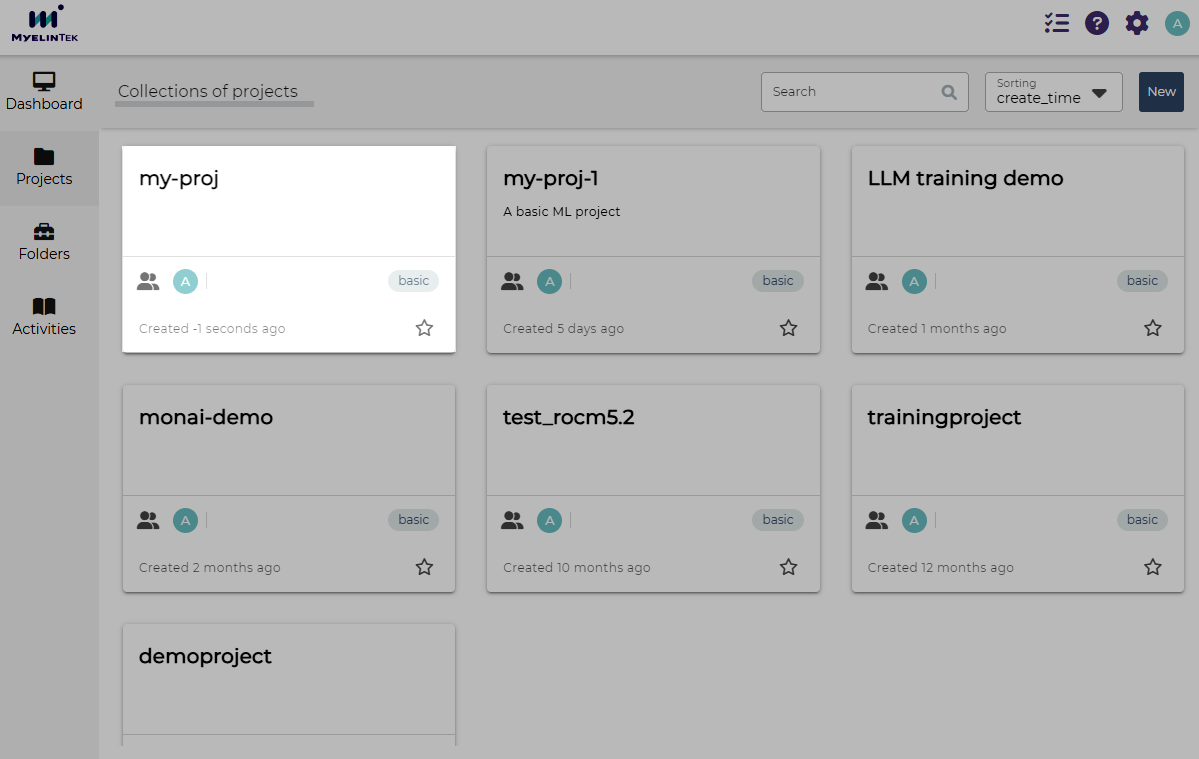
Go to the projects page by clicking on the Projects item in the left menu.
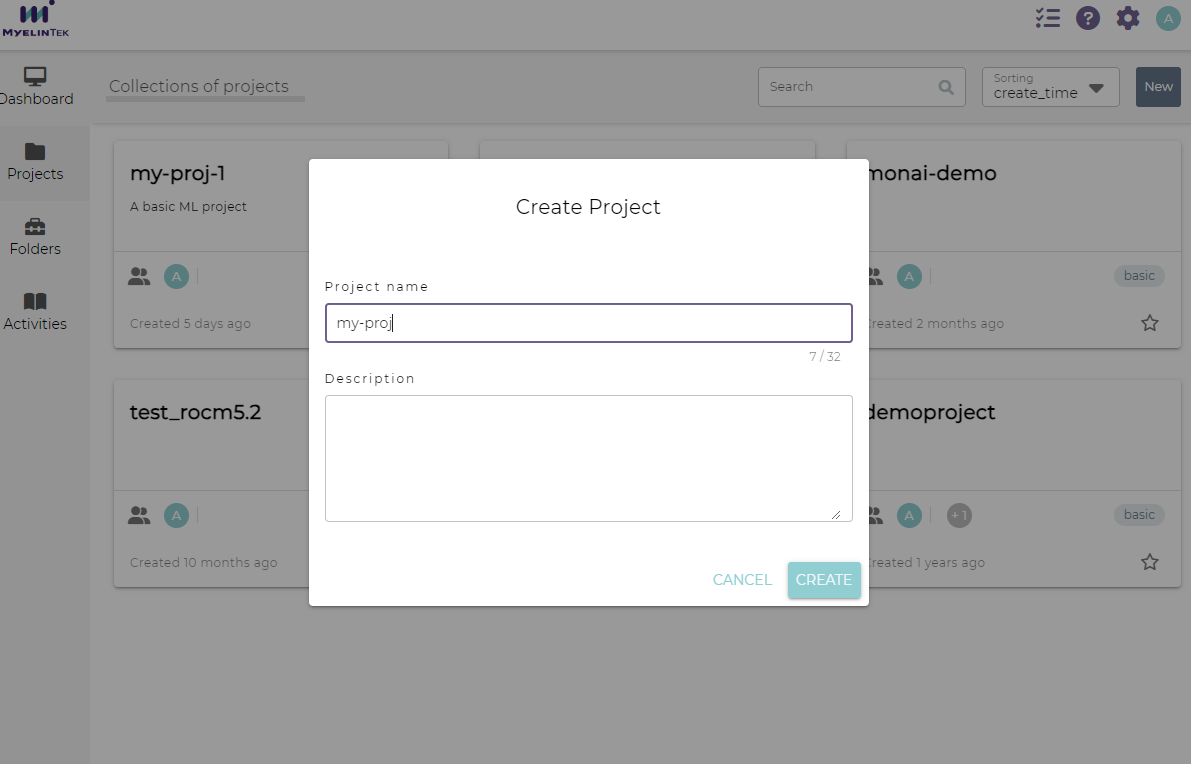
Click on the NEW button.

In the new project dialog, input the project name as
my-proj.Click on the CREATE button.
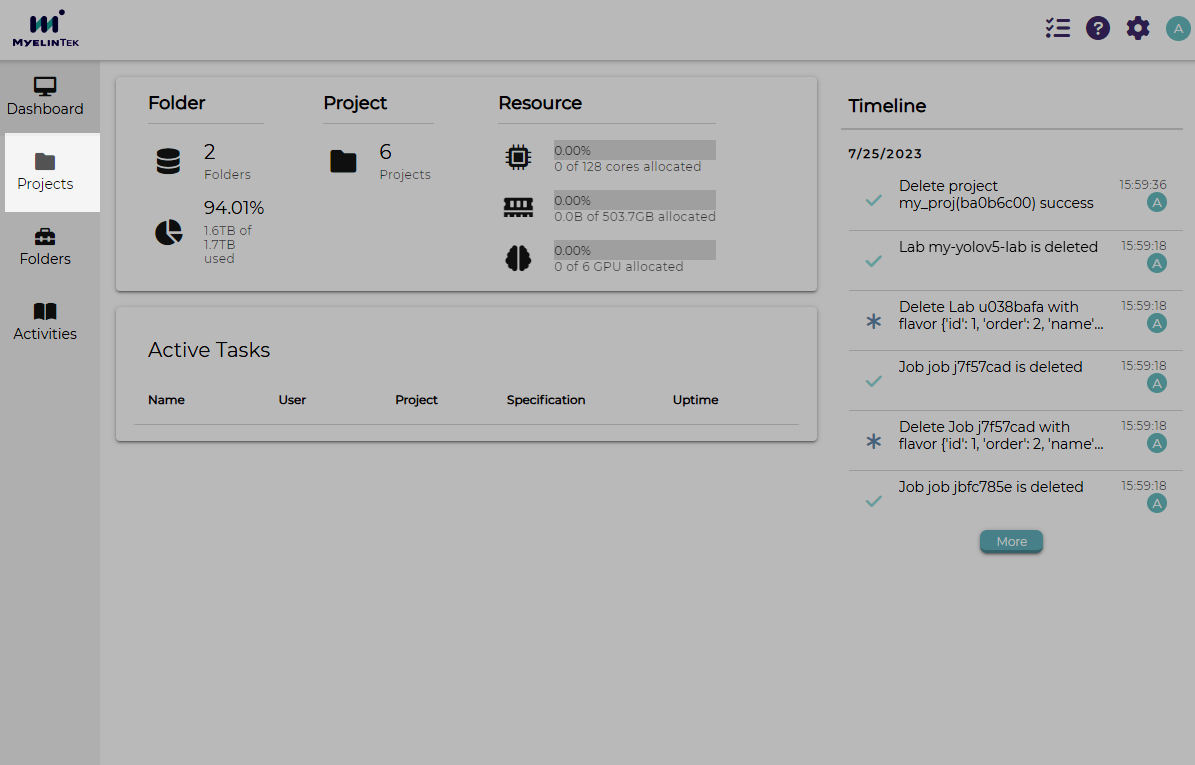
The new project will be displayed.
Create a YOLOv5 Lab
We will start a lab to train a YOLOv5 ML model. MLSteam has built-in image object detection models for YOLO, which saves lots of efforts. Simply create a lab from template.
Go to the project page by clicking on the project card.
Click on the Lab item in the left menu.
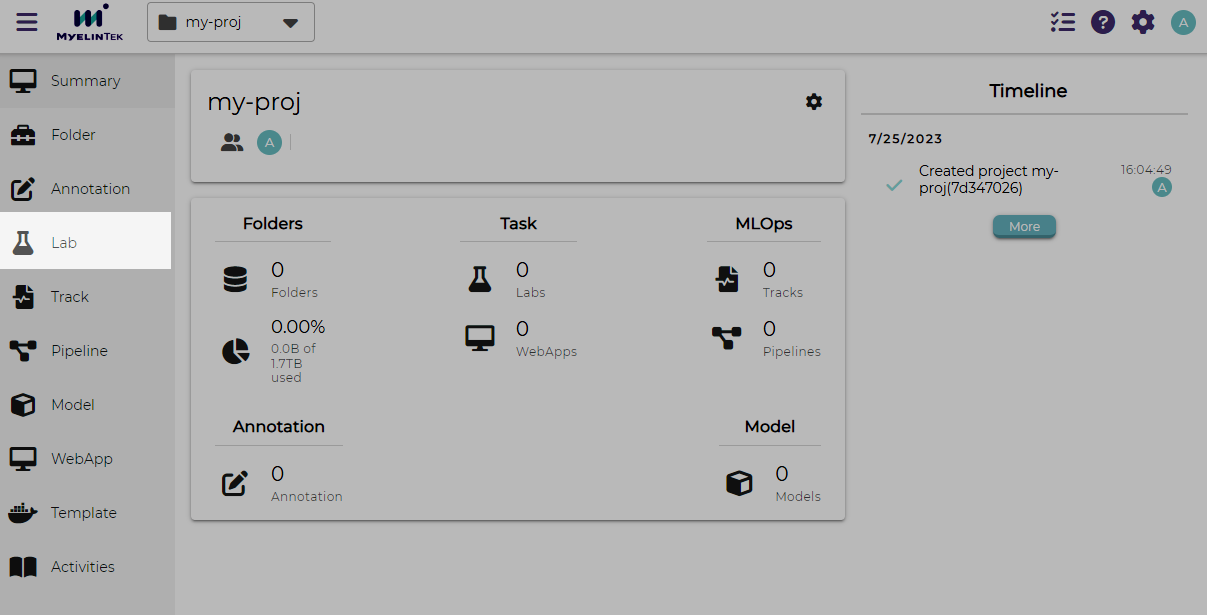
Click on the NEW button.
Click on the YOLOv5 Trainer template.
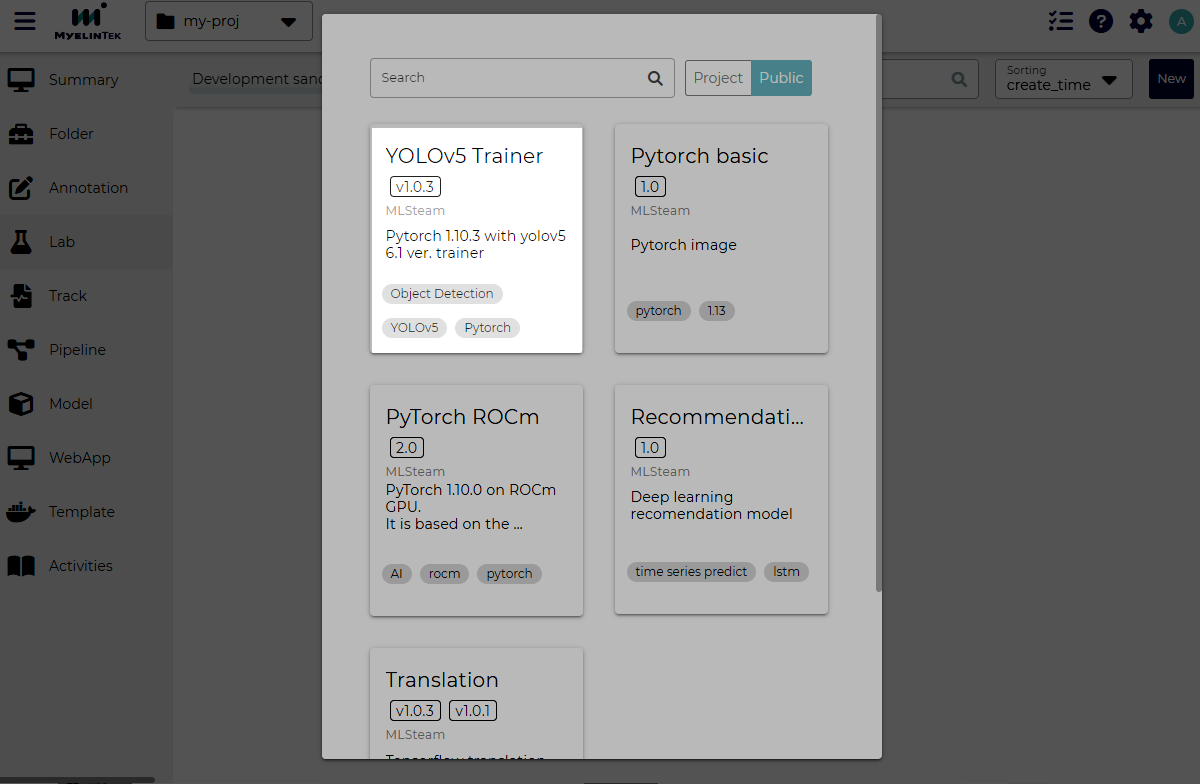
In the new lab dialog, input the following fields:
name:
my-yolov5-labflavor:
small
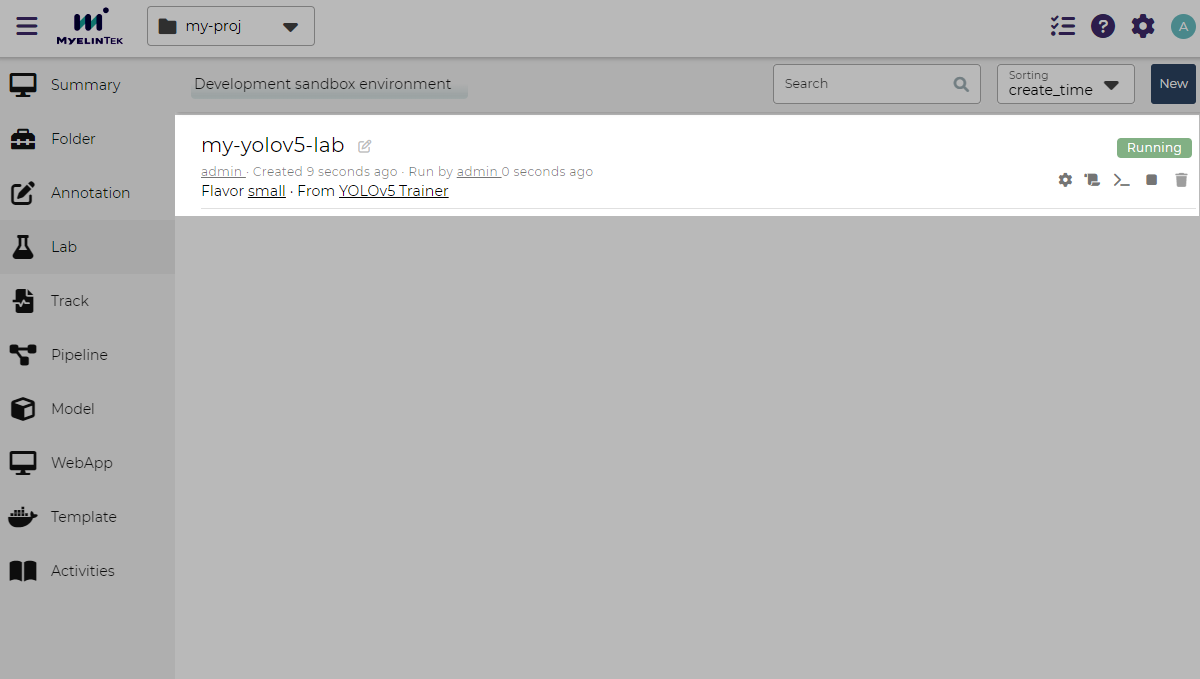
Click on the CREATE button.

The newly created lab is now displayed with status running.
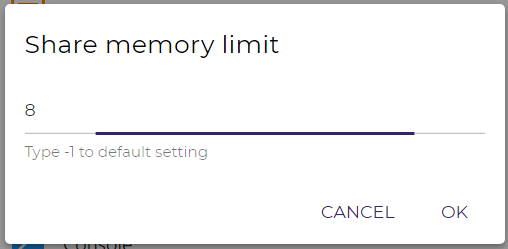
Before training the model, we need to enlarge the shared memory size to 8 GB for the lab:
Go to the lab page by clicking on the JupyterLab icon. The lab interactive environment will be opened.

Click on the settings button.
Expand the Configuration section in the side bar and set
8in the Shared Memory field.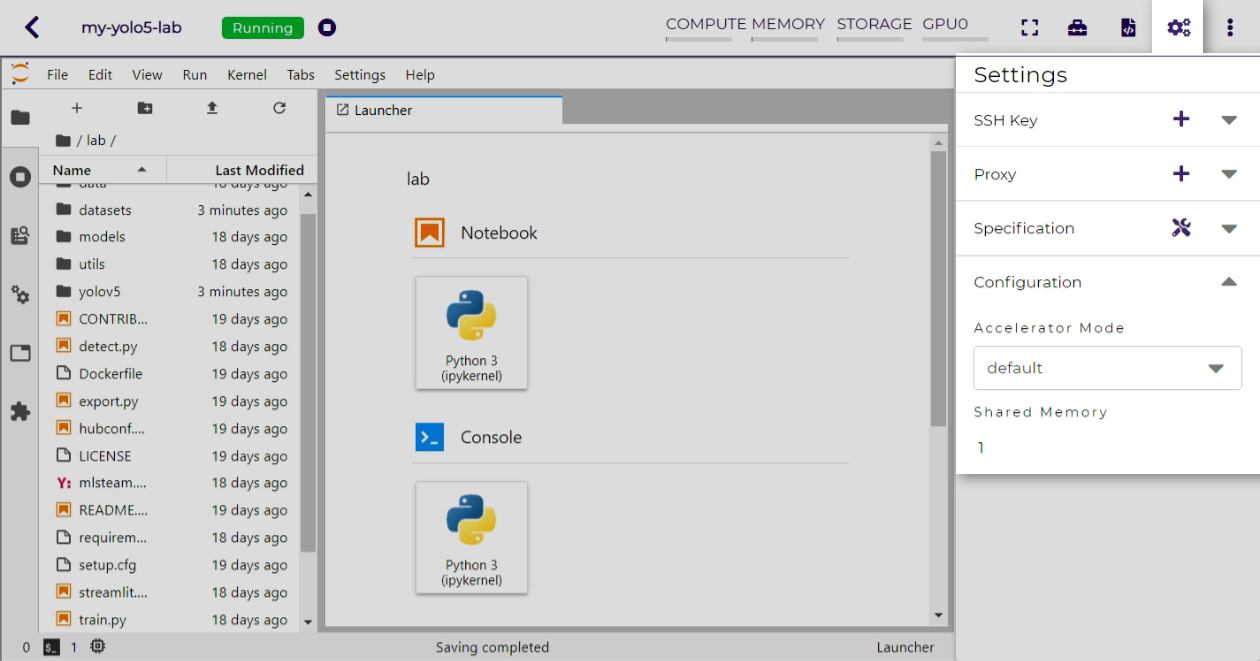
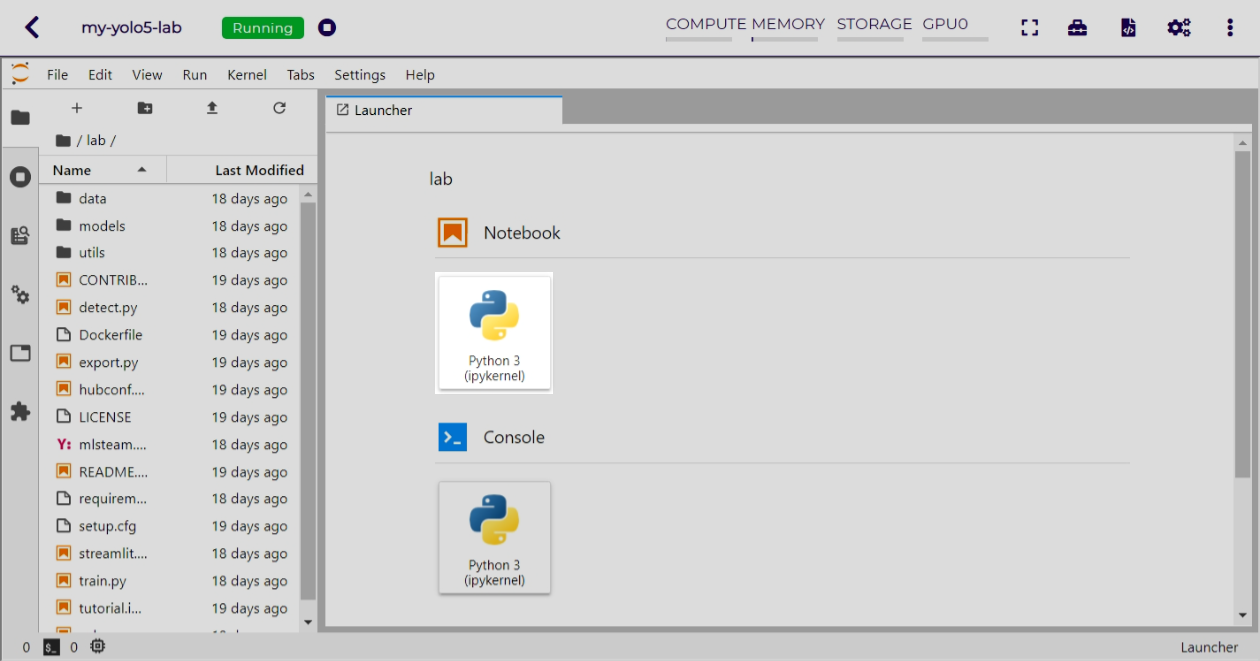
The lab will be restarted with the new setting.
Train the Model
We will then train the model in the lab by creating a Python notebook.
Create the model training notebook by clicking on the Python 3 (ipkernel) launcher under the Notebook section.
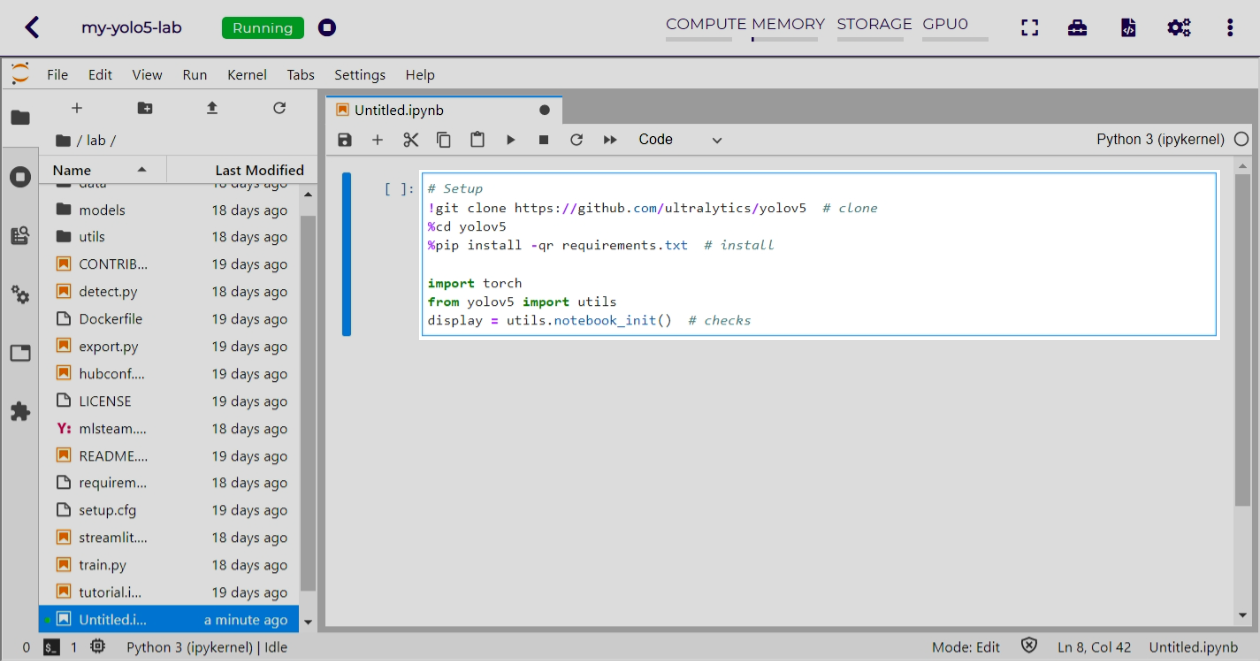
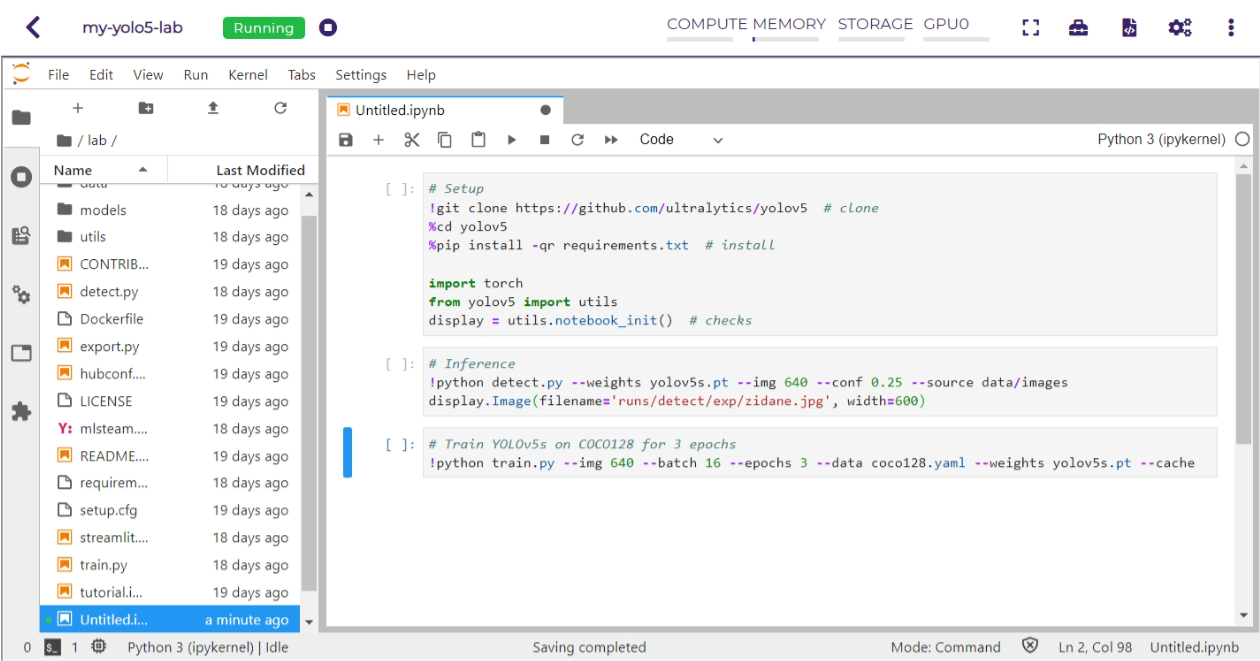
Copy the lines below into the first cell in the notebook.
# Setup
!git clone https://github.com/ultralytics/yolov5  # clone
%cd yolov5
%pip install -qr requirements.txt  # install

import torch
from yolov5 import utils
display = utils.notebook_init()  # checks
Click on the insert button to insert a second cell.

Copy the lines below into the second cell.
# Inference
!python detect.py --weights yolov5s.pt --img 640 --conf 0.25 --source data/images
display.Image(filename='runs/detect/exp/zidane.jpg', width=600)
Insert the third cell. Copy the lines below into this cell.
# Train YOLOv5s on COCO128 for 3 epochs
!python train.py --img 640 --batch 16 --epochs 3 --data coco128.yaml --weights yolov5s.pt --cache
The notebook should now look like this:
Train the model by clicking on the menu item: Run → Restart Kernel and Run All Cells.
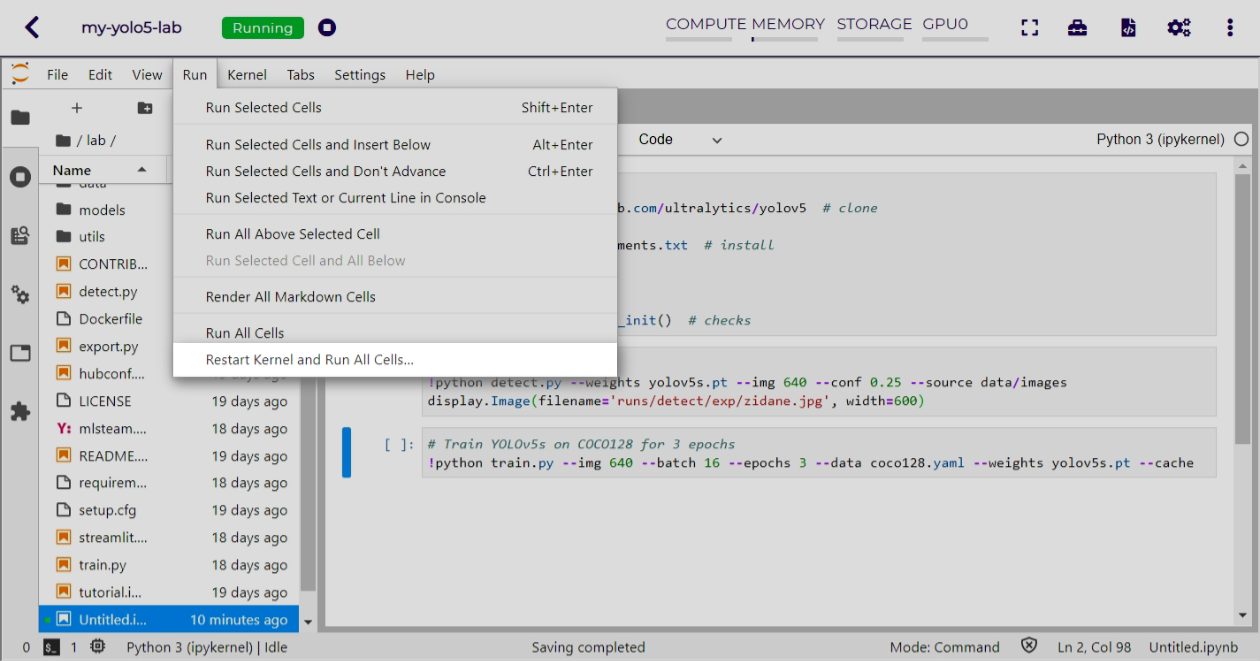
Alternatively, click on the toolbar icon.

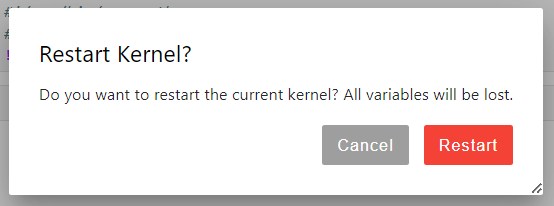
Click on the Restart button.
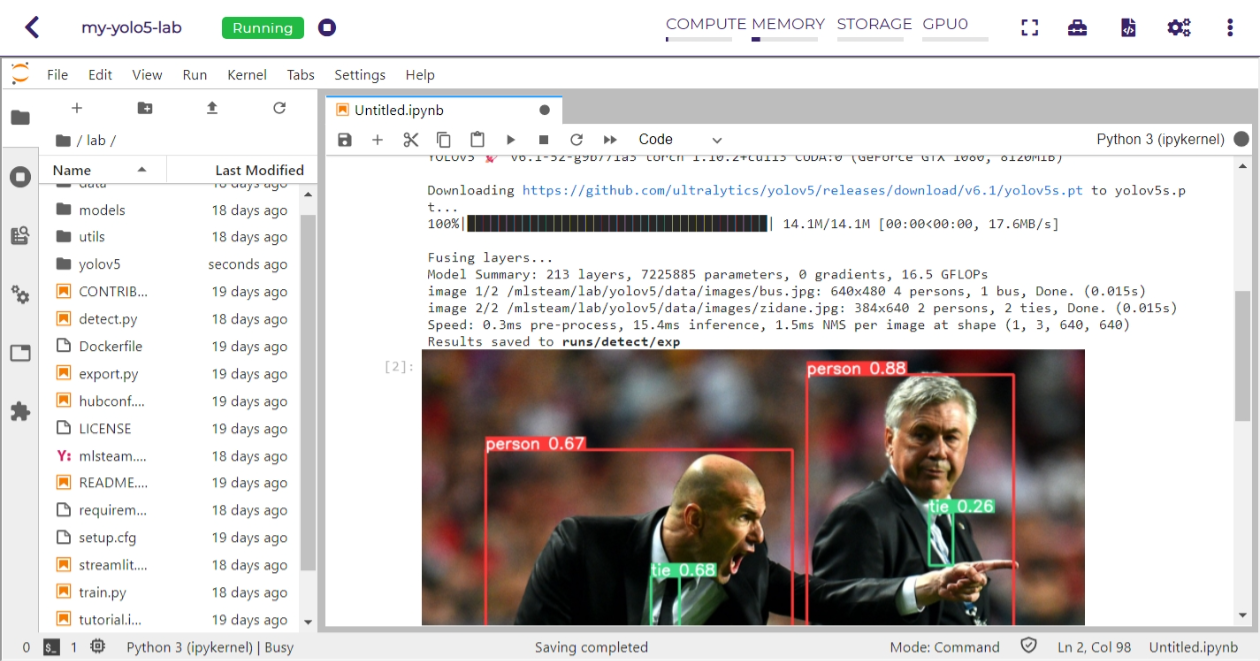
The training program will start running cell by cell.
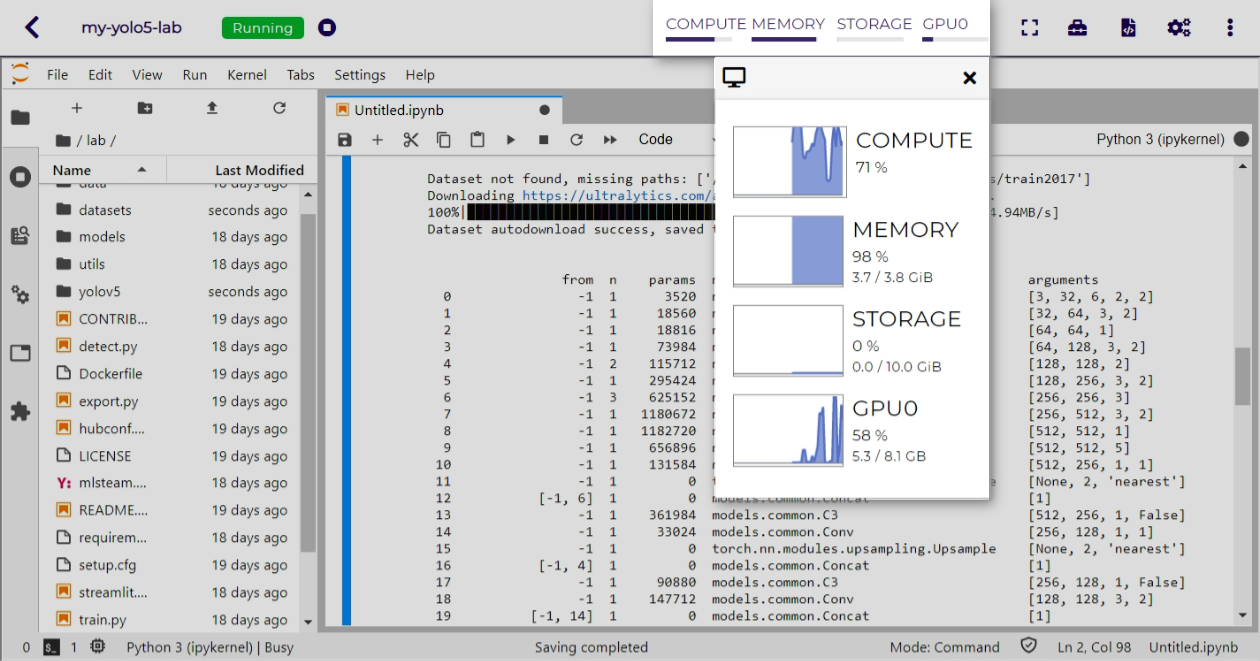
You could also monitor the real-time resource utilization by clicking on the top area. A watch window will be opened.
Visualize the Model Training Results
After the previous model training experiment, here we will submit a training job and then view the training results:
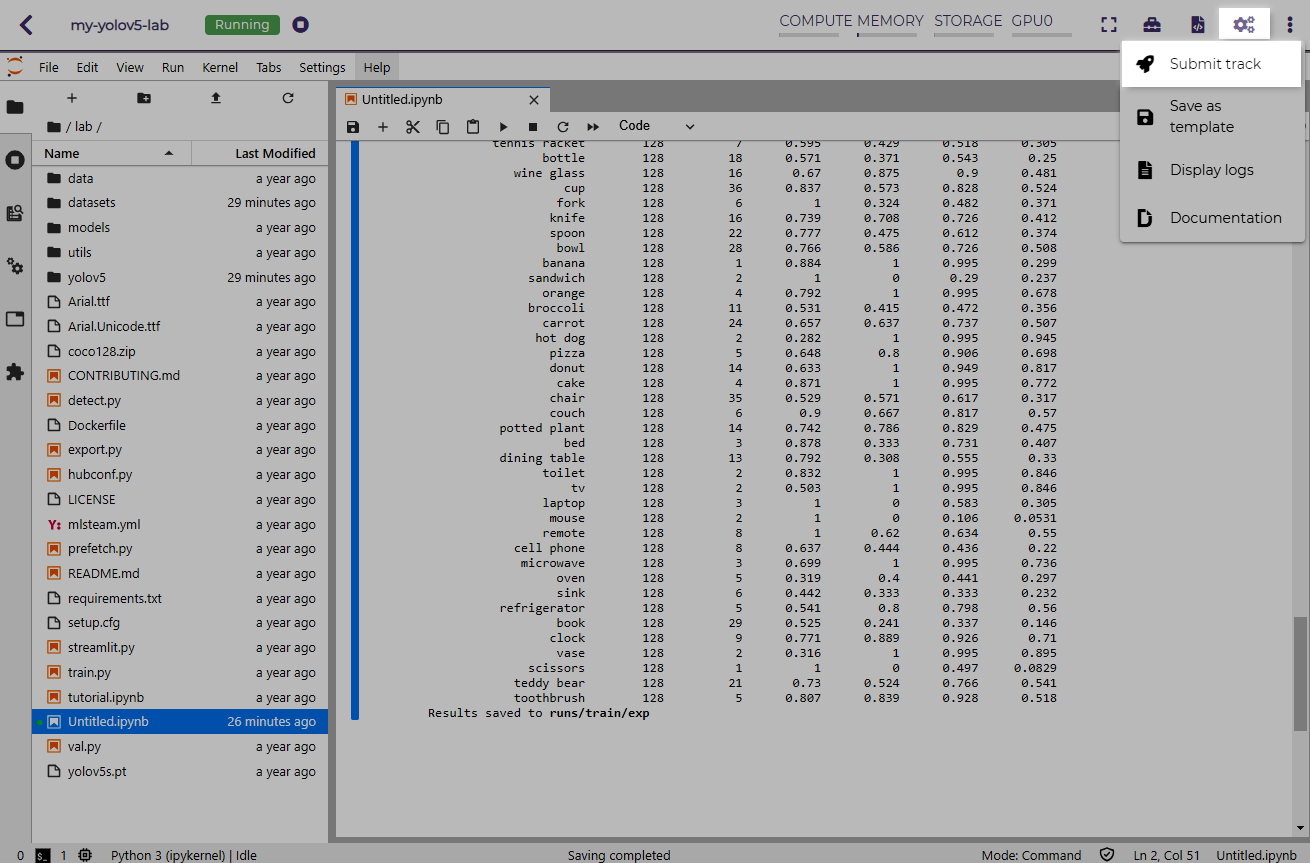
Click on the more button.
Click on the Submit track menu item.
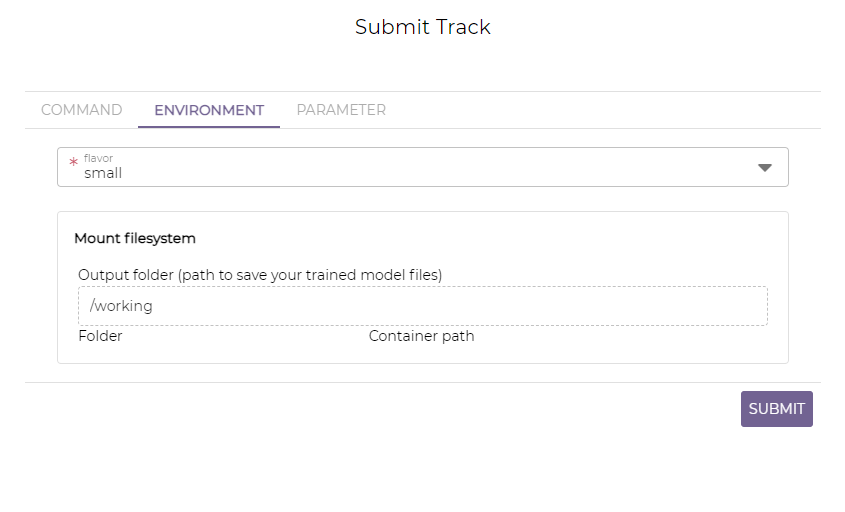
Click on the SUBMIT button.
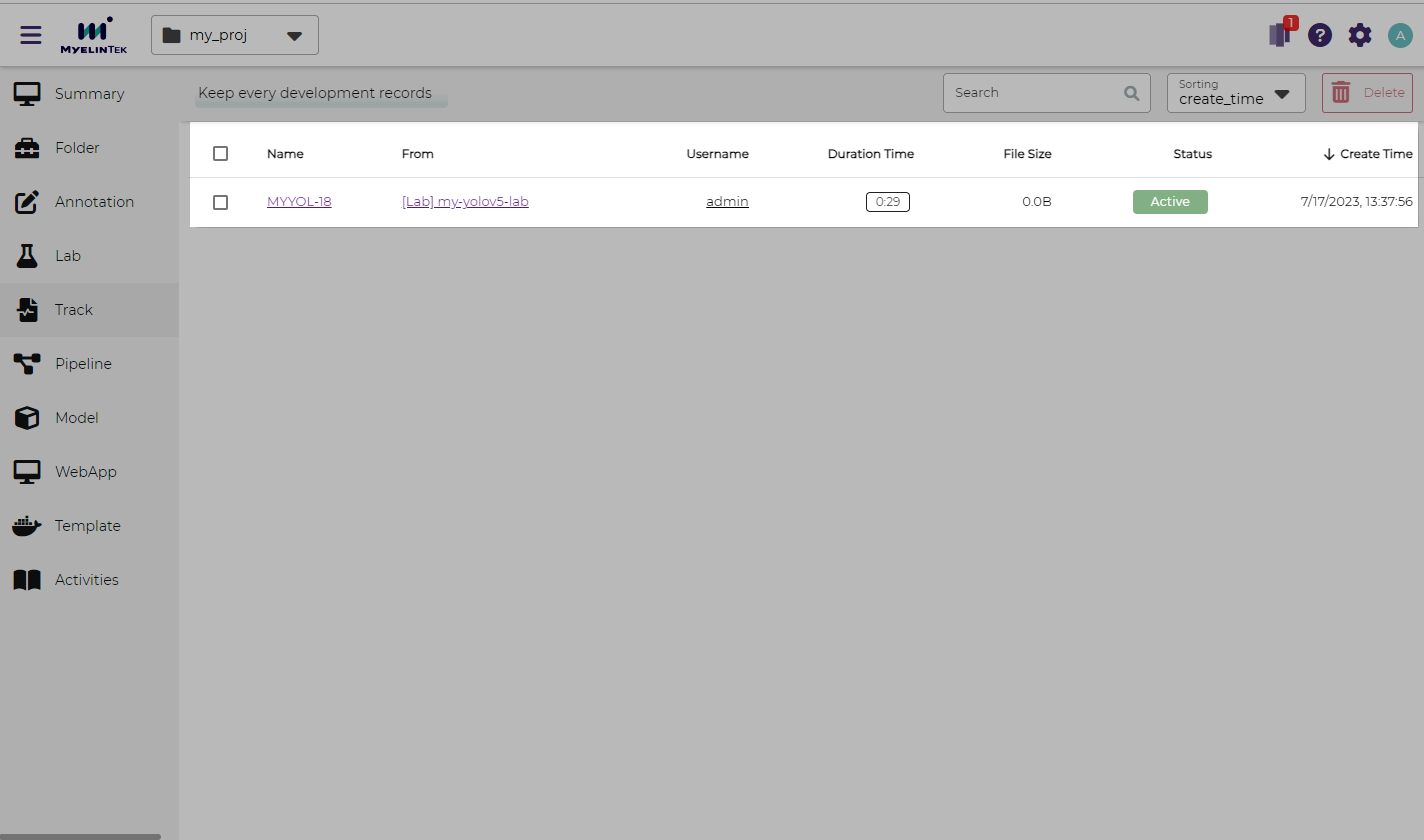
A new browser window will be opened, listing the track for the submitted job.
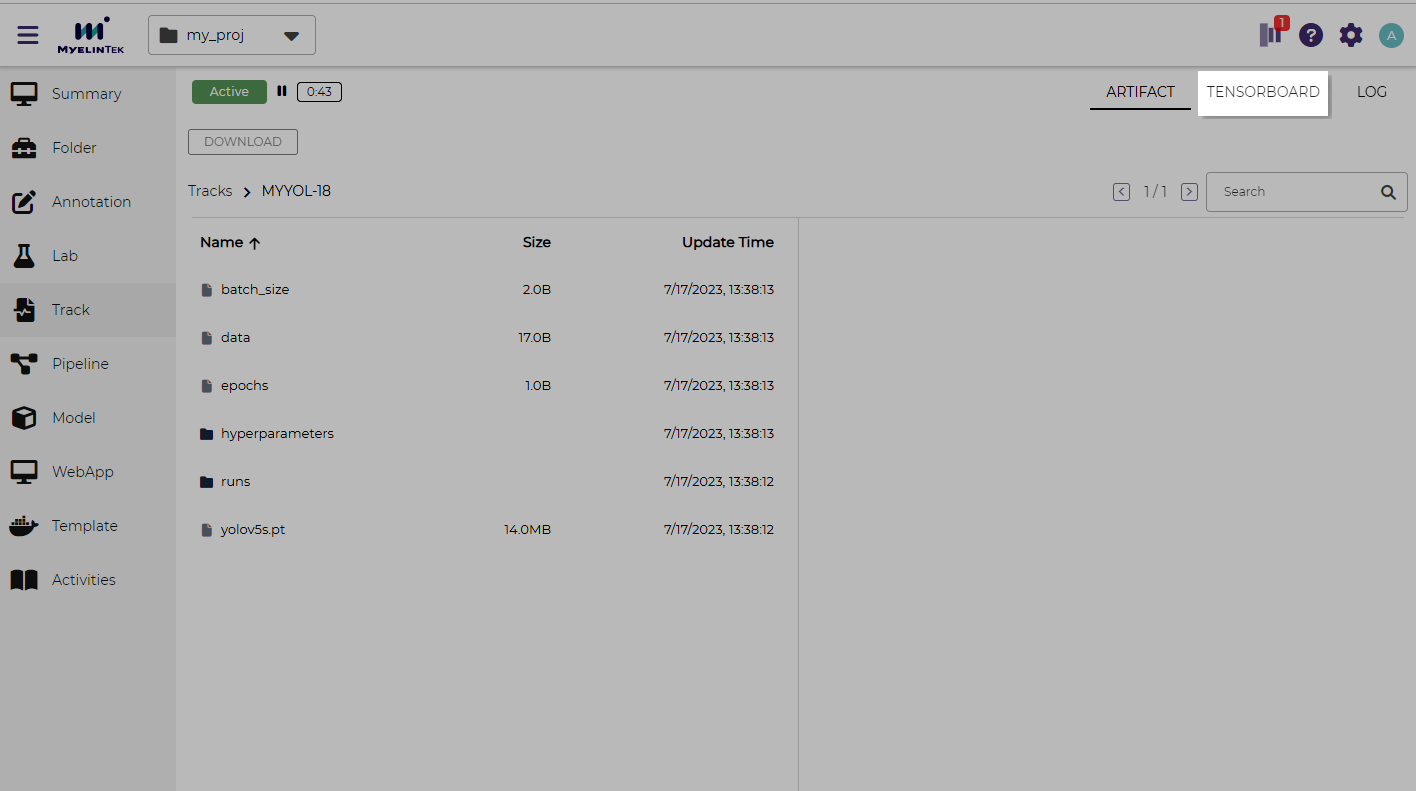
Go to the track page by clicking on the link of the track.
Wait for one minute while the training results are accumulated.
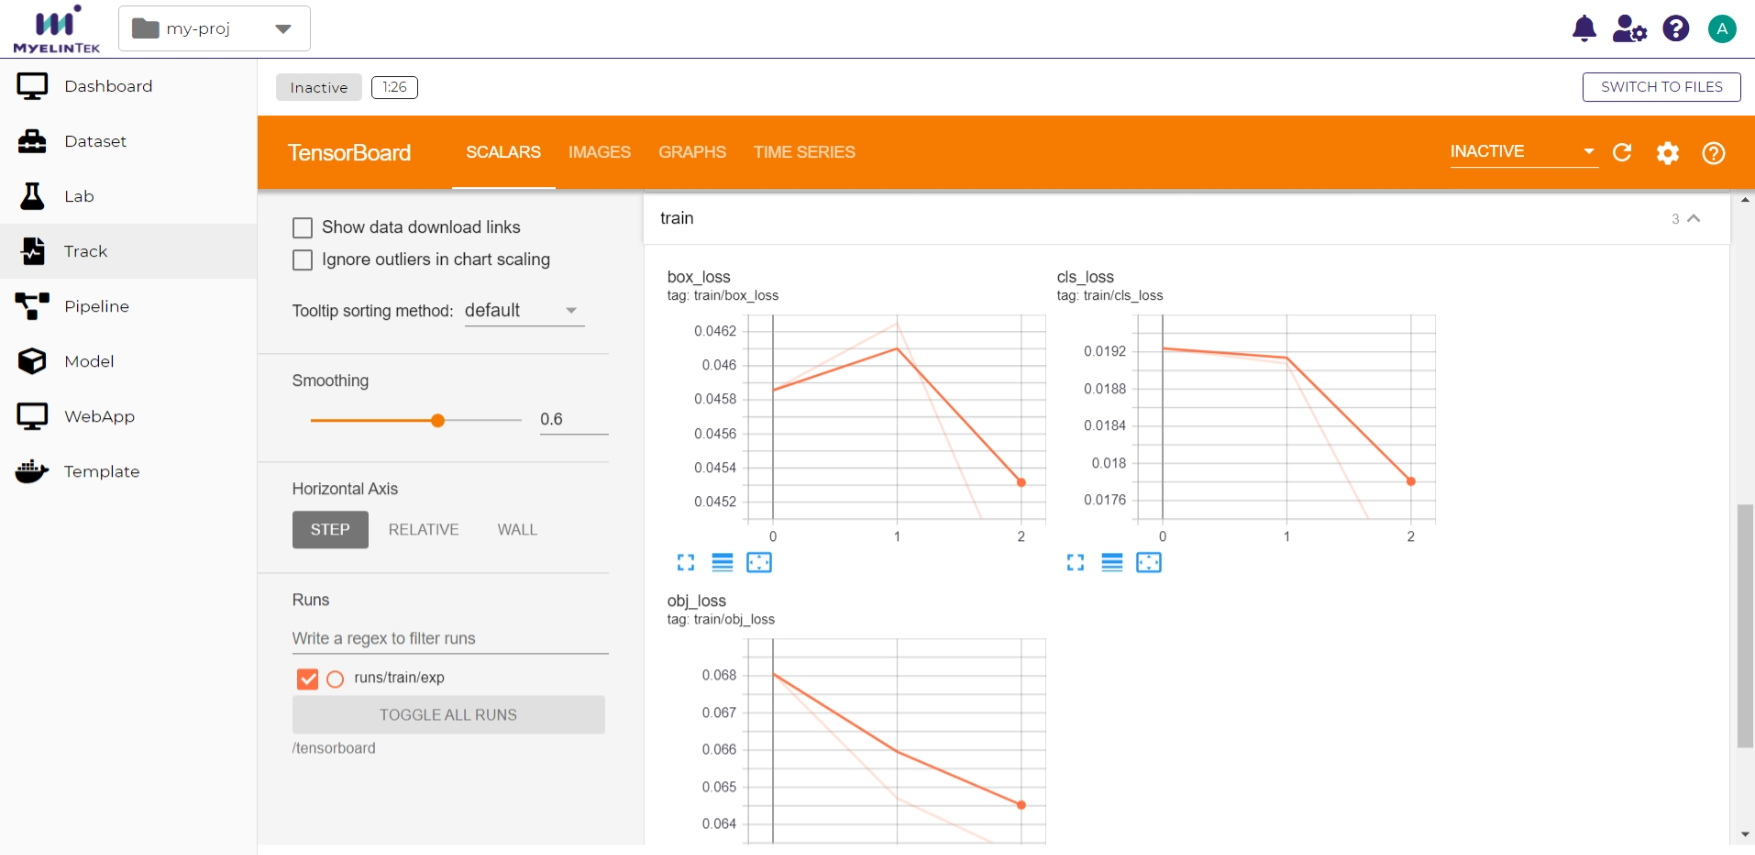
Click on the SWITCH TO TENSORBOARD button.
Congratulations! The YOLOv5 model training results are displayed in the TensorBoard page. You may adjust the settings to view the results in different ways.